Known for its innovative design and durability, microcement now offers a much more practical solution with its ready-to-use formula. Ideal not only for professionals but also for individual users, this special product simplifies the application process and helps you save time.
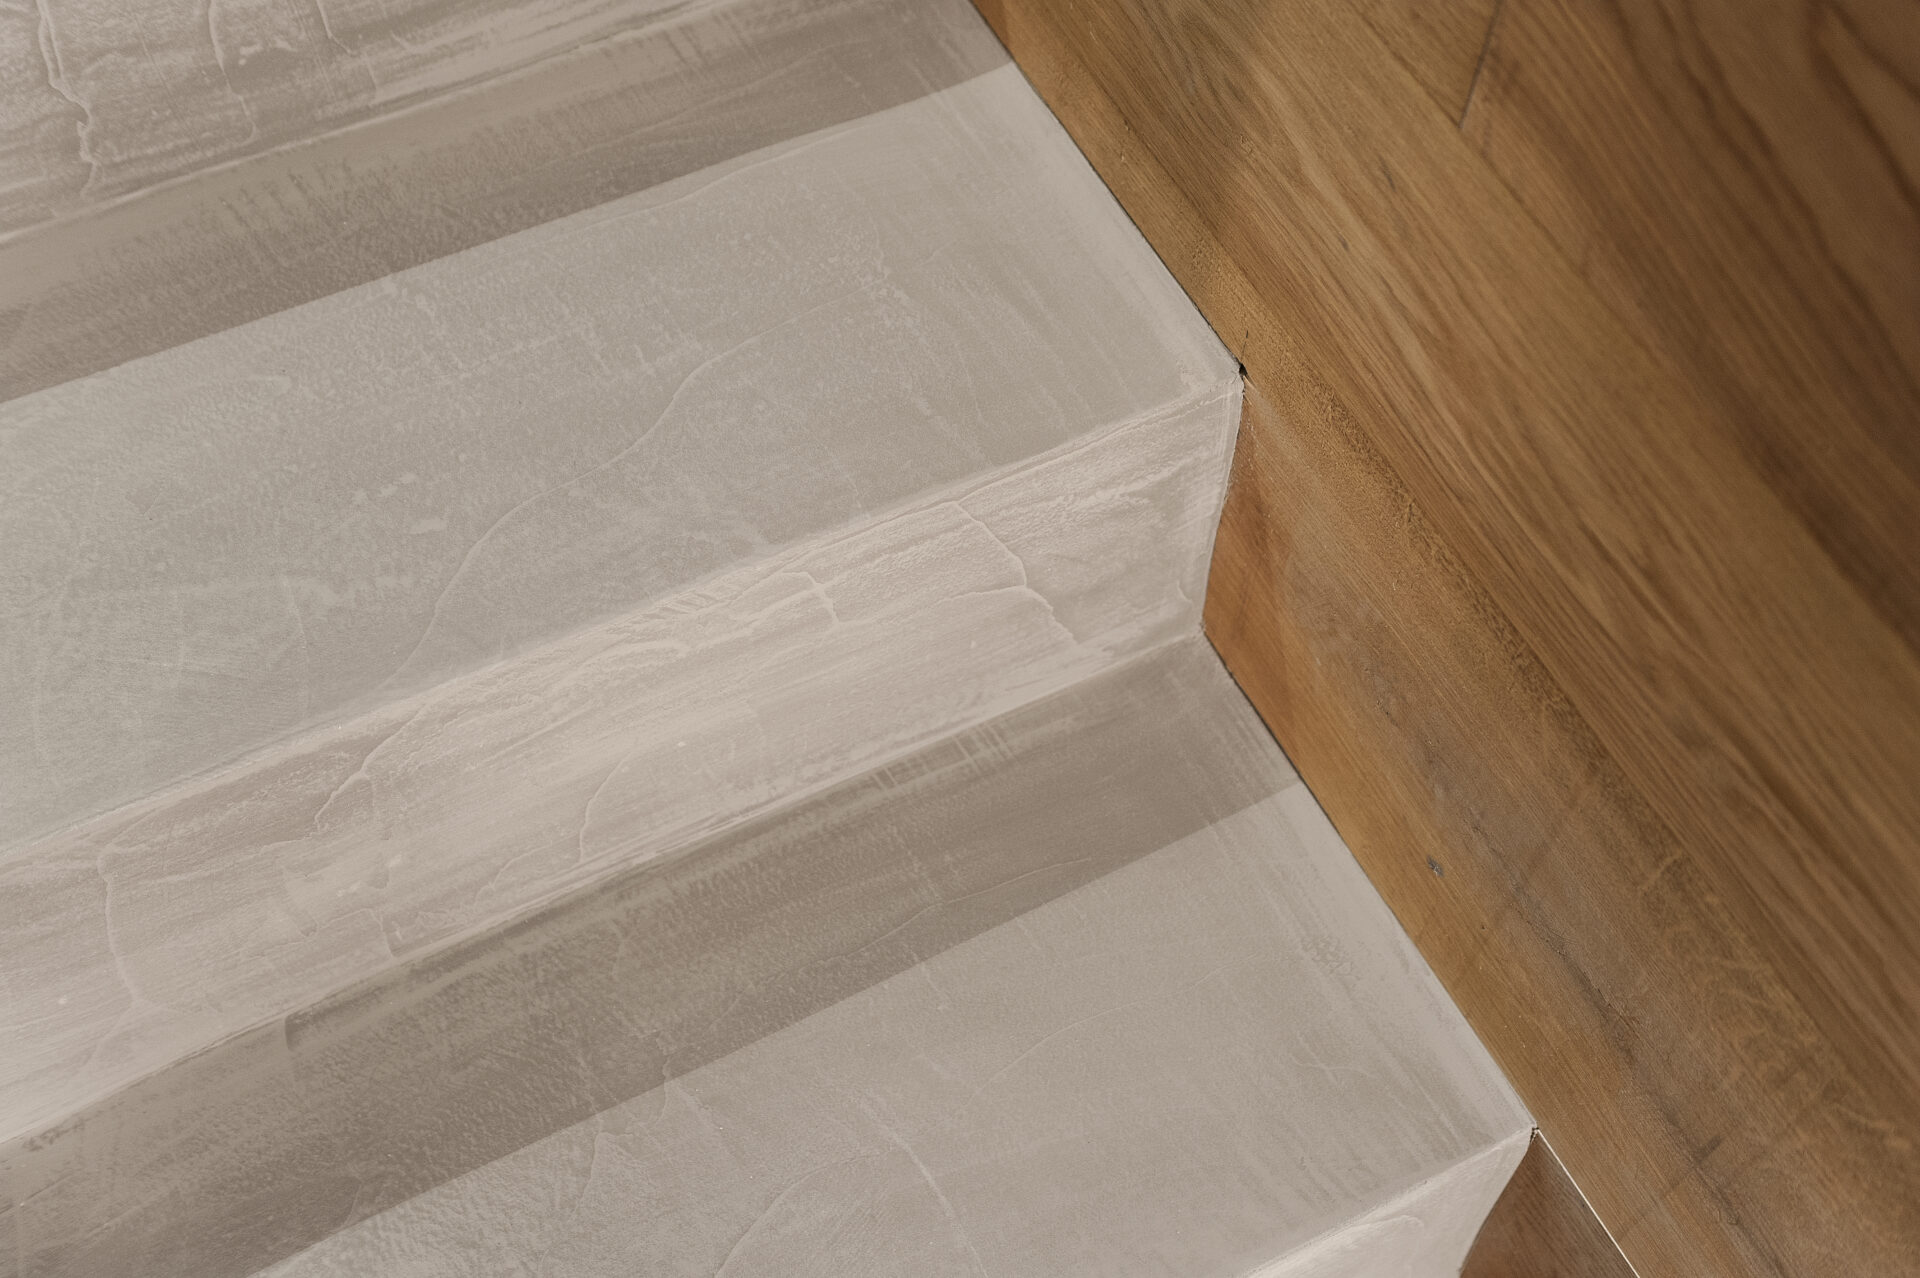
Advantages of Ready-to-Use Microcement Easy and Practical Application: Its formula requires no preparation—no mixing needed. You can apply the product directly, which offers great speed and convenience, especially for small-scale projects. Time-Saving: No need for mixing or resting processes thanks to its ready-made formula. This allows you to complete your projects in a shorter amount of time. Strong Adhesion: Ready-to-use microcement adheres perfectly to a variety of surfaces such as ceramic, concrete, wood, and plaster. Resistant to Cracks and Flaking: Thanks to its special components, it maintains flexibility and delivers long-lasting results. Wide Range of Colors: With a rich color palette, ready-to-use microcement harmonizes with every design and offers aesthetic integrity.
Where Can You Use It? In wet areas such as pools, bathrooms, and kitchens On wall, floor, and countertop surfaces On furniture and decorative surfaces In both interior and exterior designs
Effortlessly bring your projects to life with ready-to-use microcement and add a modern, stylish touch to your spaces!
1. Surface Cleaning and Preparation: • Ensure the surface is clean, dry, level, and smooth.
2. Primer: • Apply the primer undiluted on lightly porous surfaces. • On porous surfaces, dilute the primer with a 2:1 ratio of primer to water. • Allow to dry for at least 30 minutes and no more than 2 hours.
3. First Coat of Ready Base Microcement (Micromortar): • Apply the ready-mixed pigmented base microcement using a trowel. • Drying time depends on ambient temperature and humidity; typically 4–8 hours. Surface should feel dry to the touch. • Before it dries completely, sand any rough spots with 80-grit sandpaper. • To achieve the desired color, add 250g of pigment per 10kg of microcement at this stage.
4. Second Coat of Ready Base Microcement (Micromortar): • Apply the second coat using the same colored microcement as the first layer, using a trowel. • Let it dry for 4–8 hours. Ensure it feels dry to the touch. • Before it dries completely, sand with 80-grit sandpaper.
5. First Coat of Ready Fine/Medium-Textured Microcement or Micromortar: • Apply a single coat of ready-mixed pigmented fine or medium-textured microcement or micromortar using a trowel. • Drying time is between 4–8 hours. Ensure it is dry to the touch. • Before it dries completely, sand rough areas with 120-grit sandpaper. • Add 250g of pigment per 10kg of microcement for color consistency.
6. Second Coat of Ready Fine/Medium-Textured Microcement or Micromortar: • Apply a second layer using the same colored microcement used in the first coat. • Let it dry for 4–8 hours and ensure it feels completely dry. • Before full drying, sand with 120-grit sandpaper.
7. Standard Sealant: • Once the microcement application is completely dry and clean, apply a protective sealant layer. • Allow it to dry for at least 8 hours after application.
8. Varnish: • Use single-component or two-component varnish to protect the surface. • Apply 2 coats on standard surfaces and 3 coats on wet areas. • Wait at least 3 hours between coats. • Pay special attention to junctions between microcement and other surfaces (e.g., shower drains, tiles) to prevent moisture infiltration in these areas.
9. Water Repellent (For Wet Areas Only): • To provide extra protection in wet zones, apply water repellent liquid using a roller or brush. • Take care at joints between microcement and other surfaces to block potential water seepage.
10. Final Curing: • Wait at least 48 hours after applying the final coat of varnish before using the surface.
By carefully following these steps, you can achieve a successful ready-to-use microcement application. Paying attention to proper surface preparation and drying times at each stage is essential for a high-quality finish.
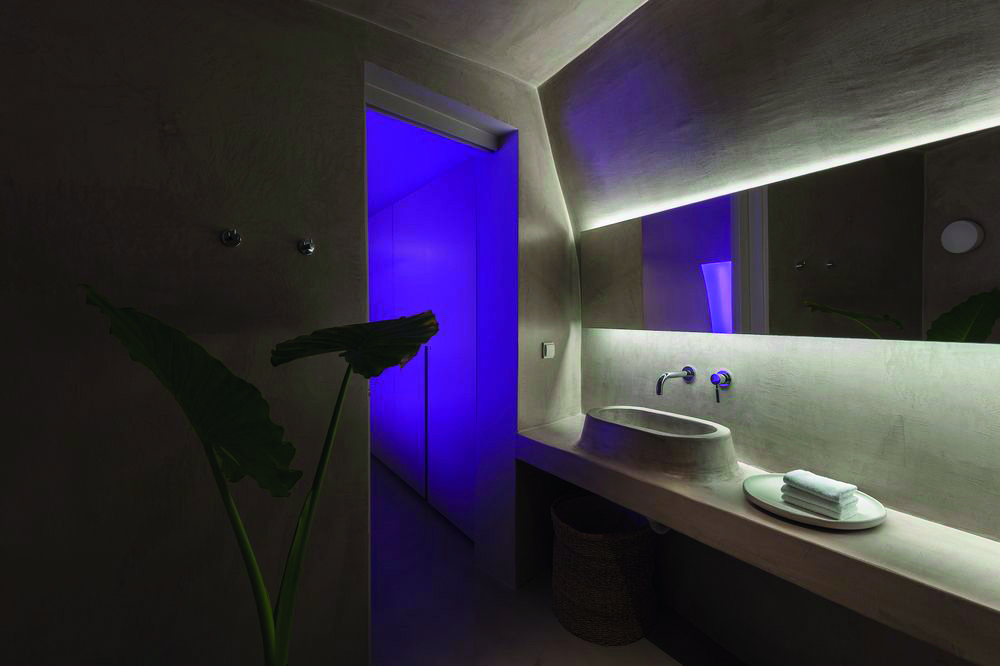
Bathrooms and Showers
Modern Design
Bathroom Design
Innovative Solutions
A Luxurious Experience
Eco-Friendly Options
Customized Solutions
leed
bream
dgnb
gbce
well
ce
aenor
aenorep
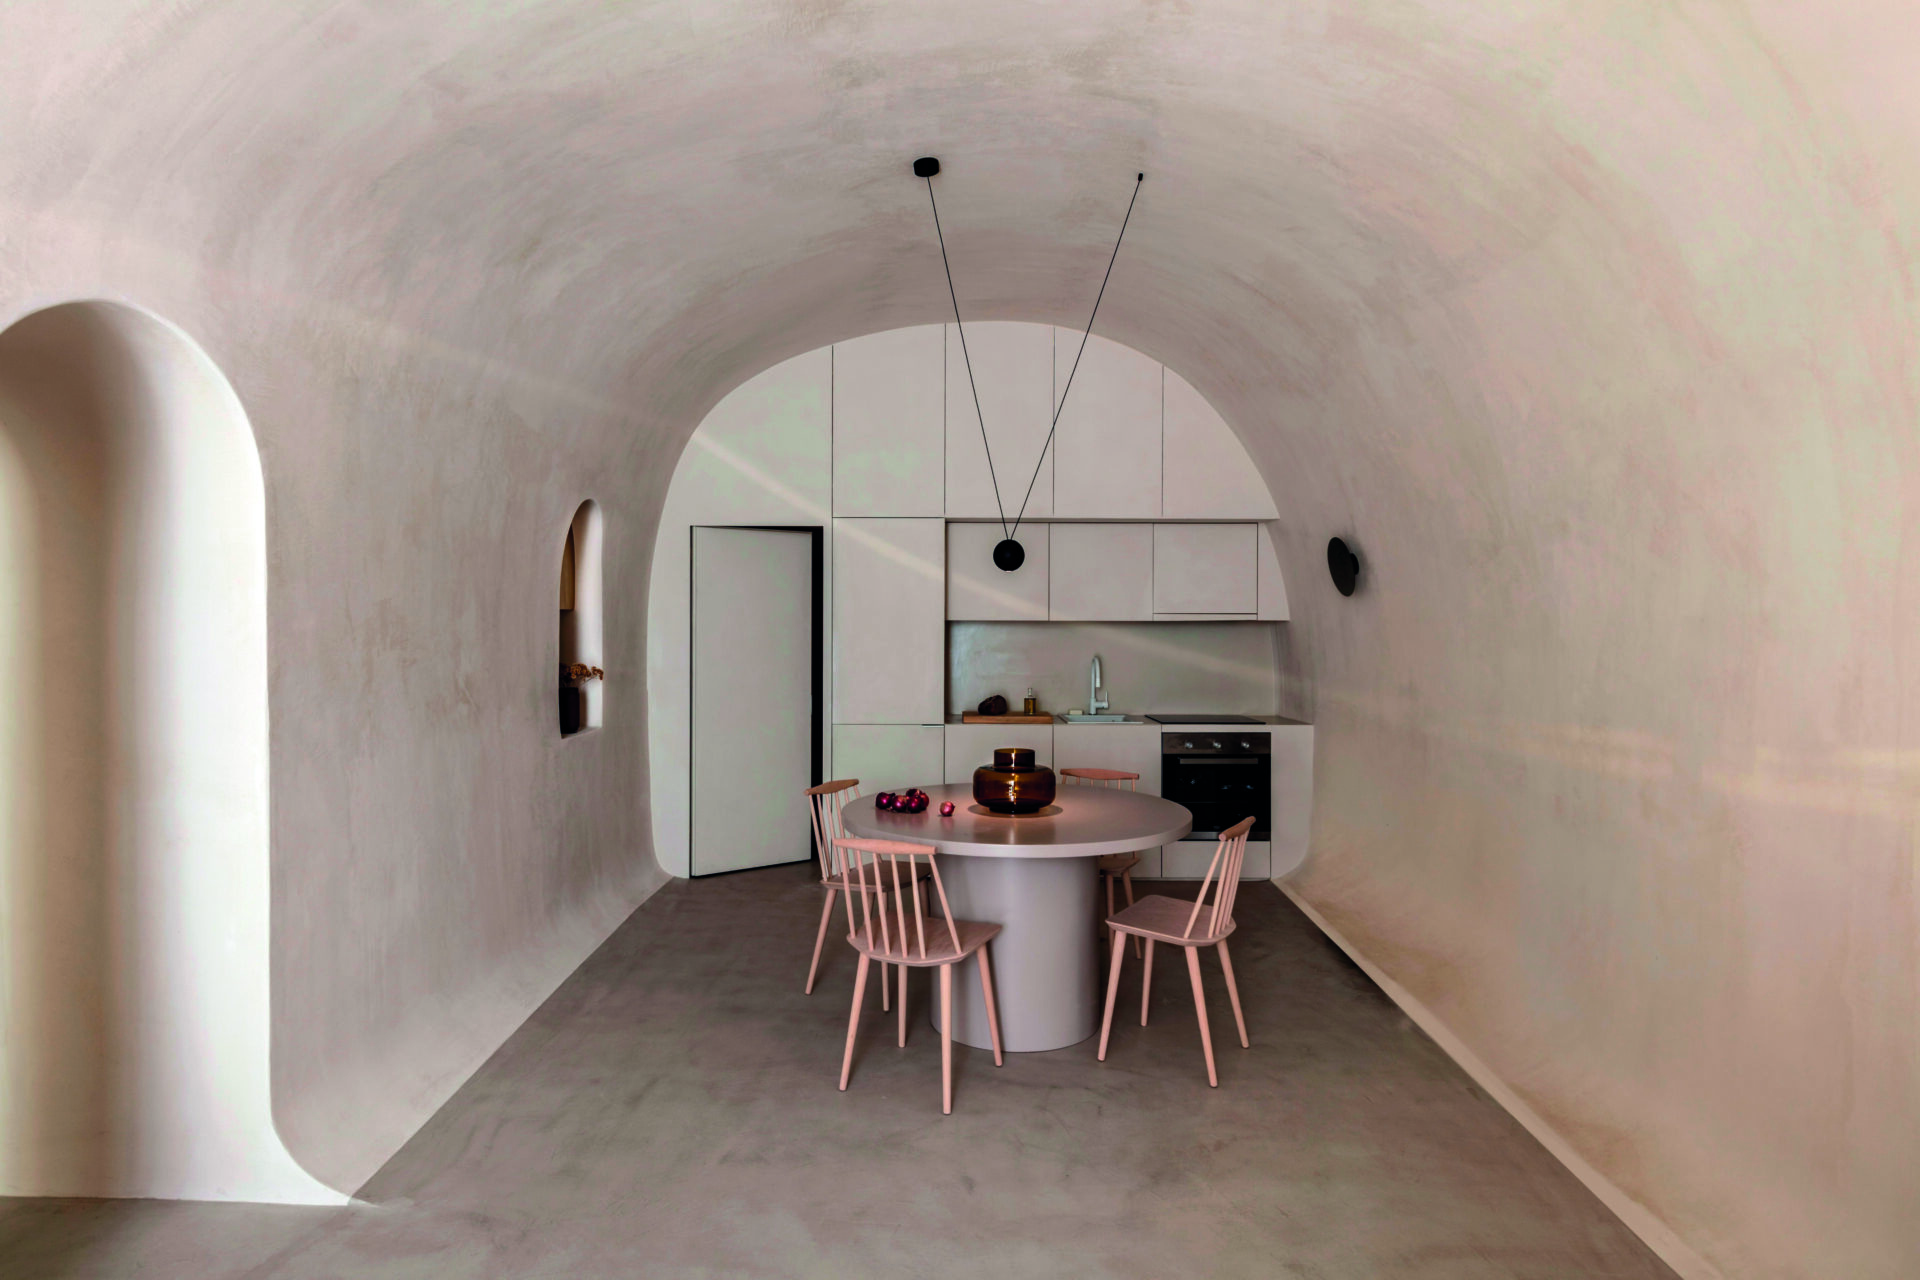
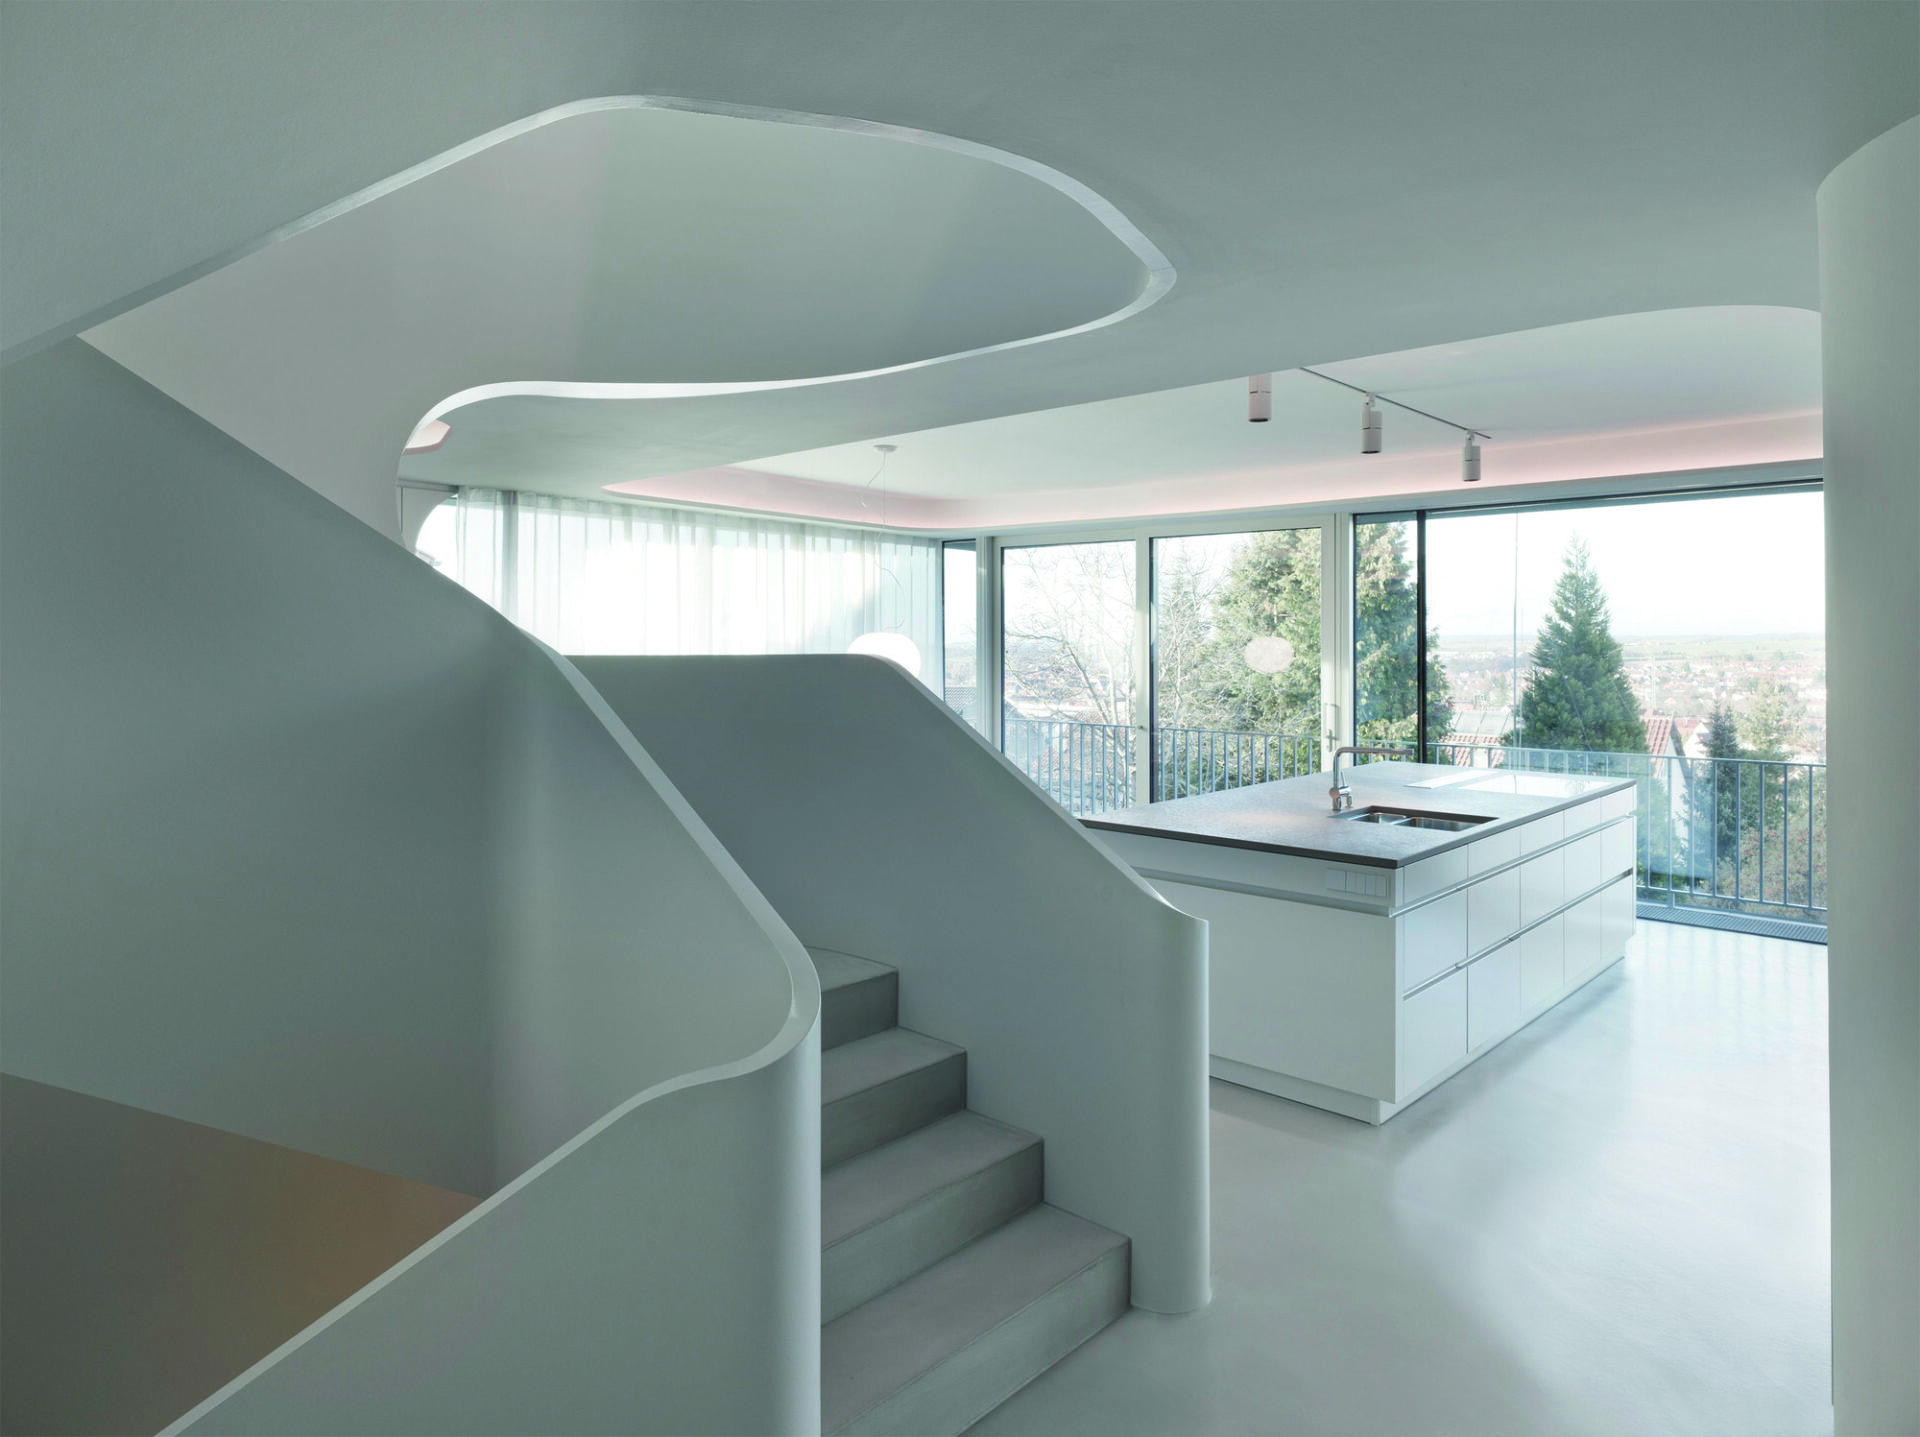
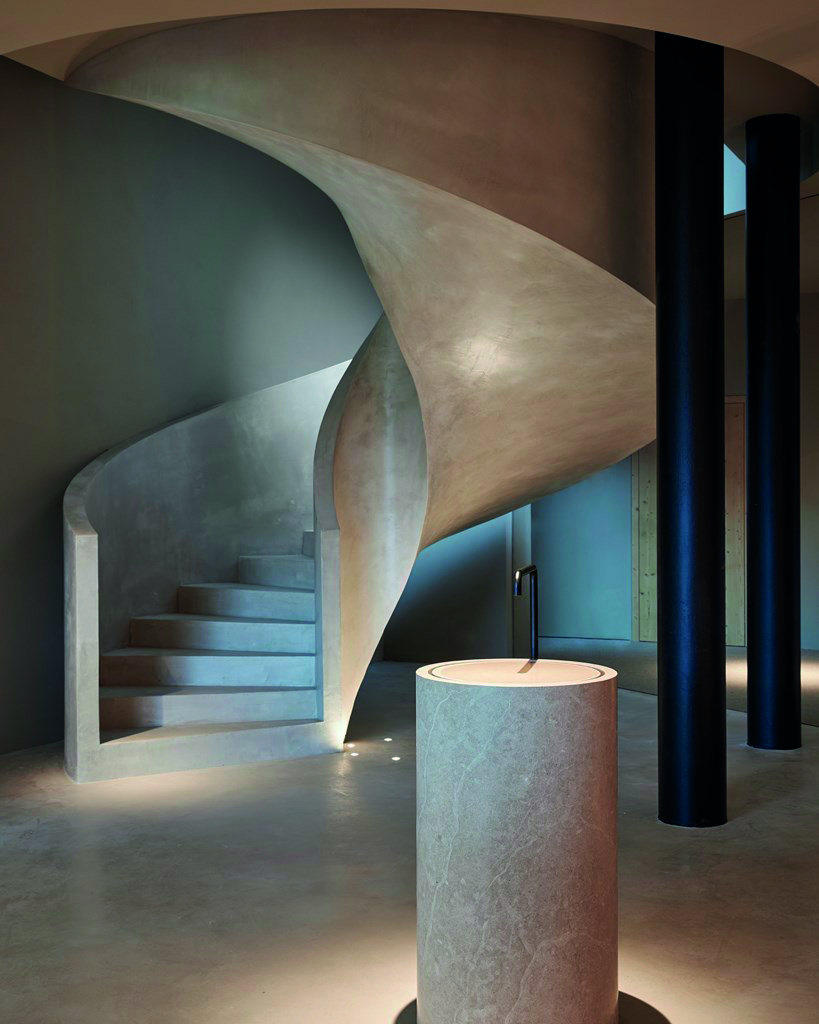
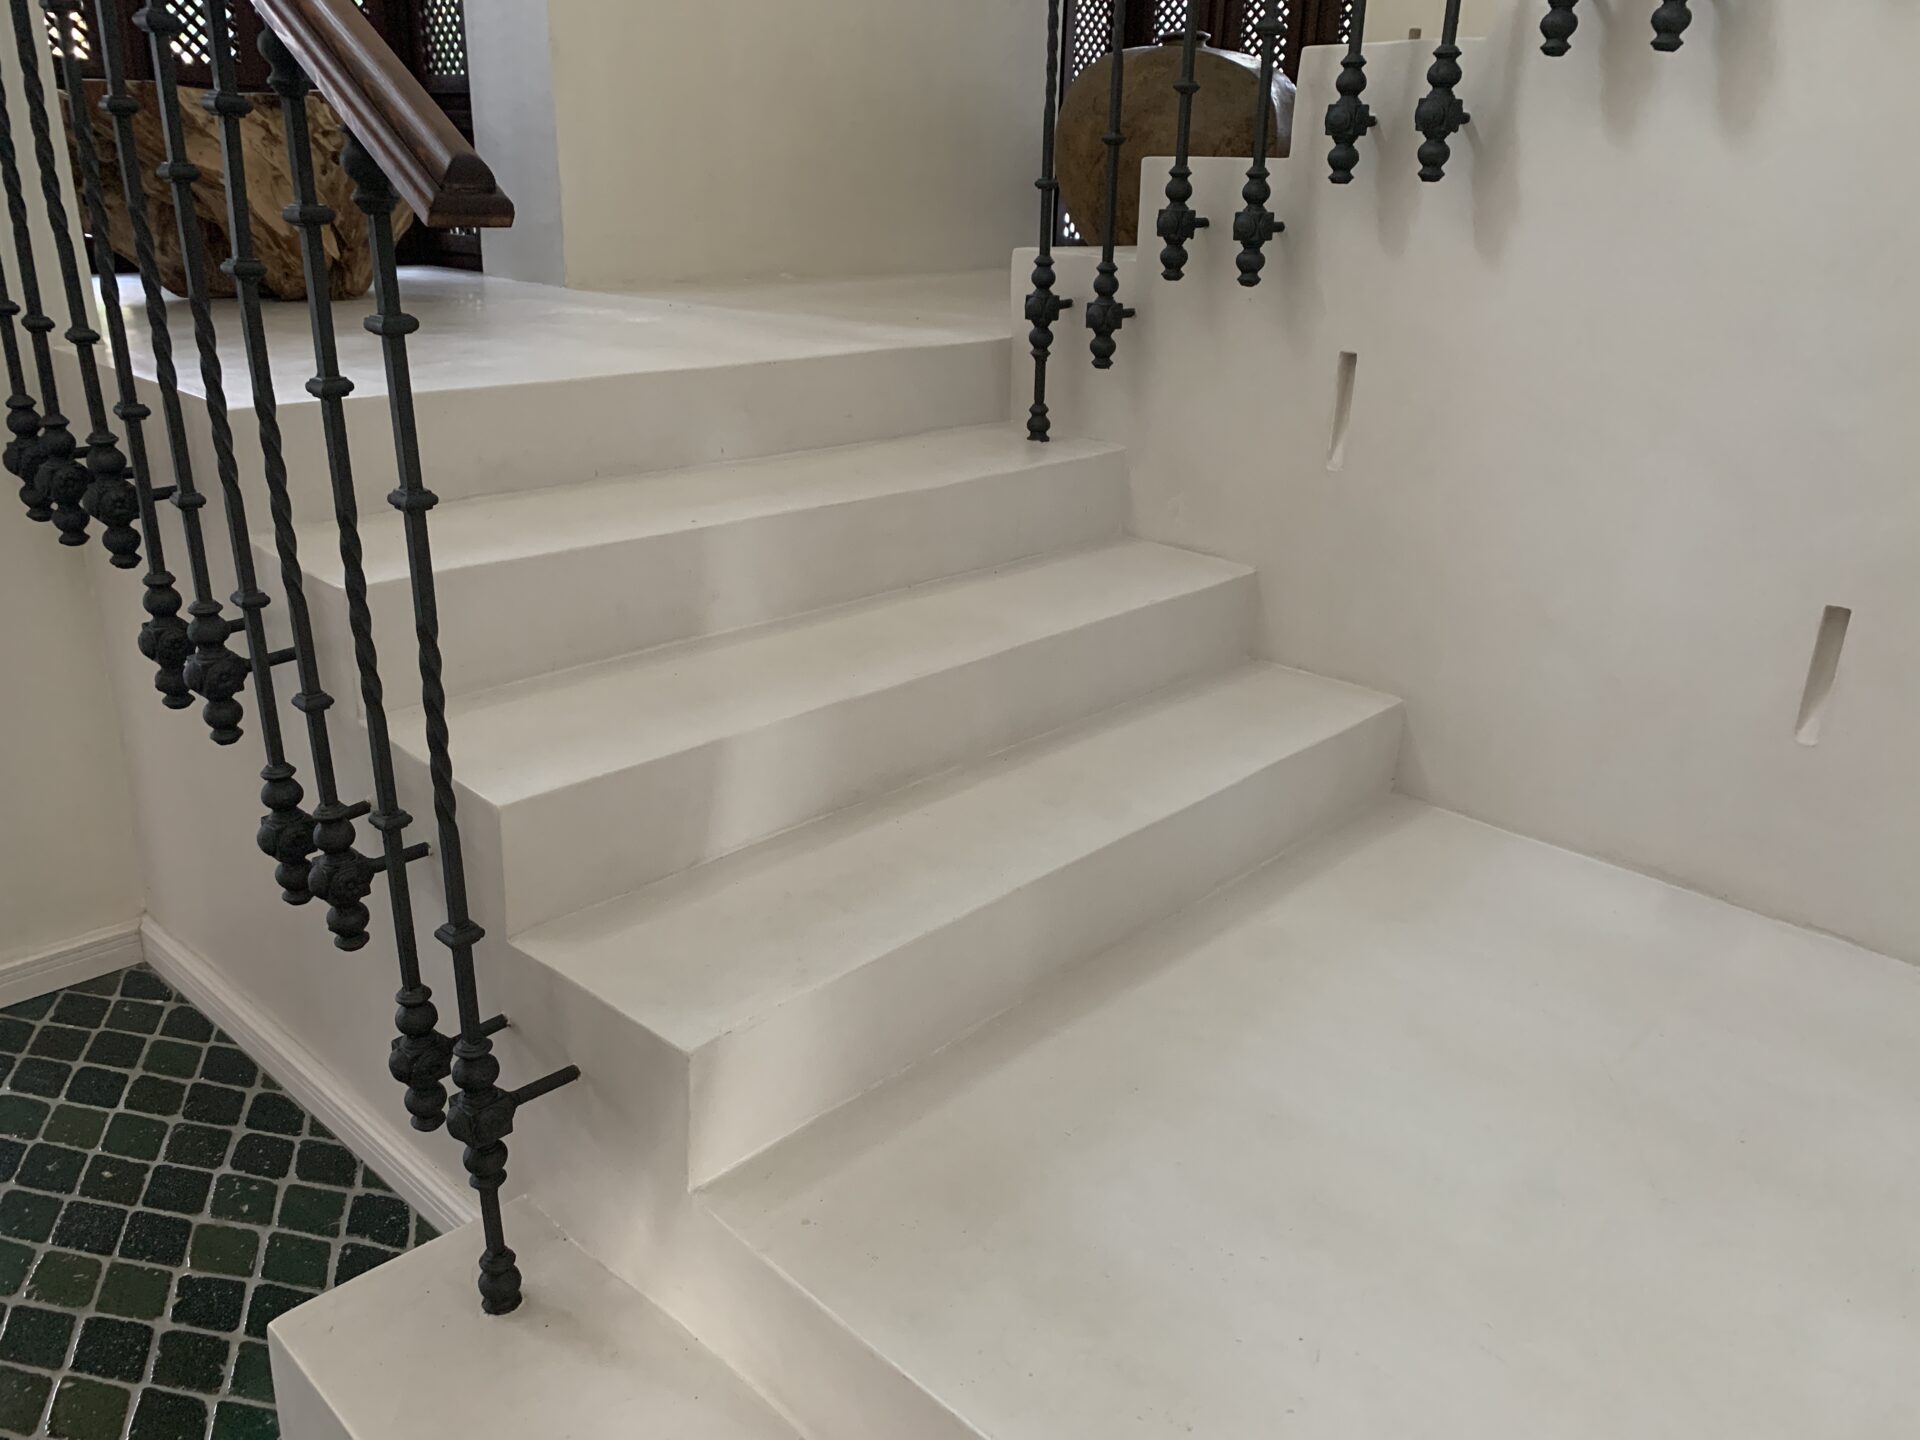
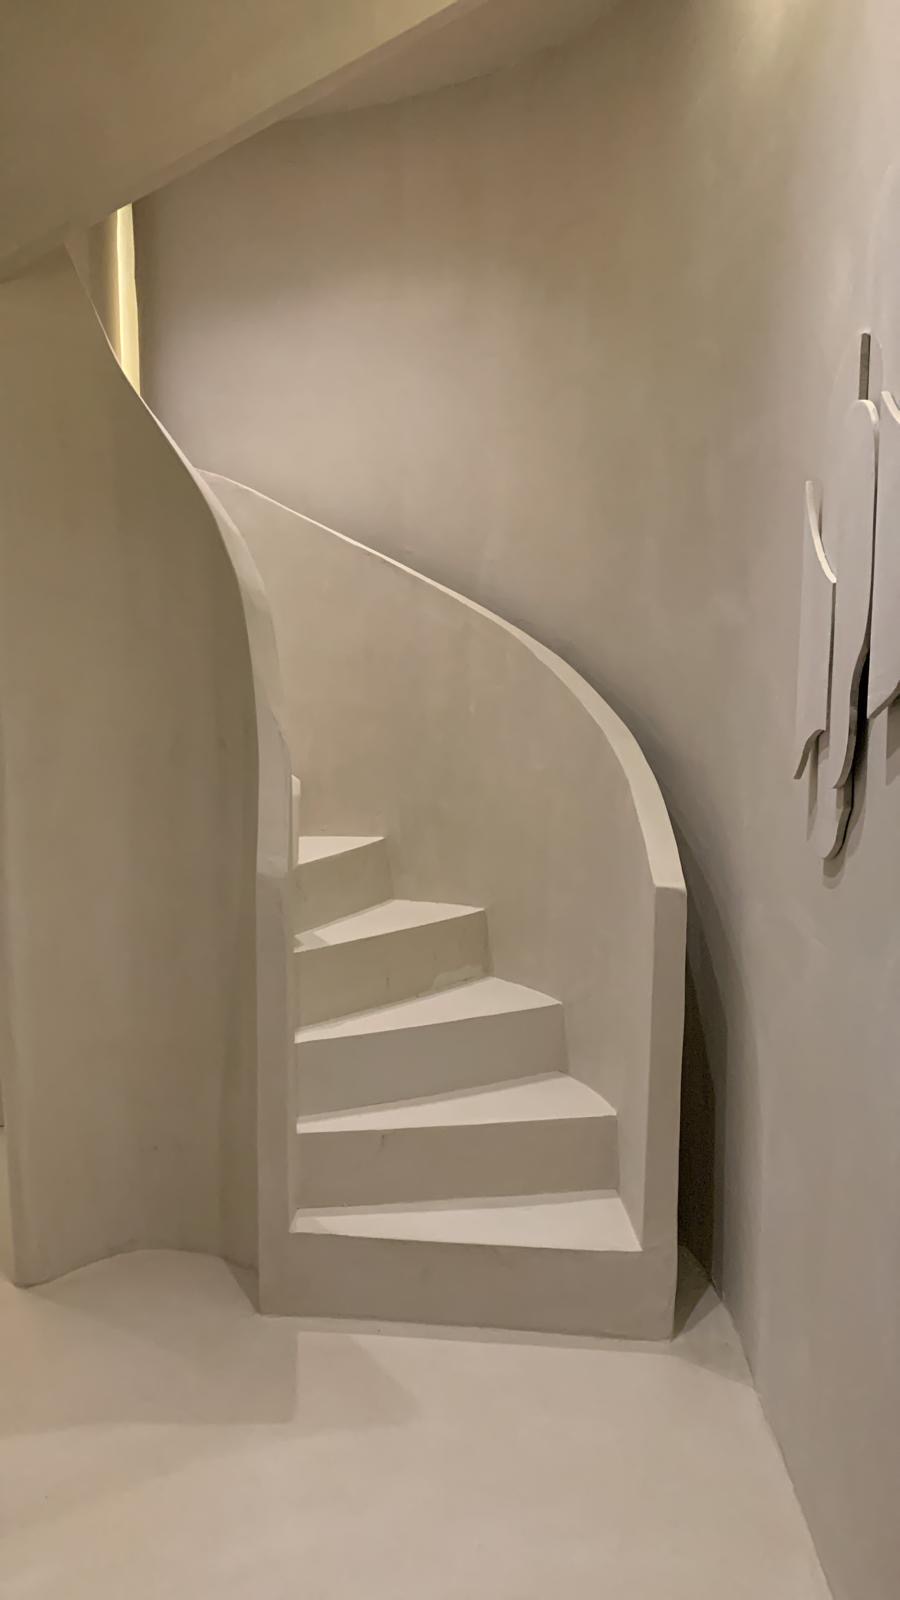
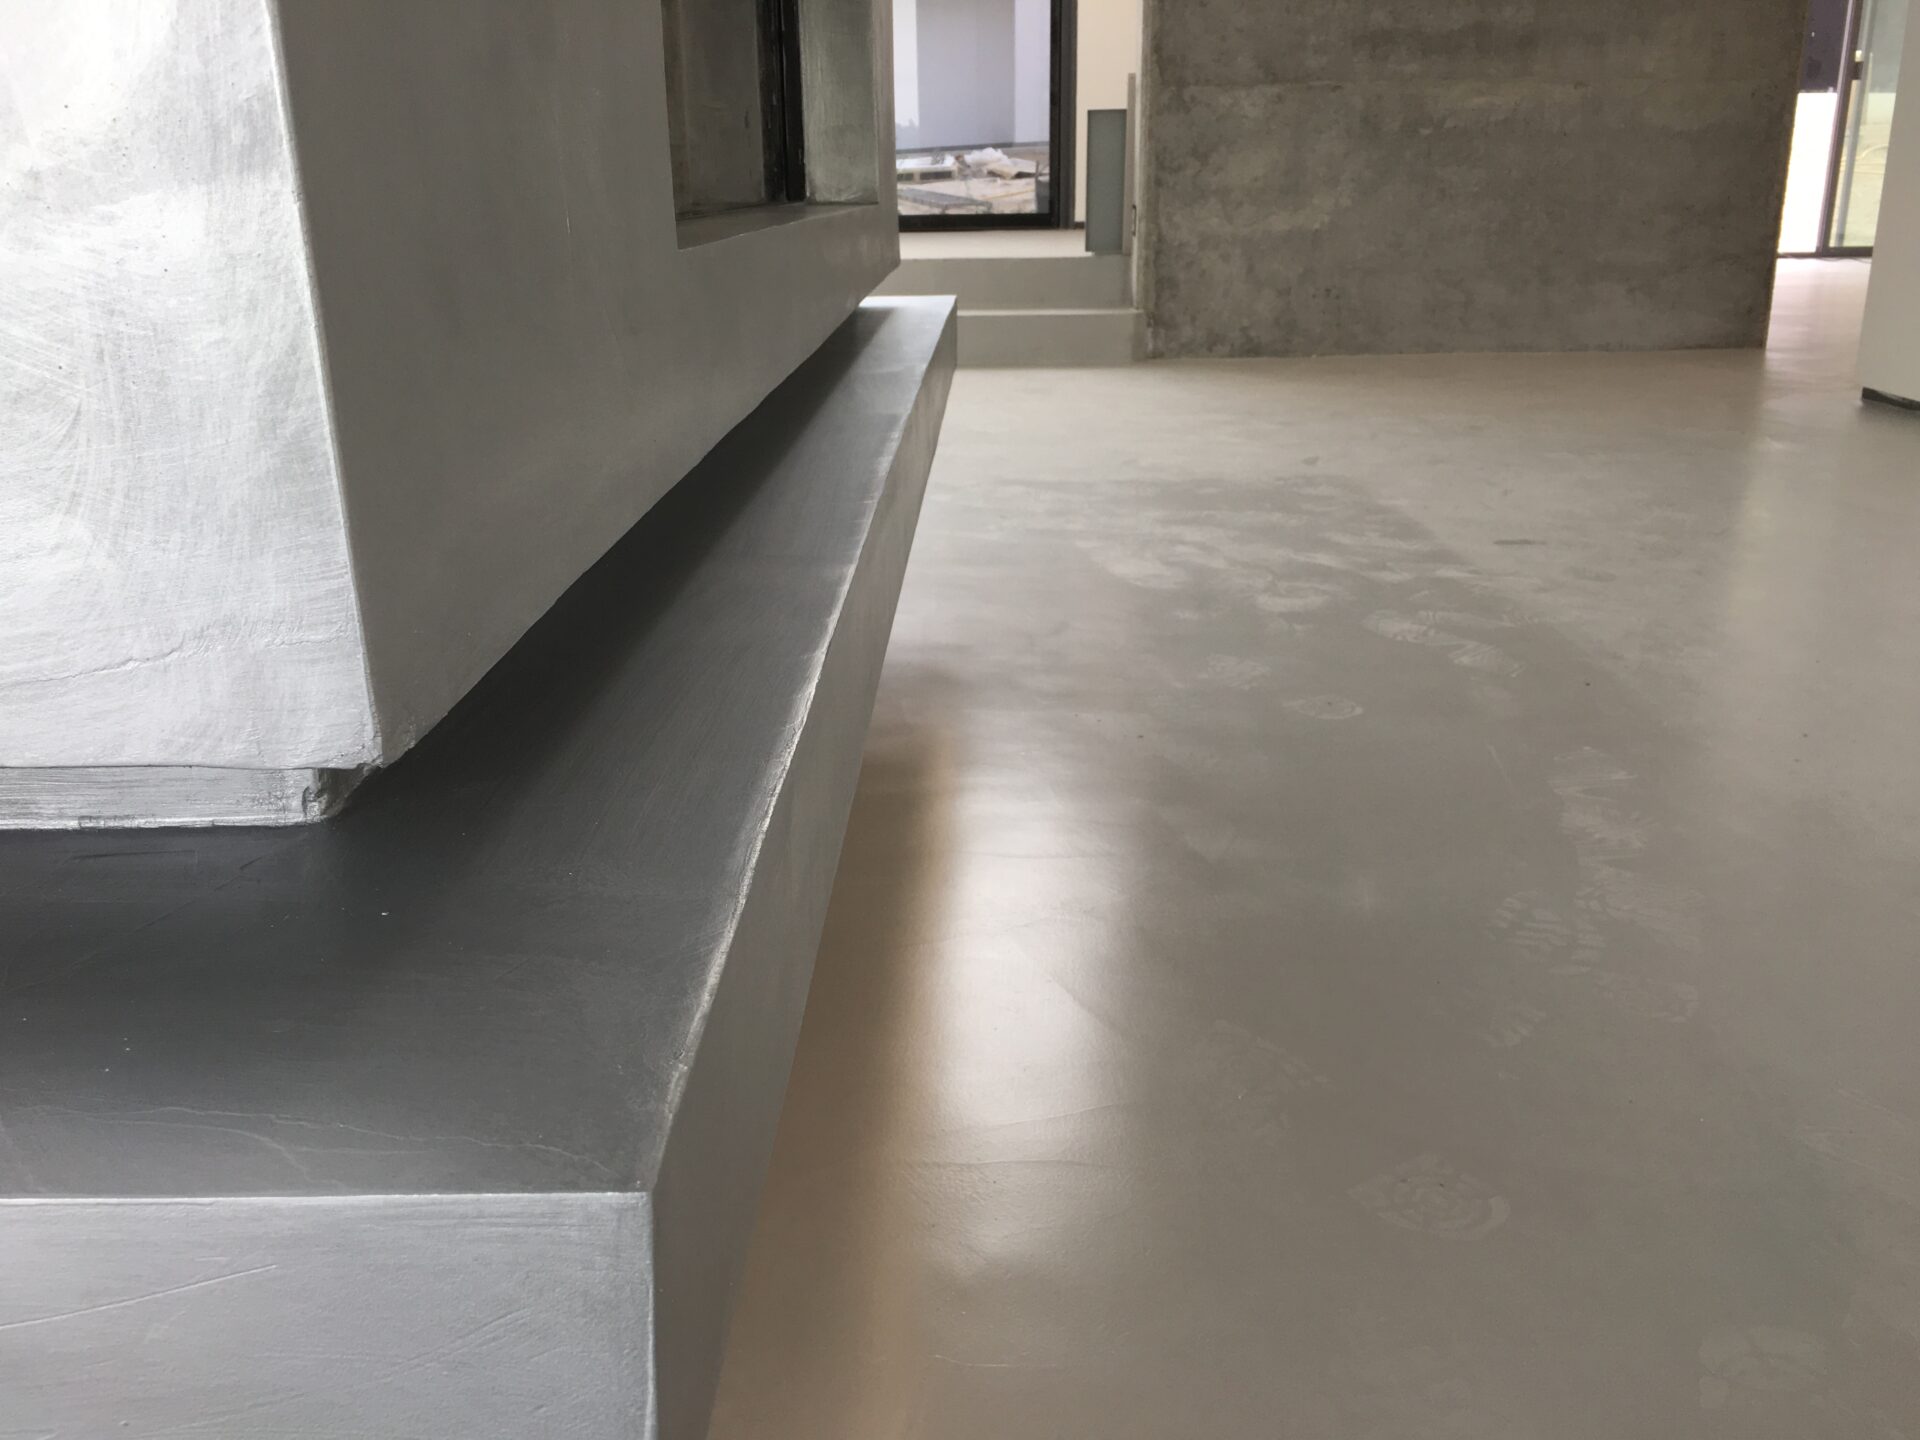
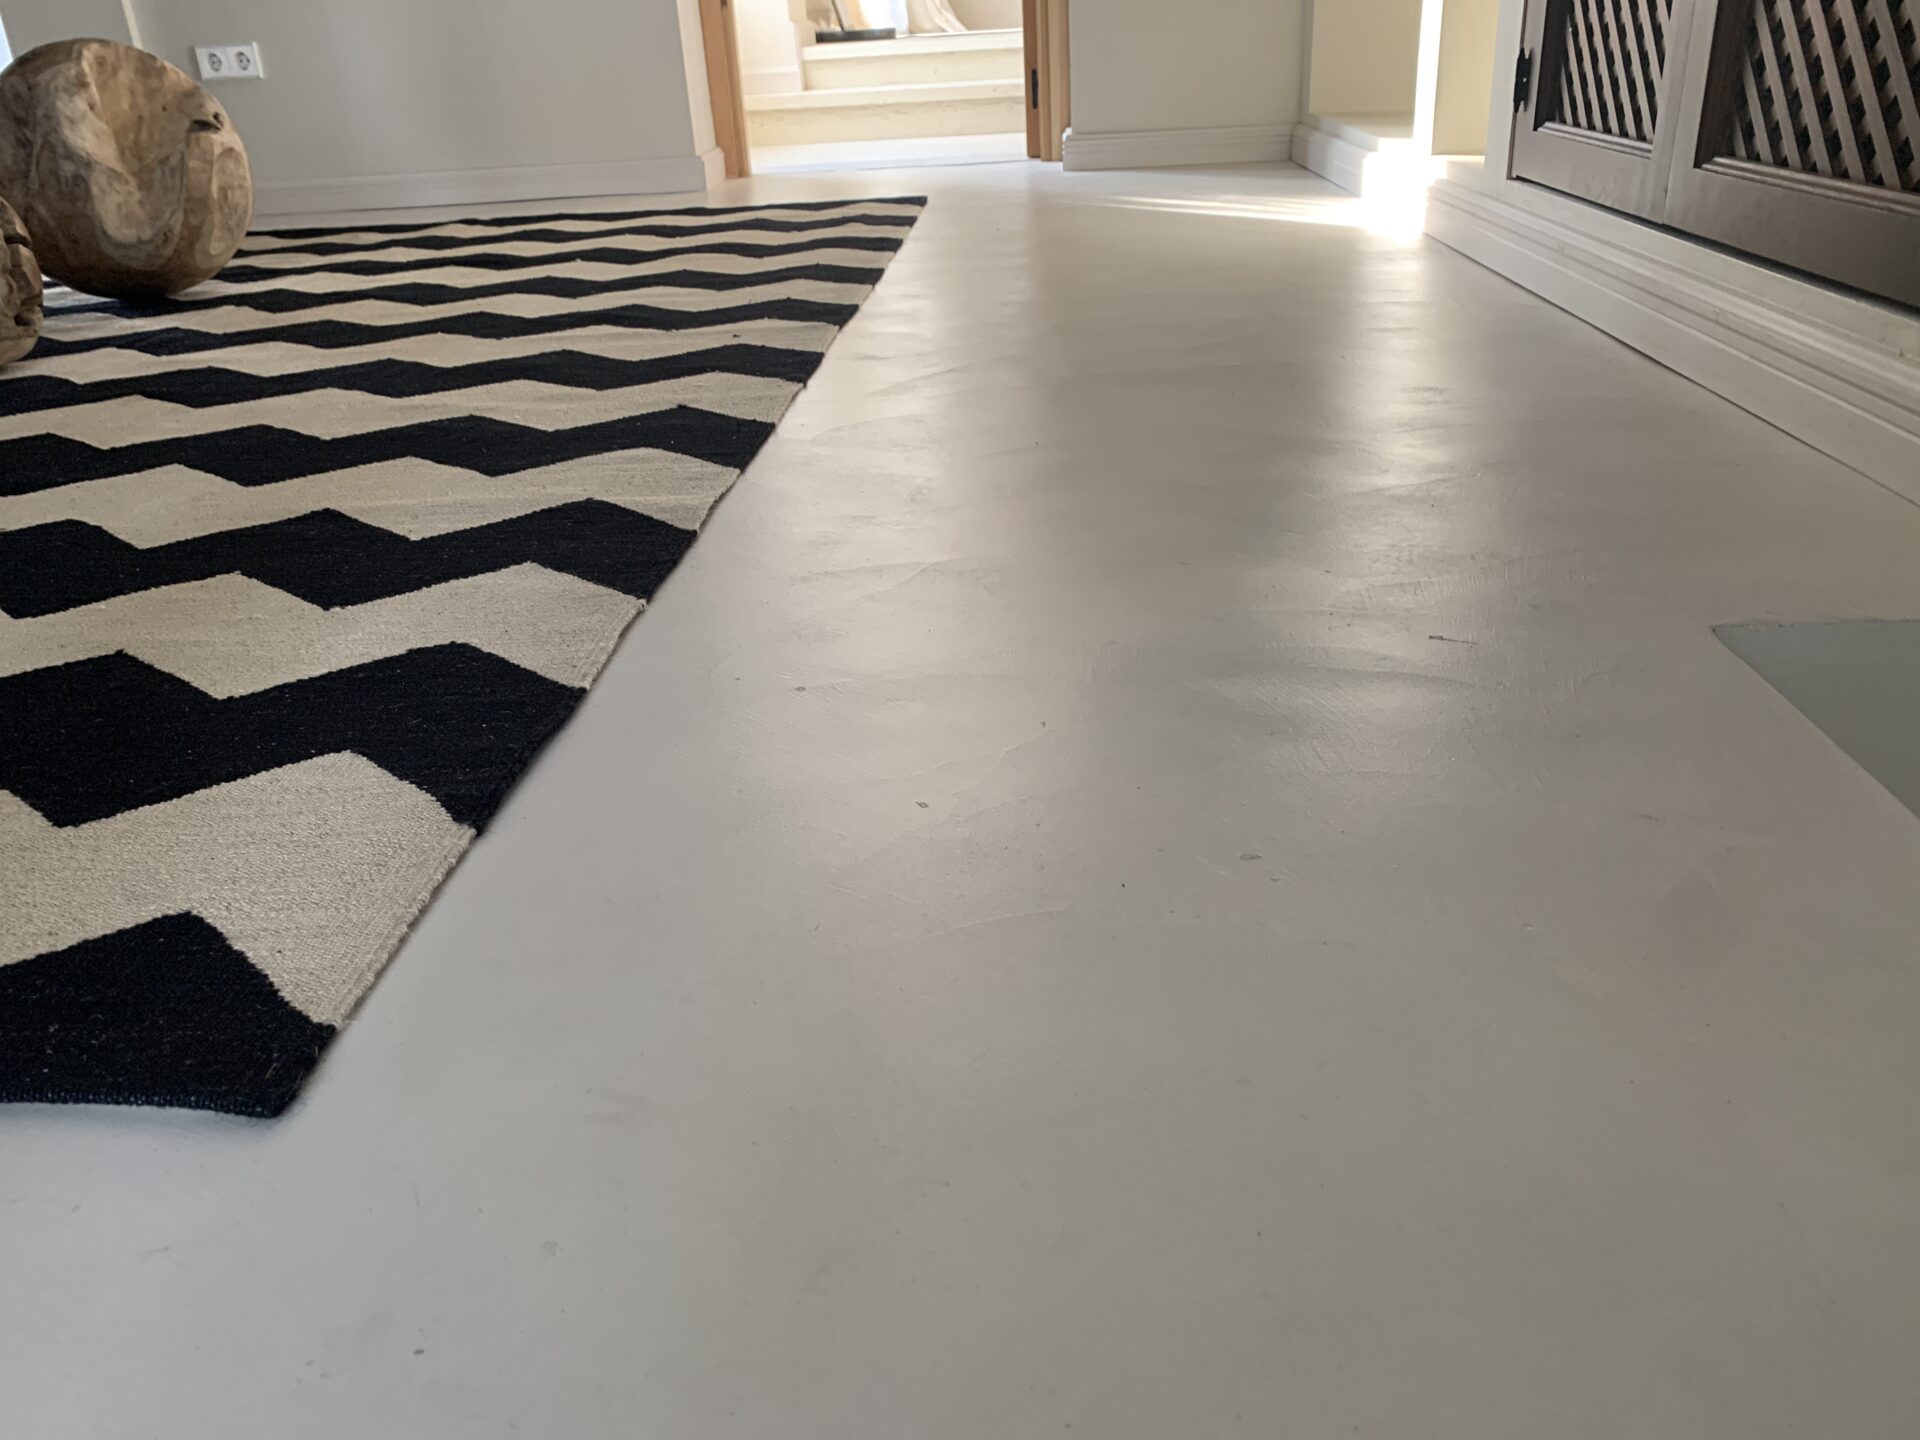
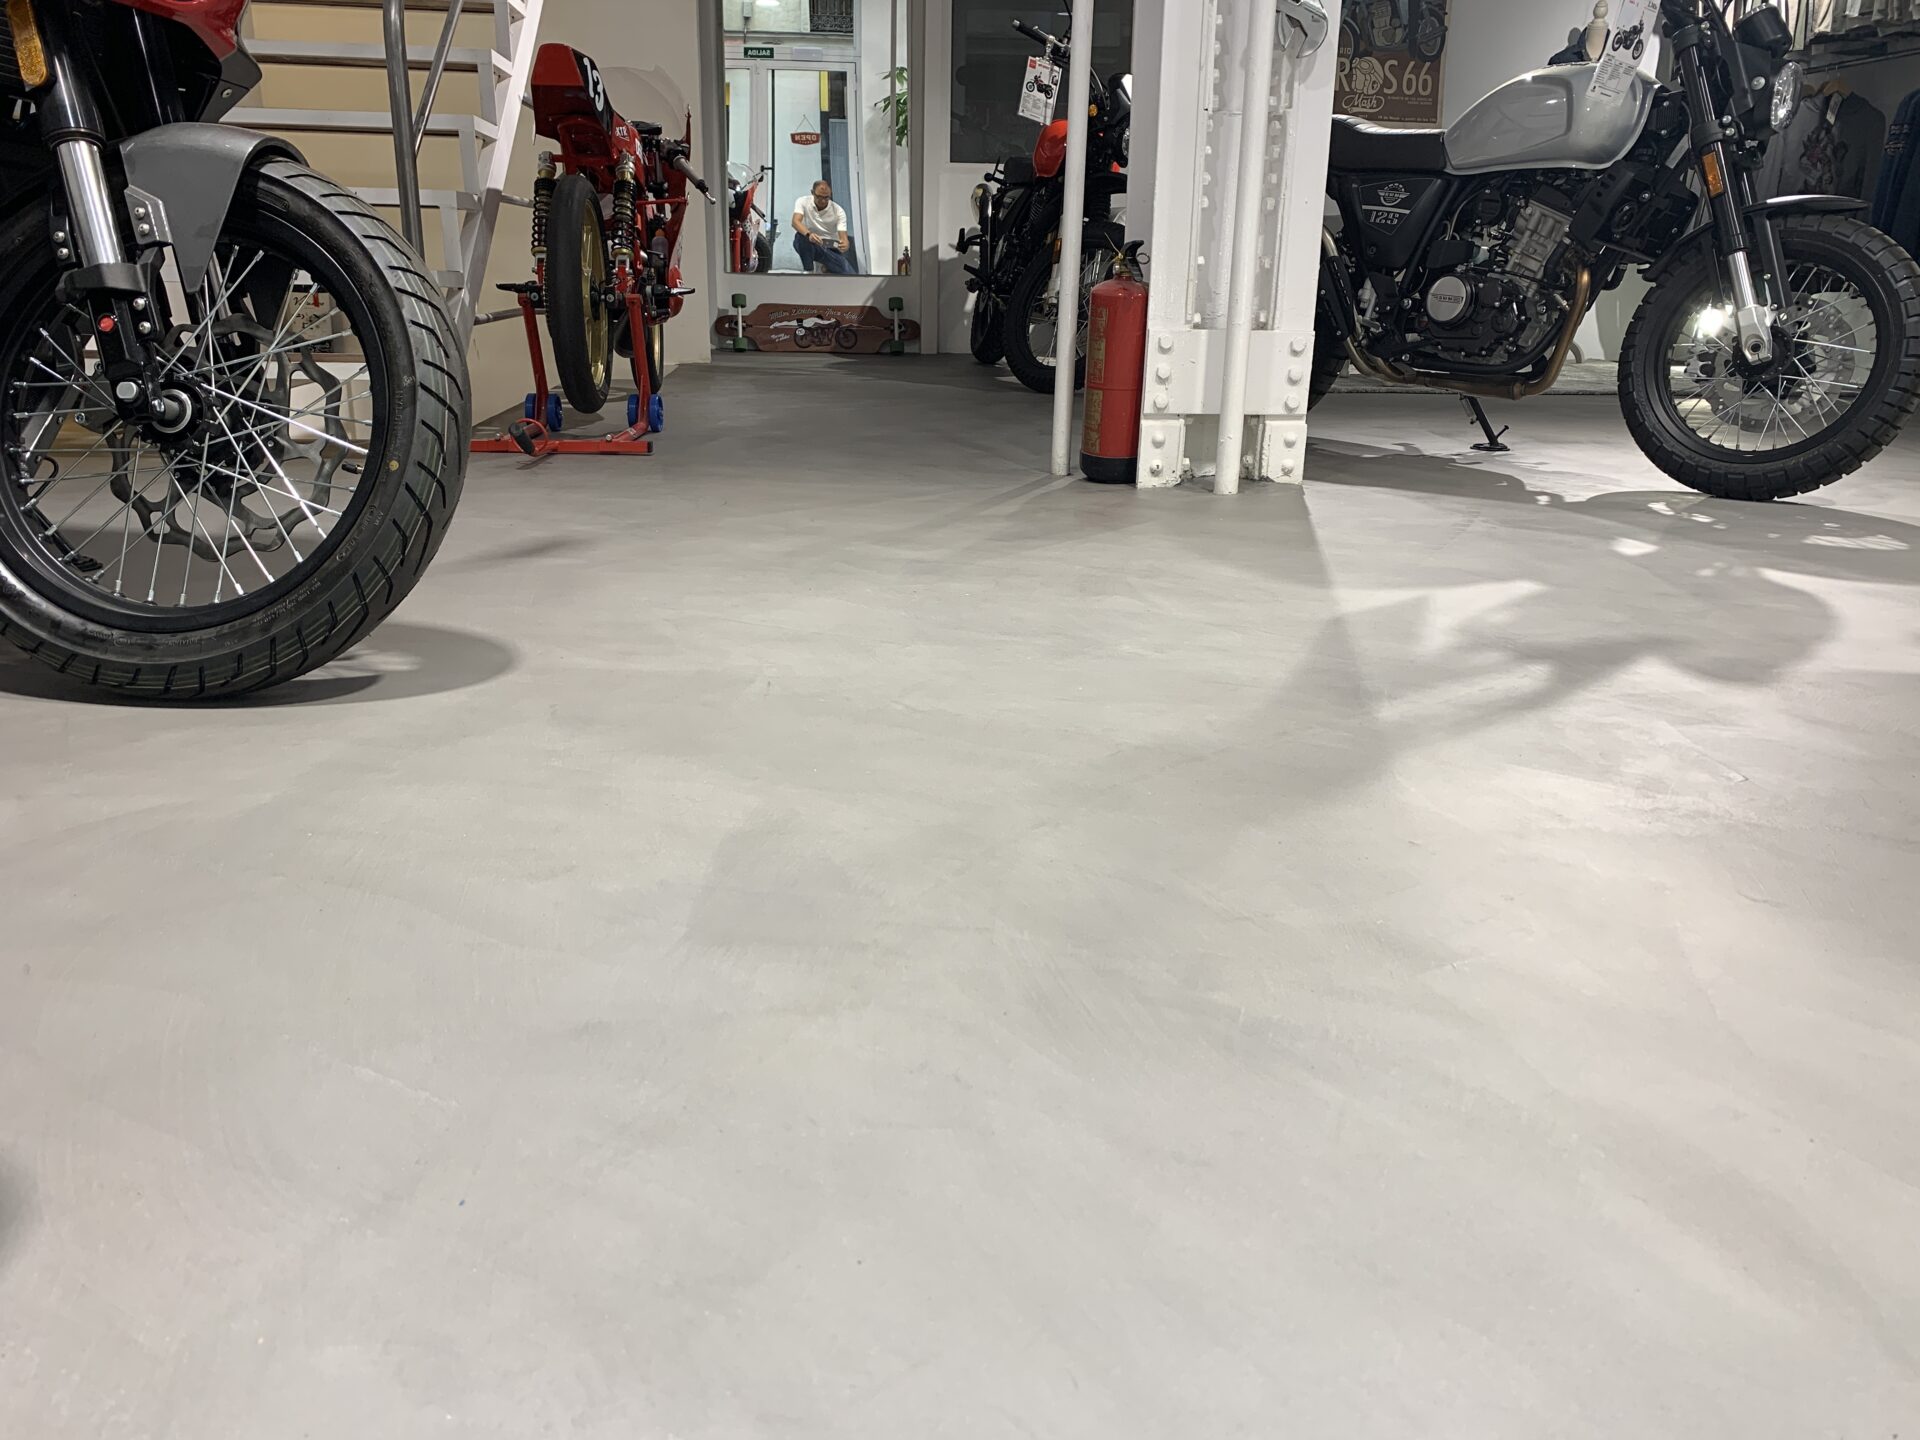
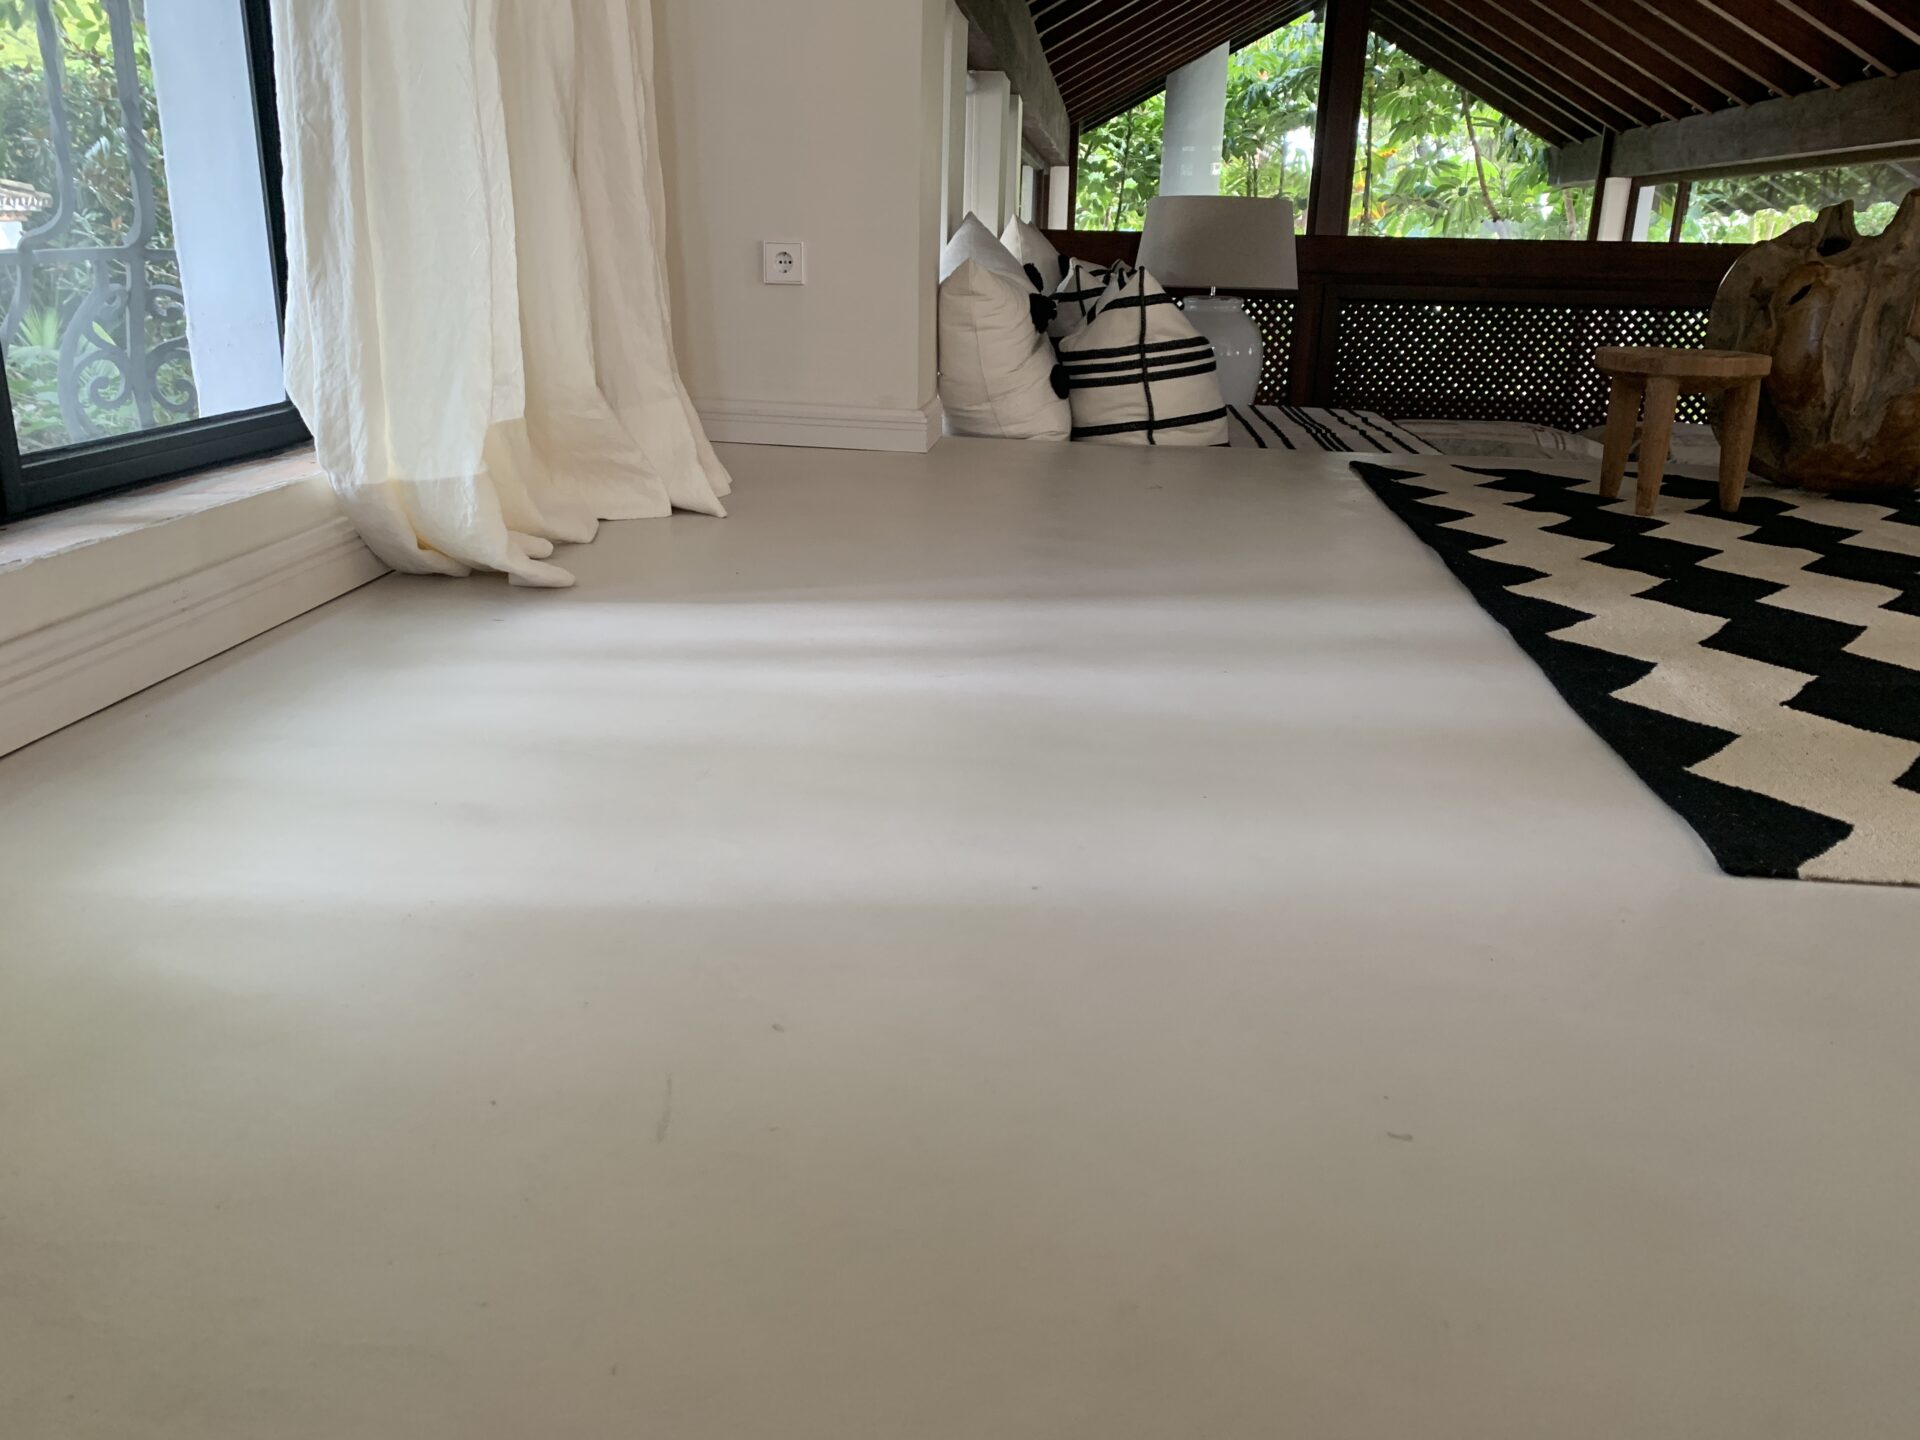
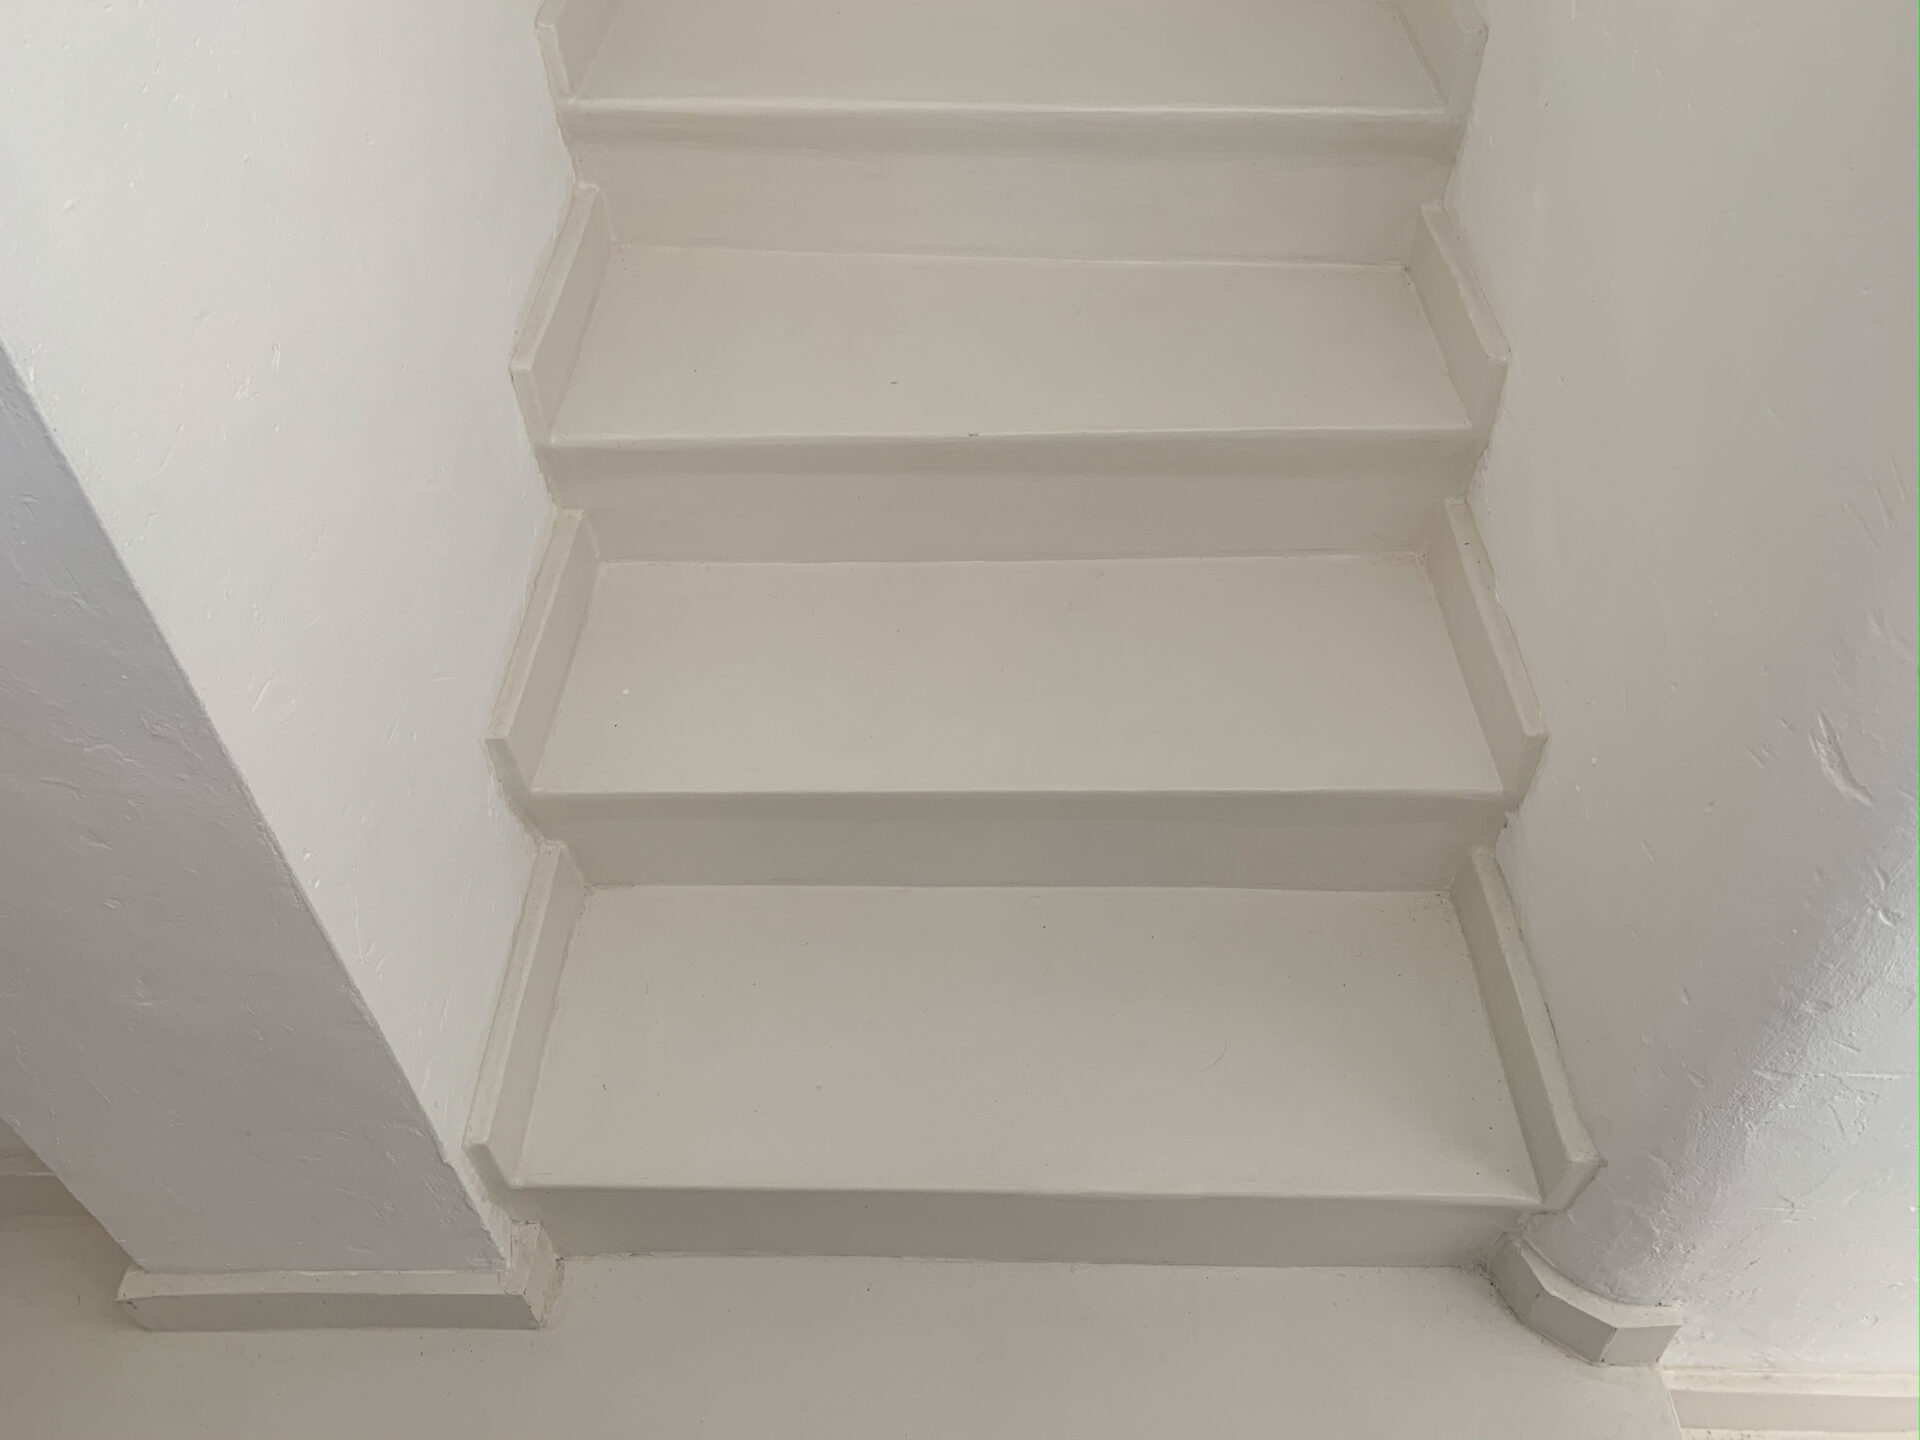
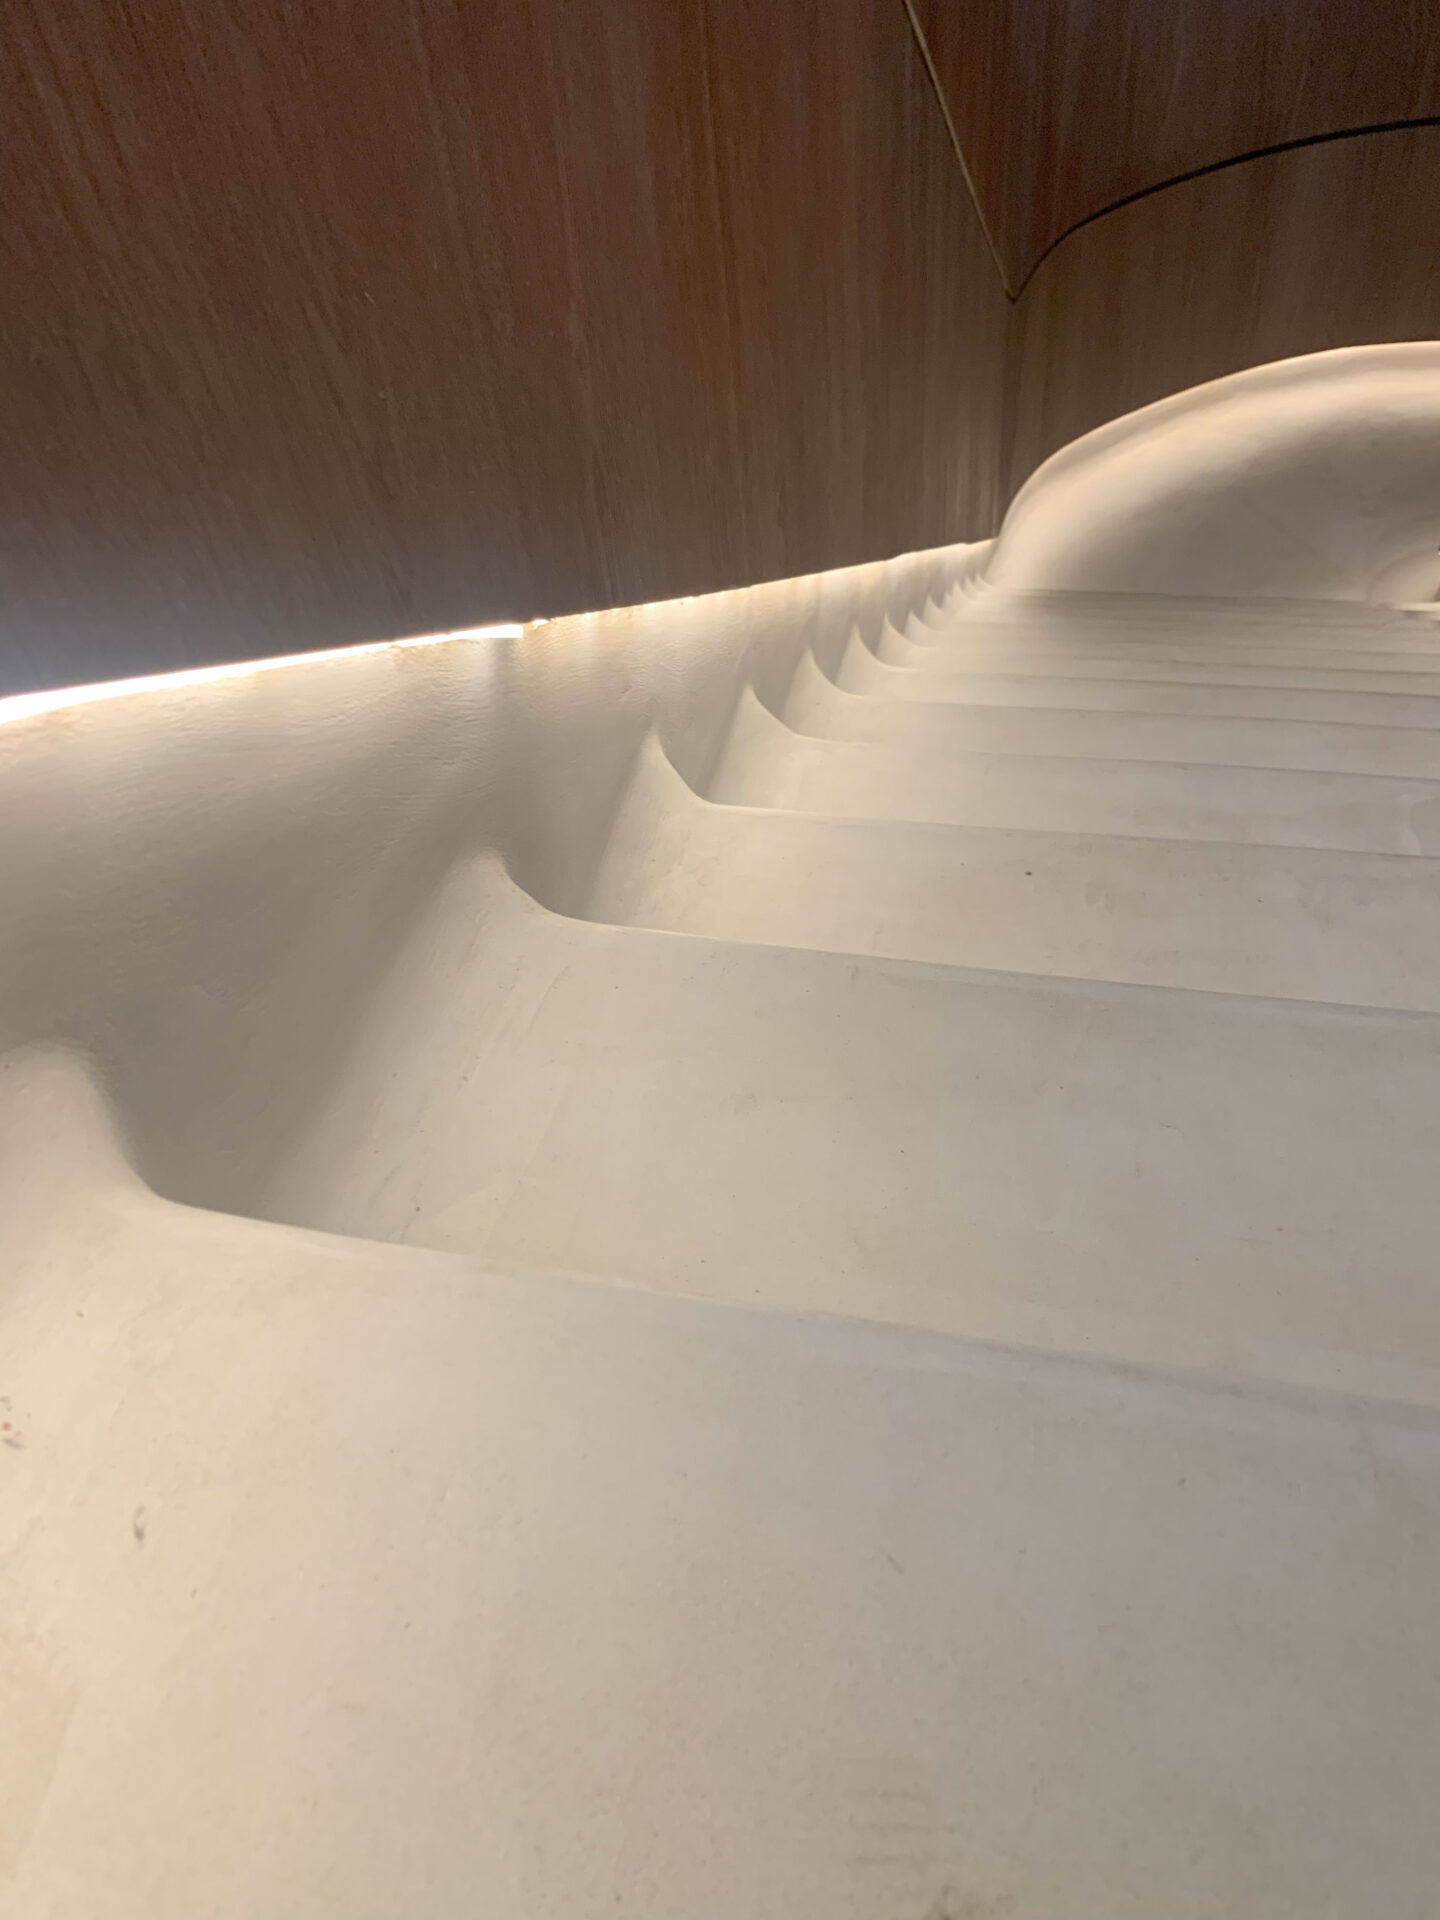
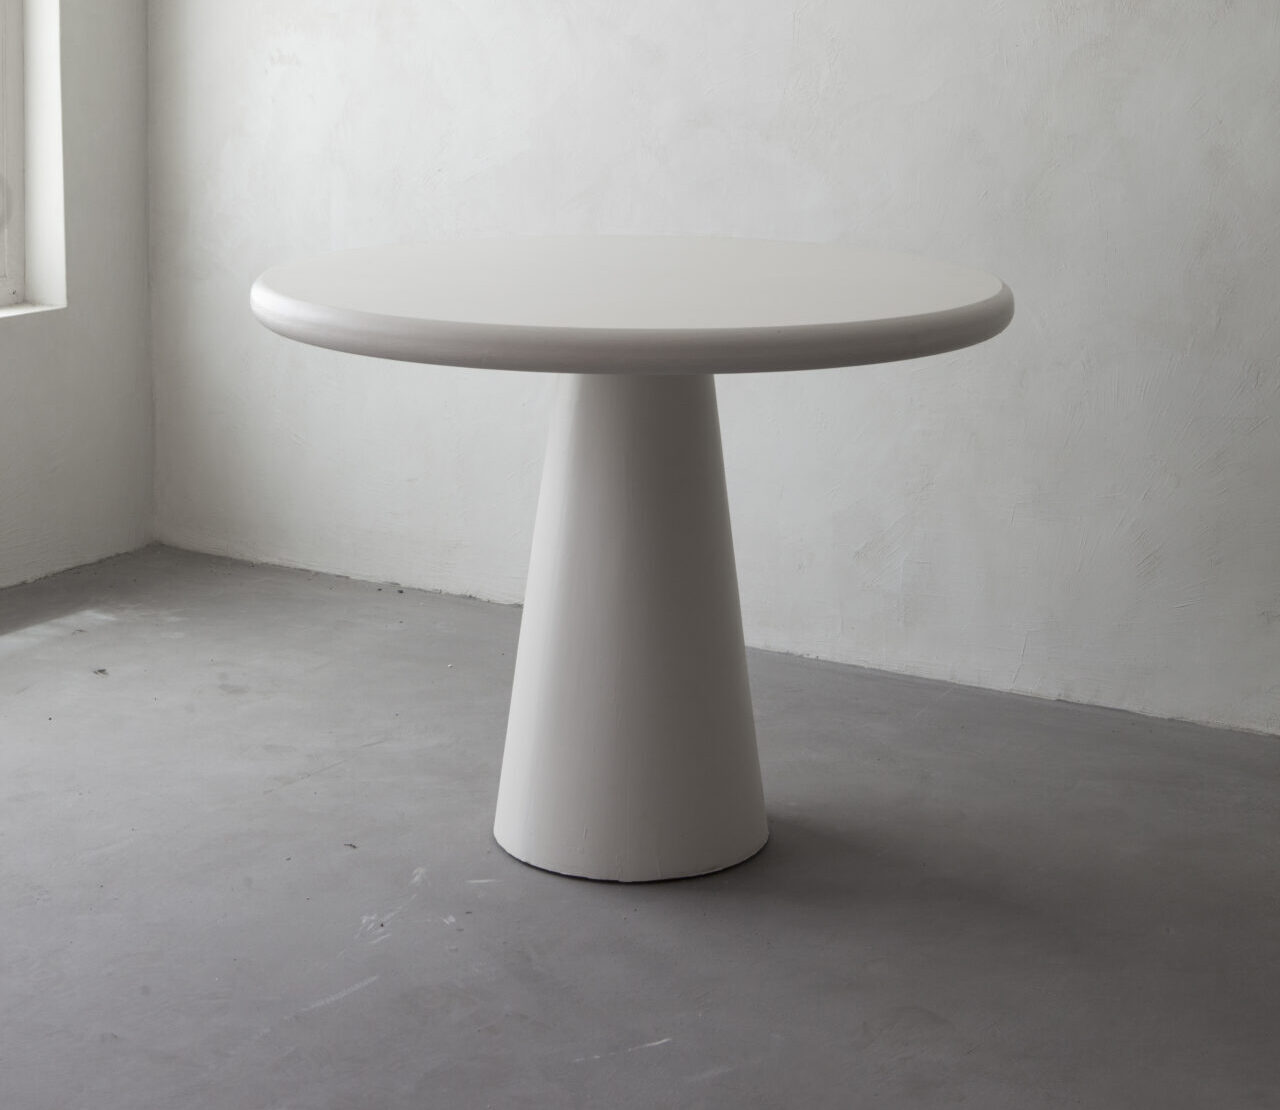
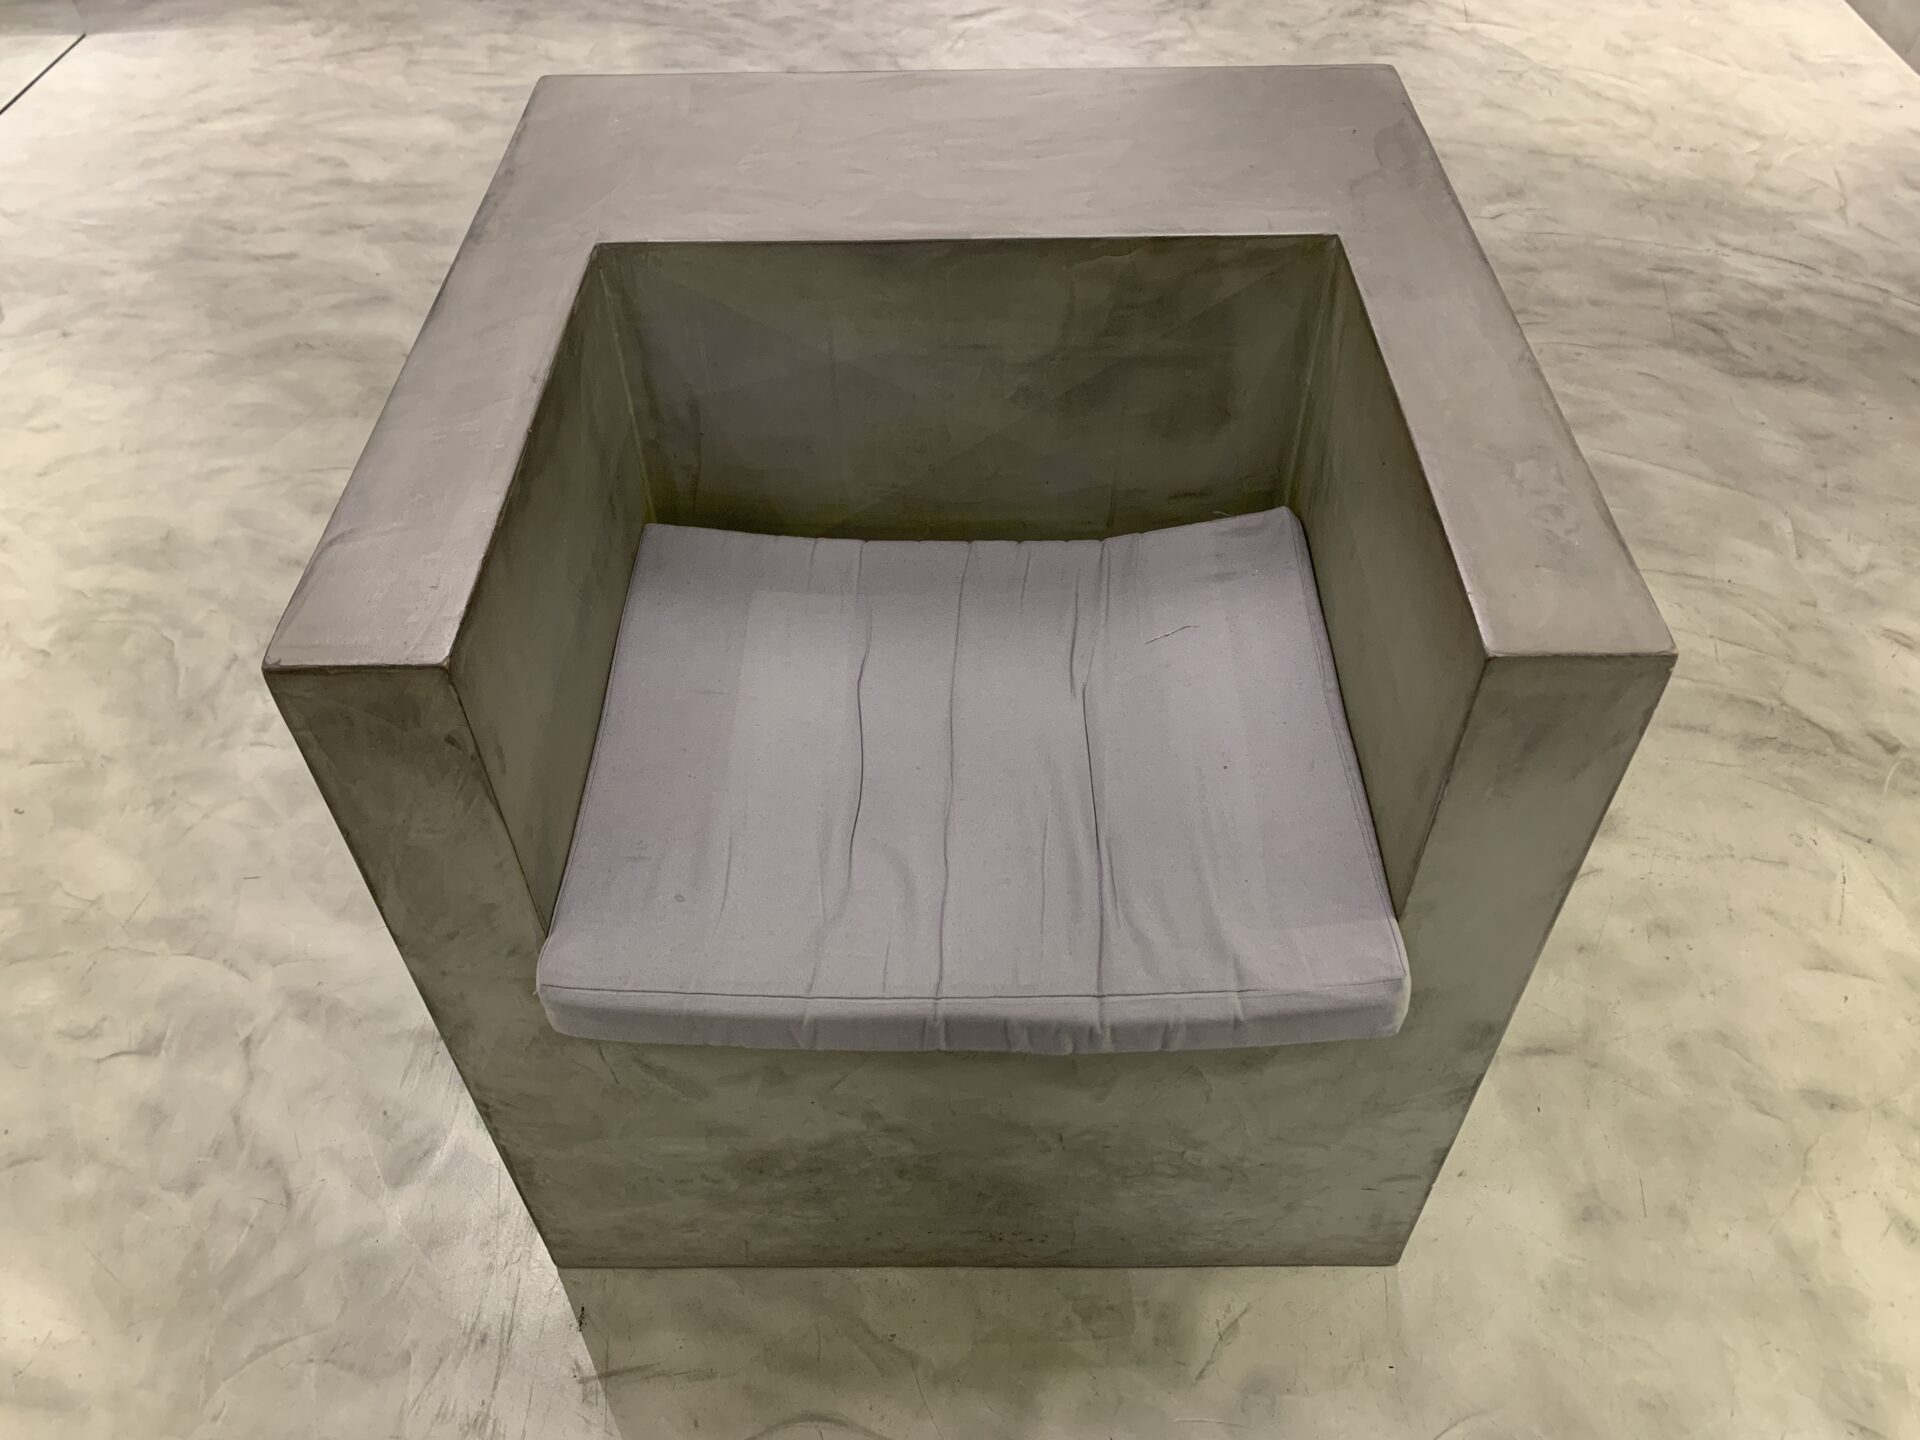
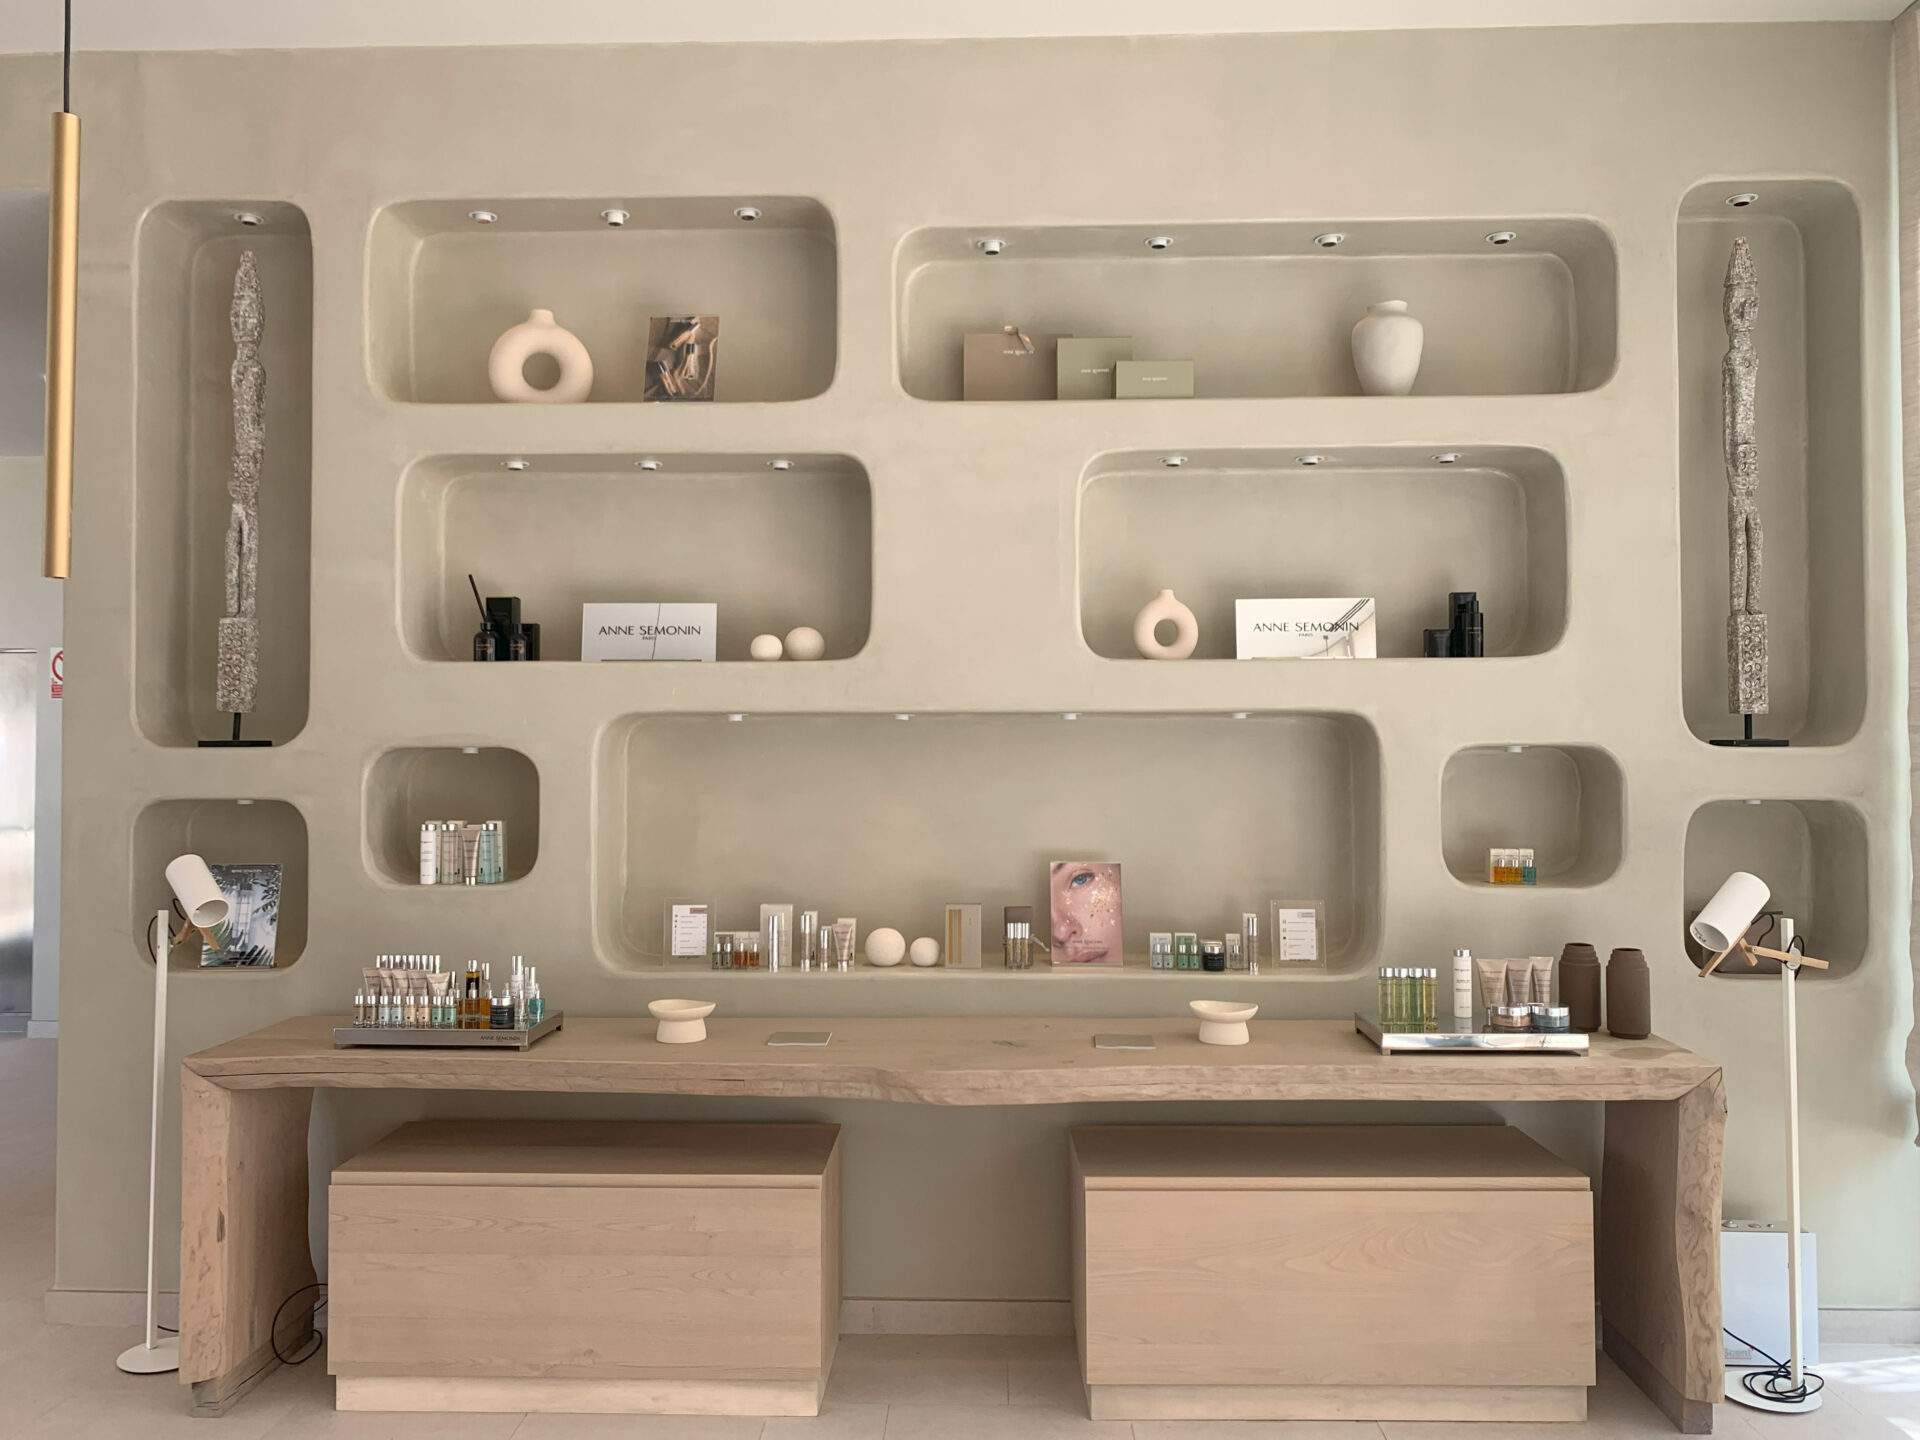
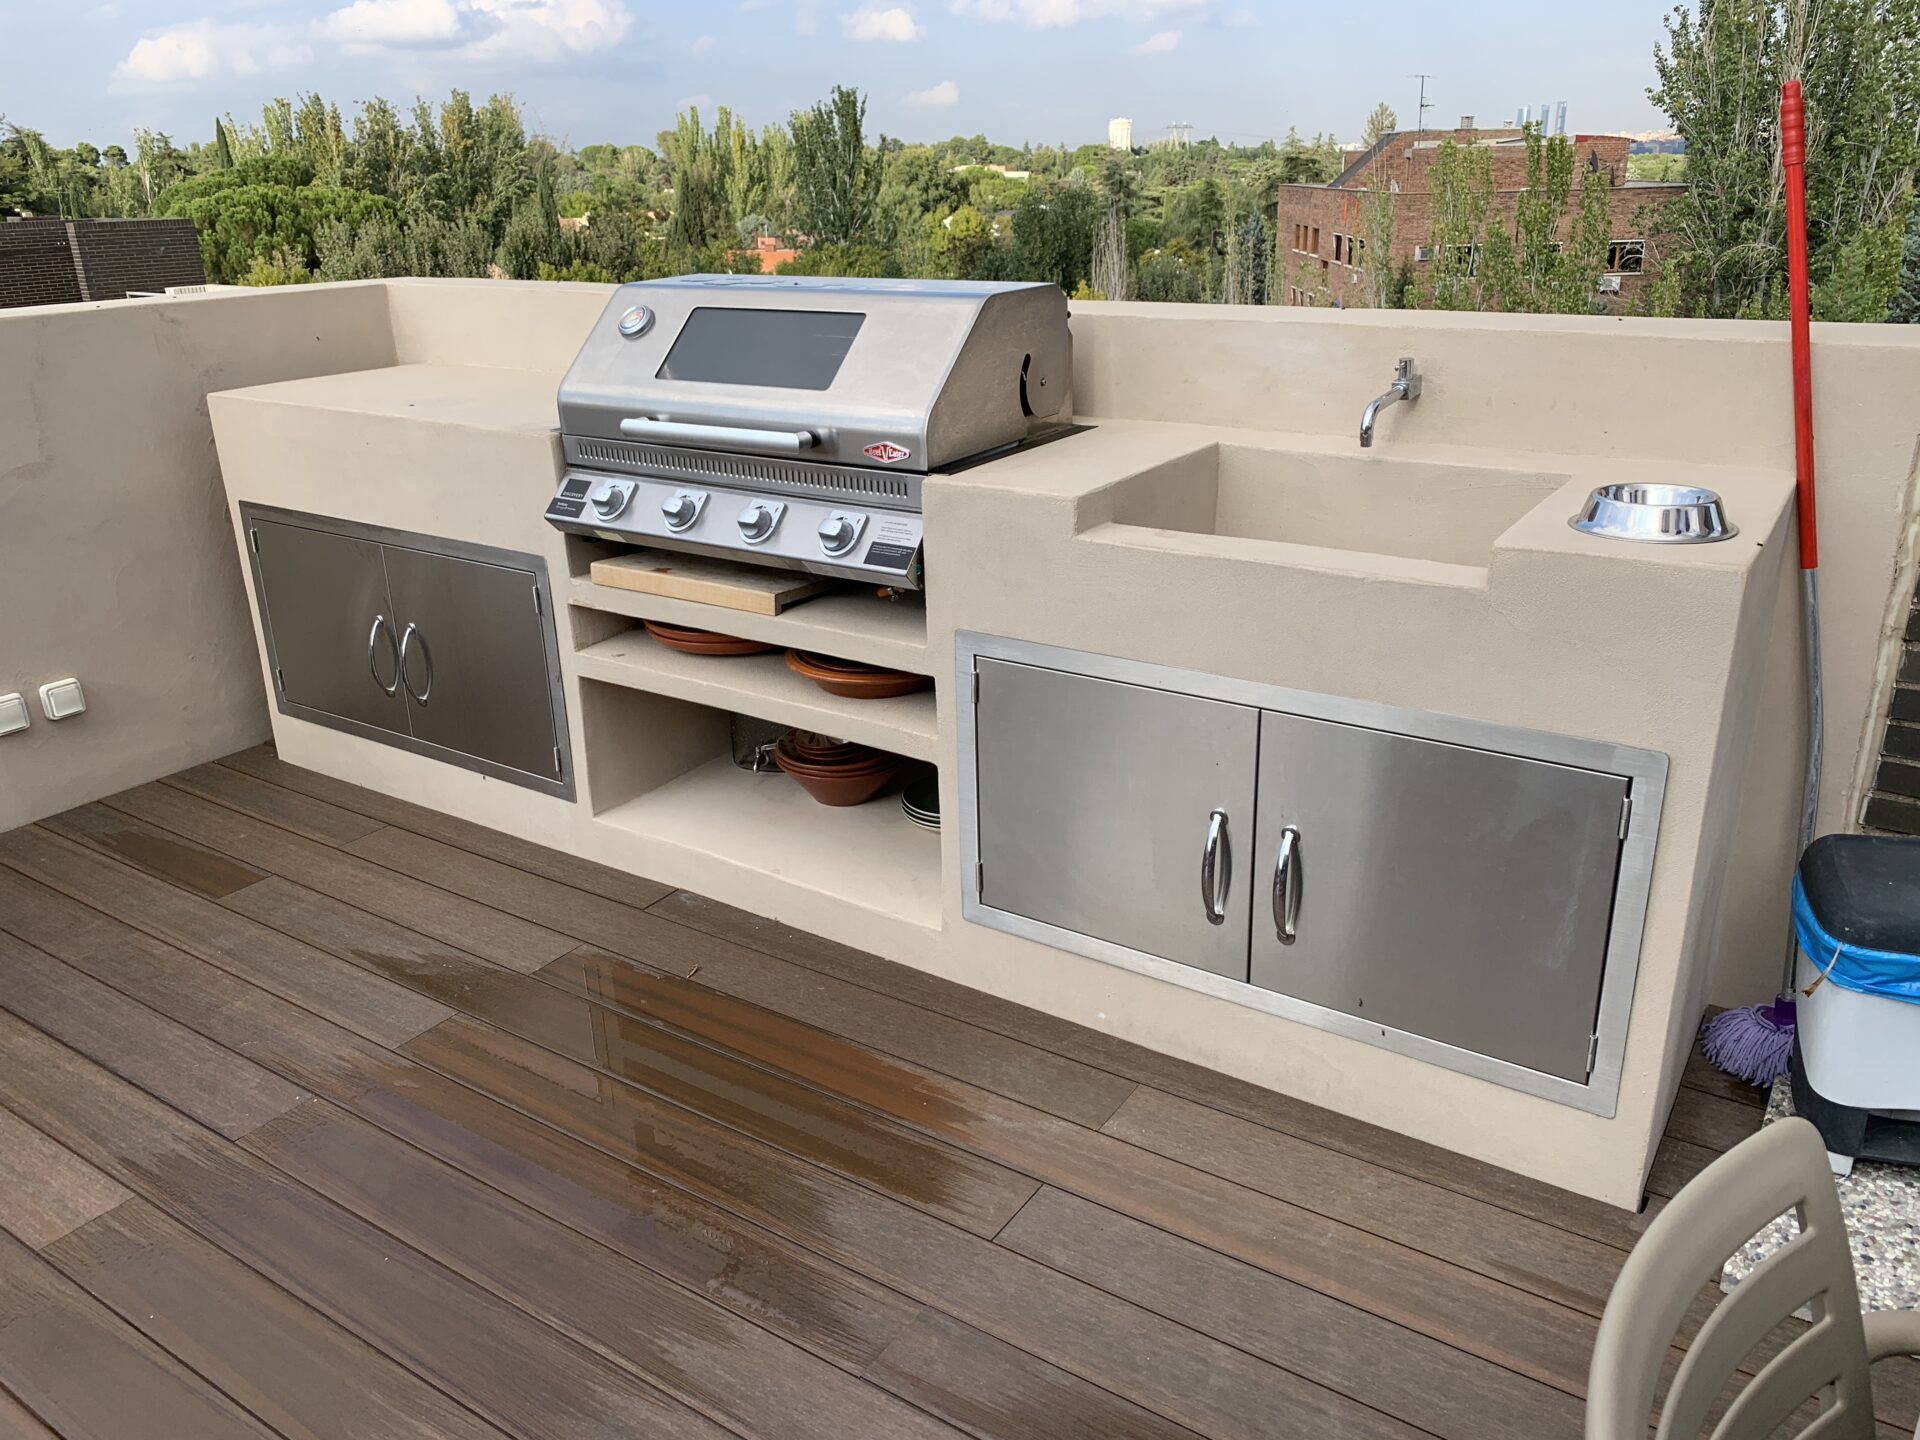
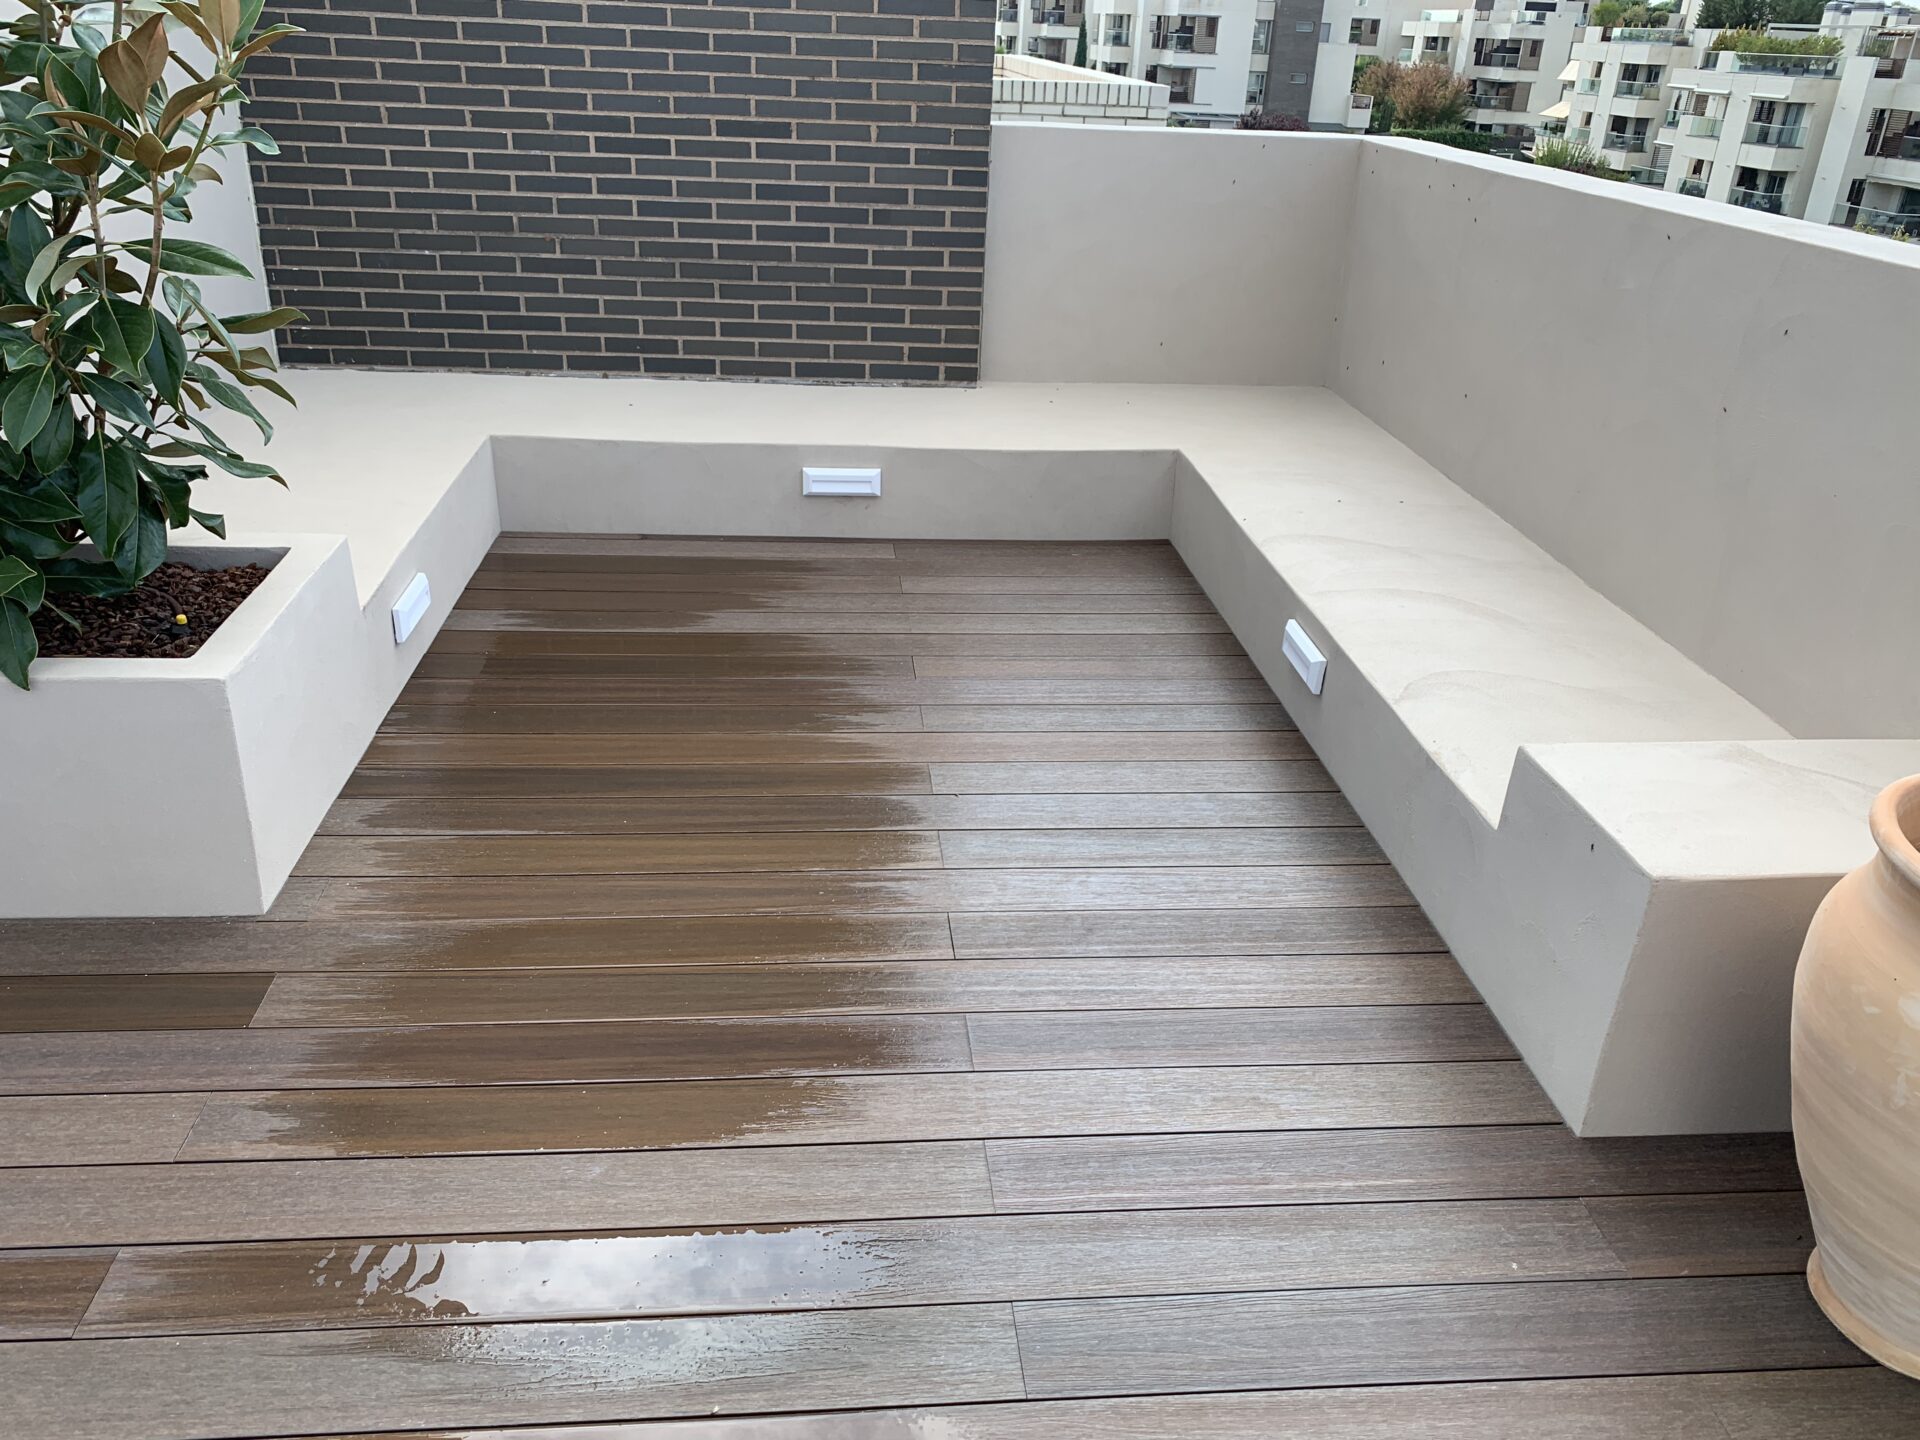
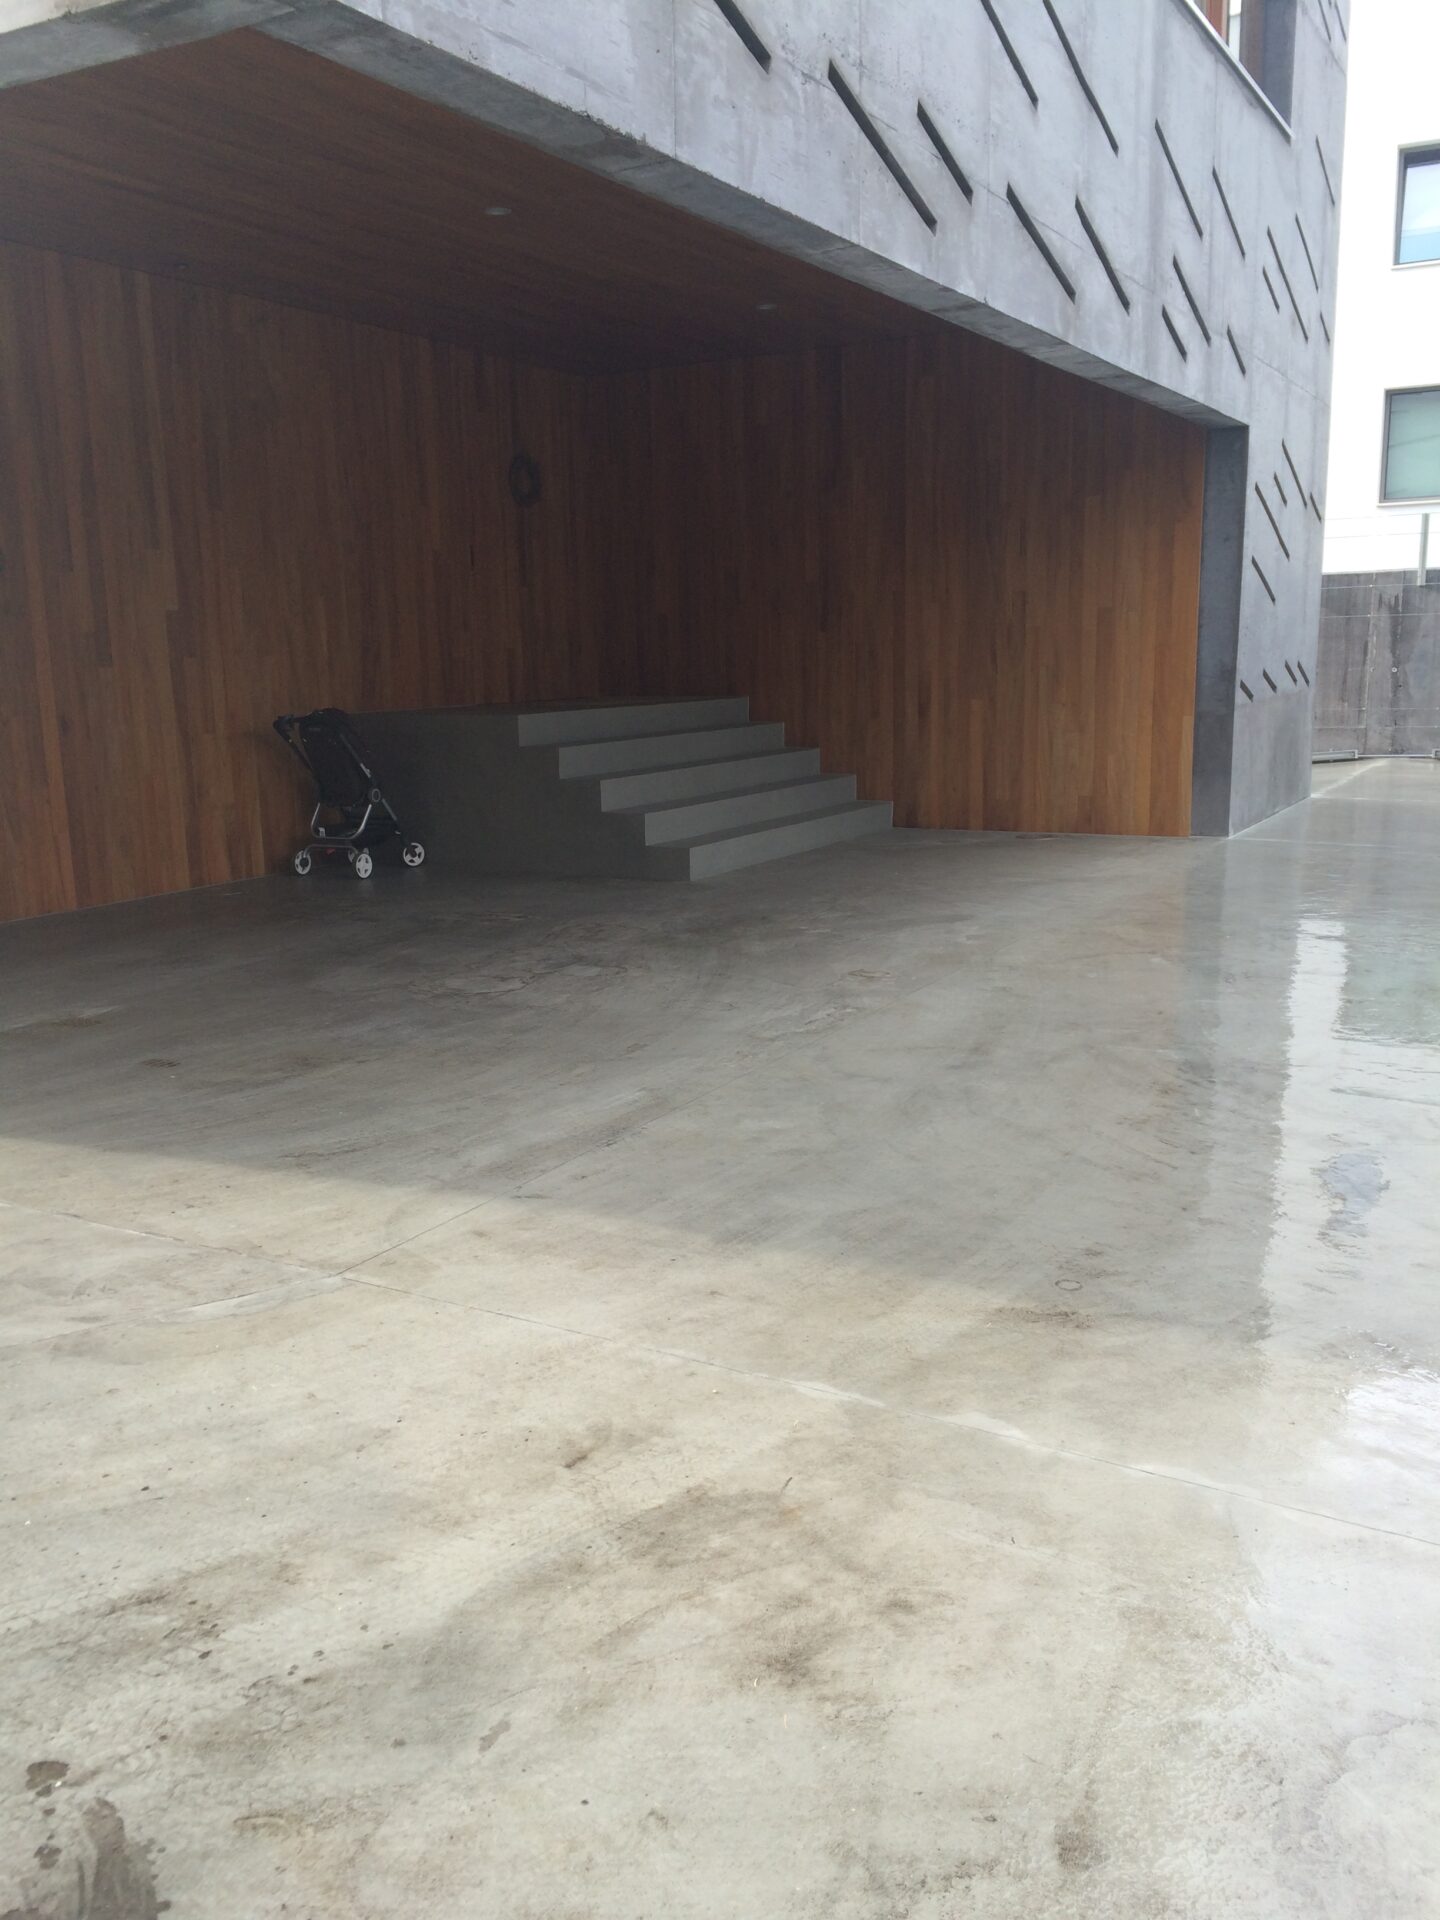
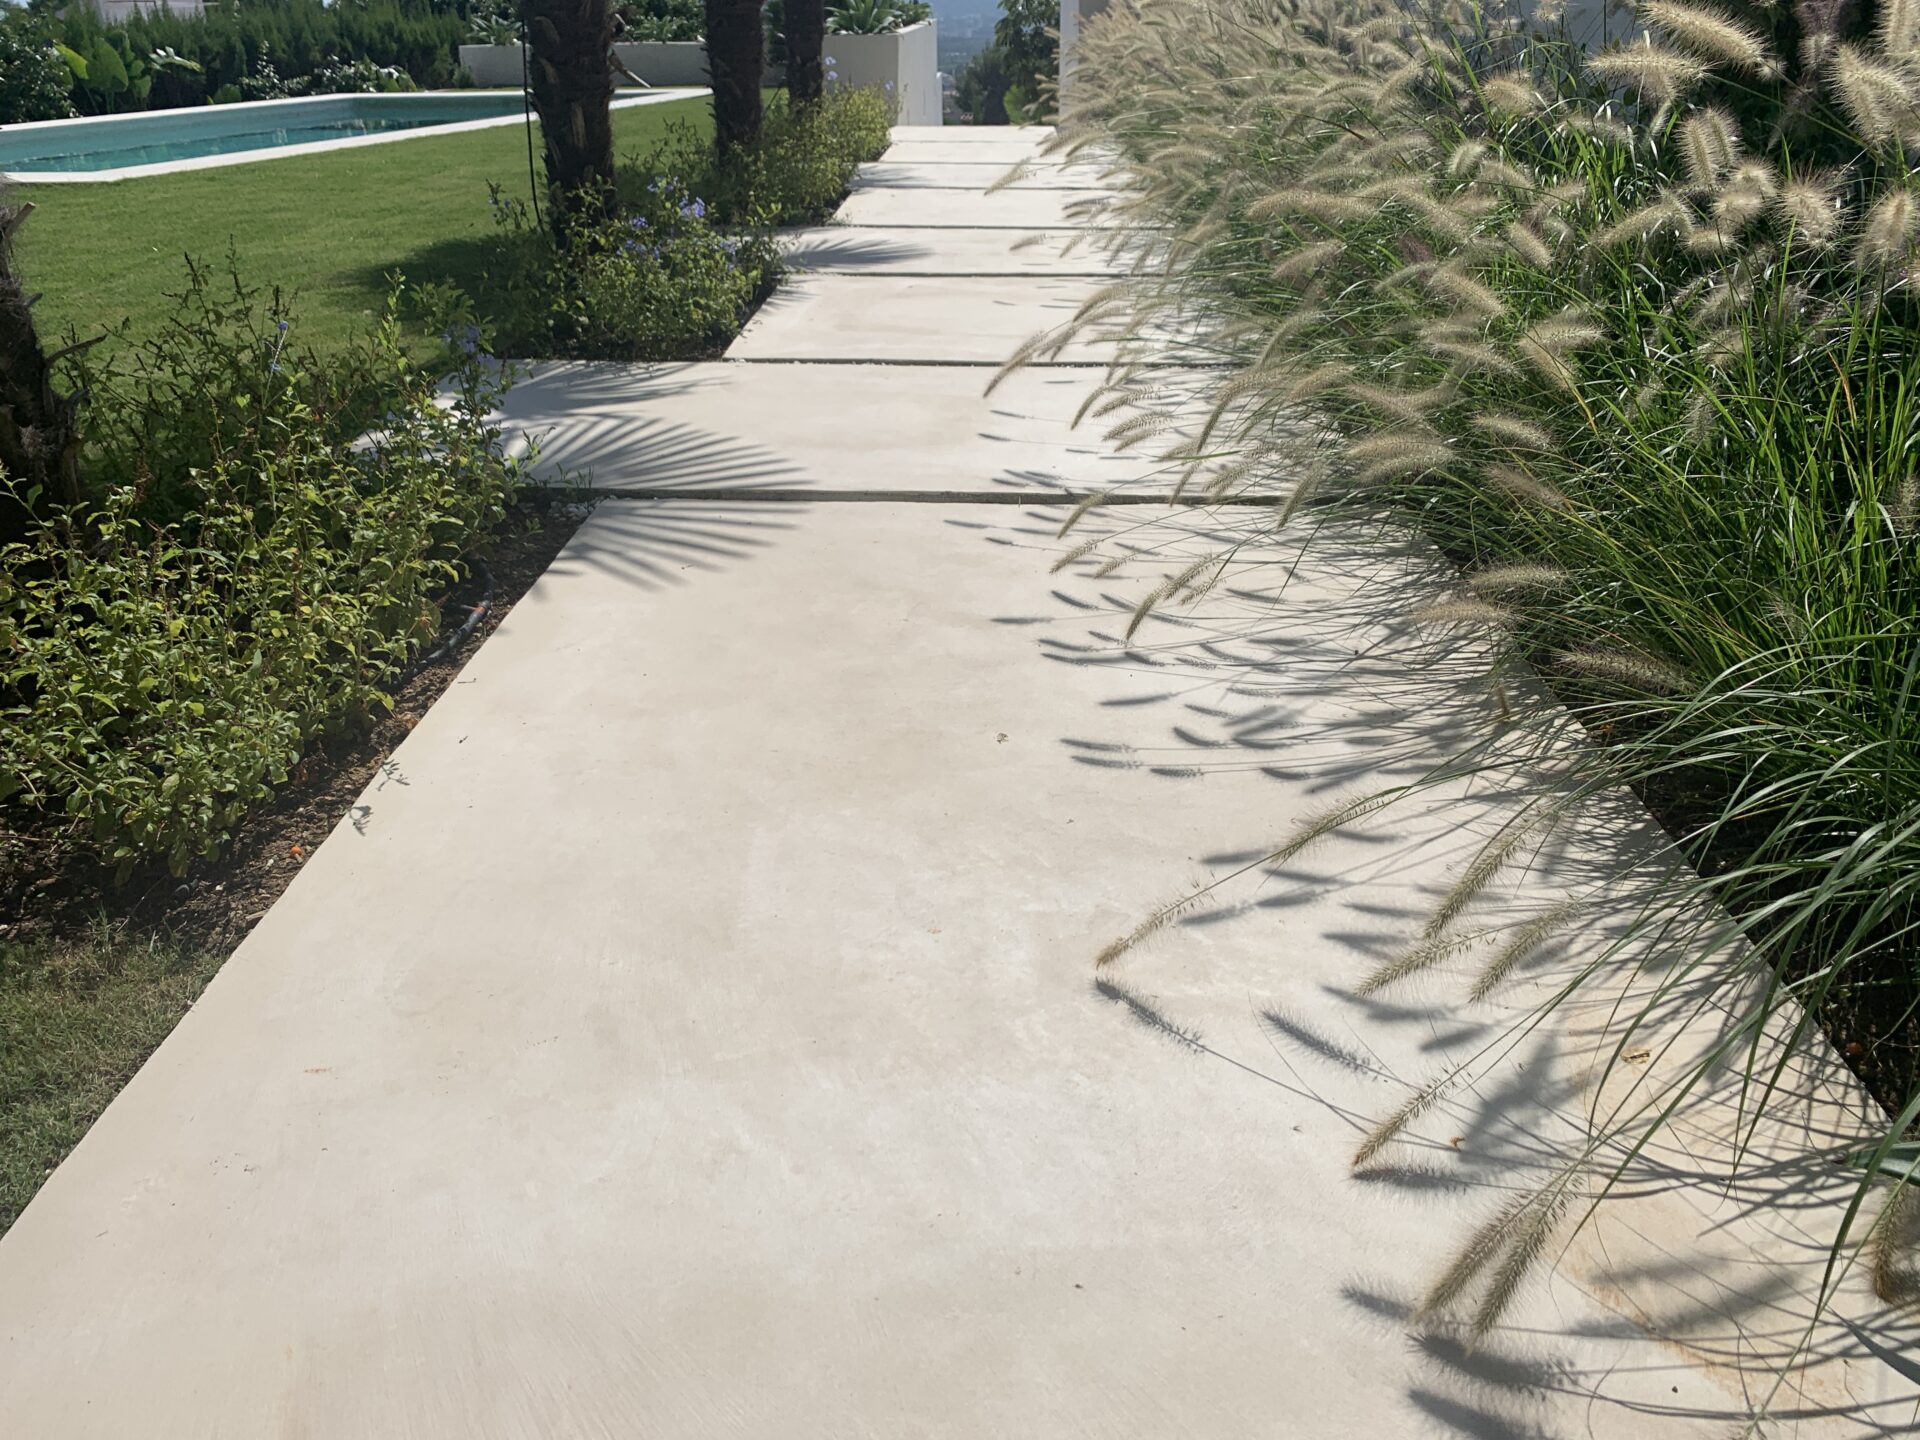
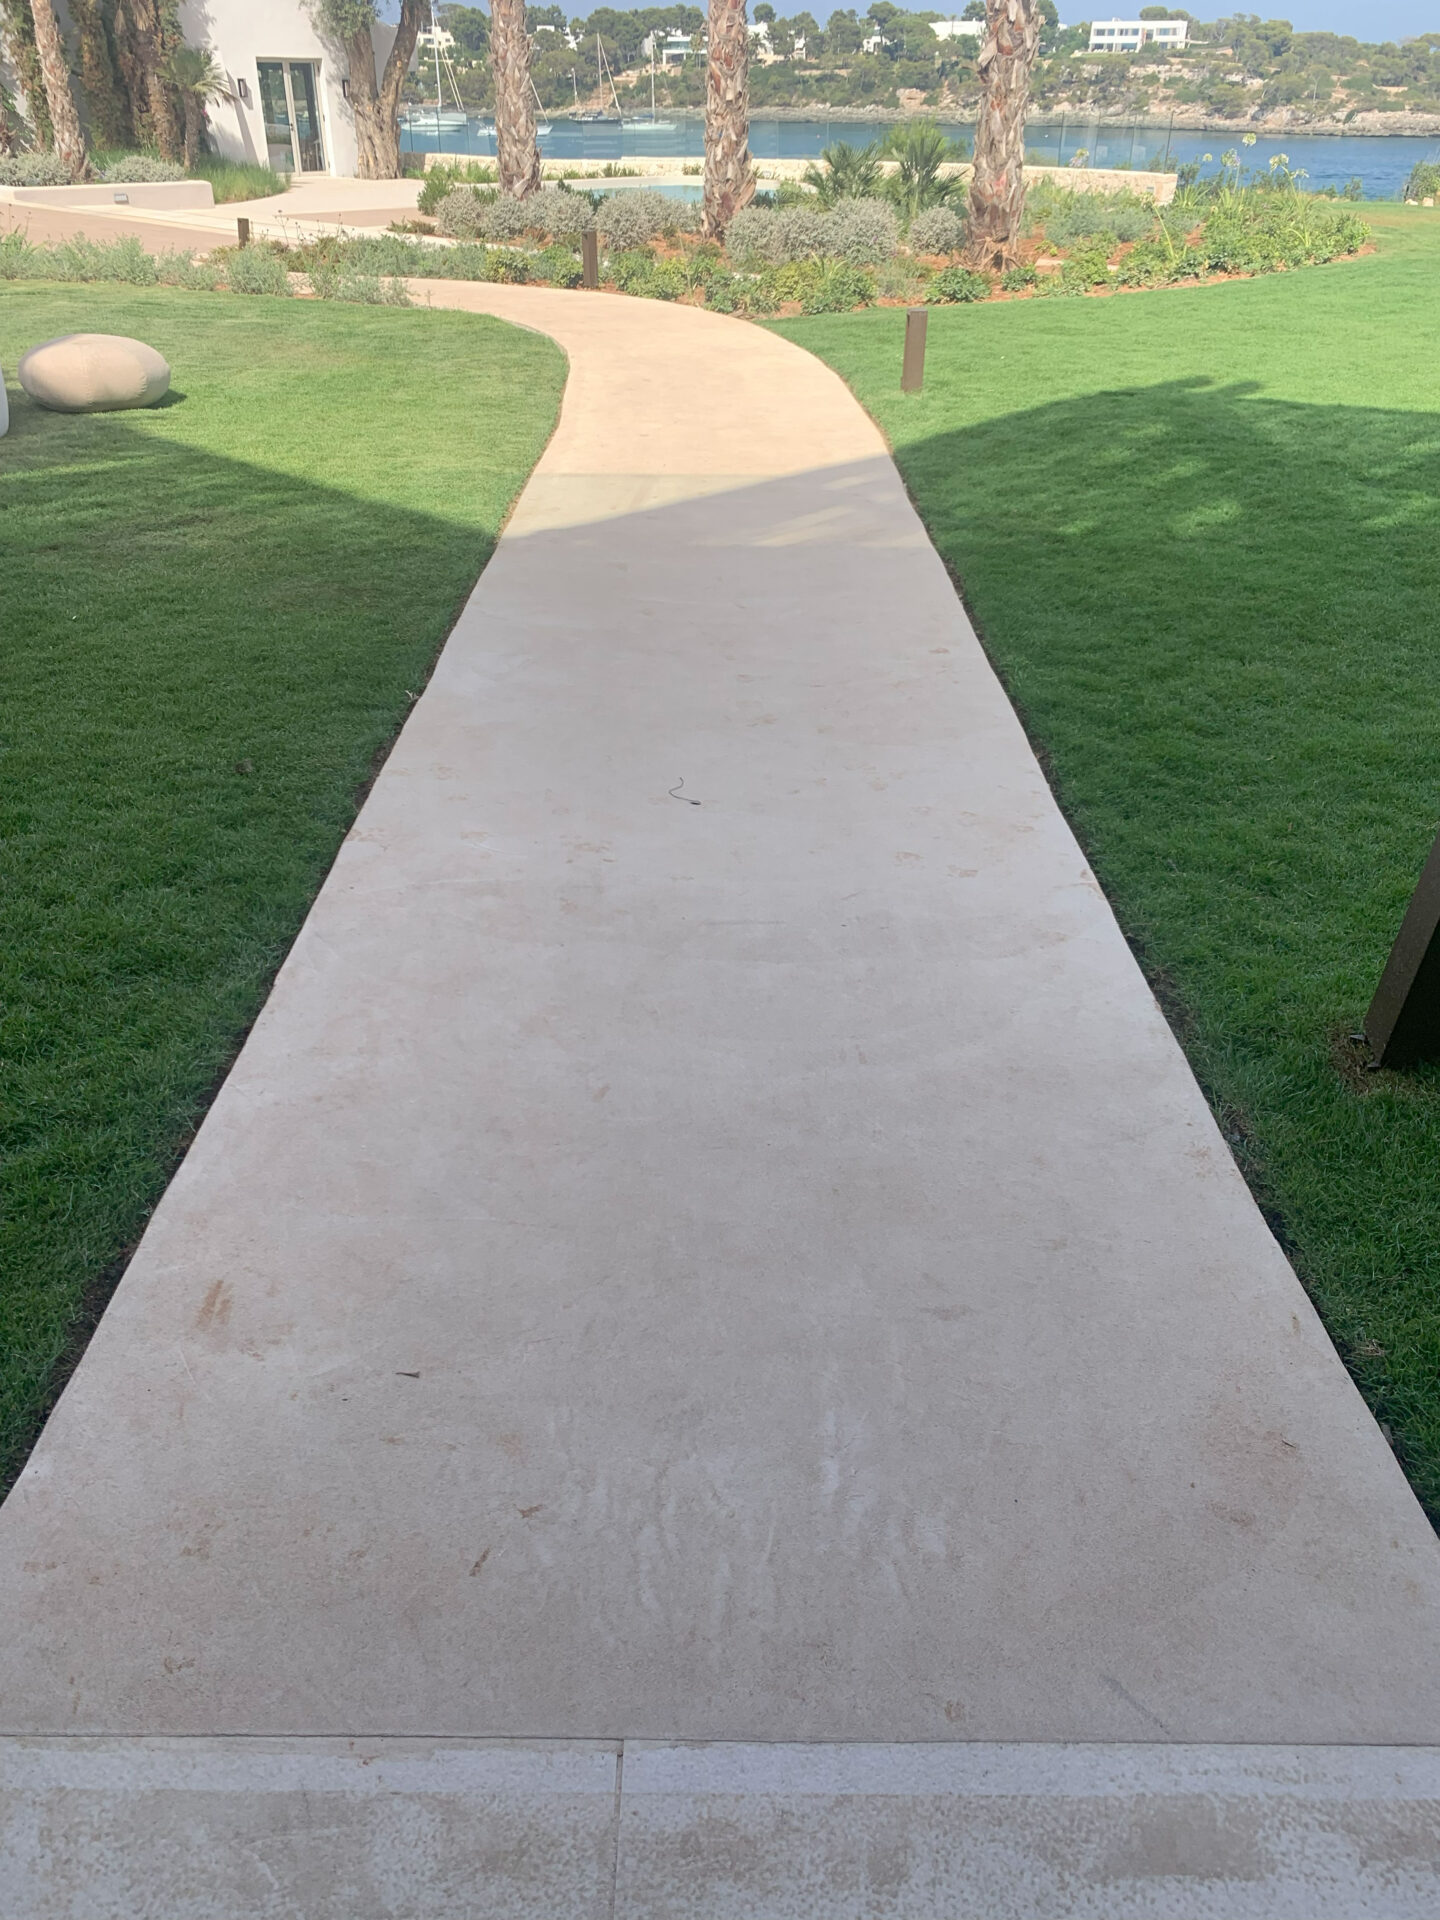
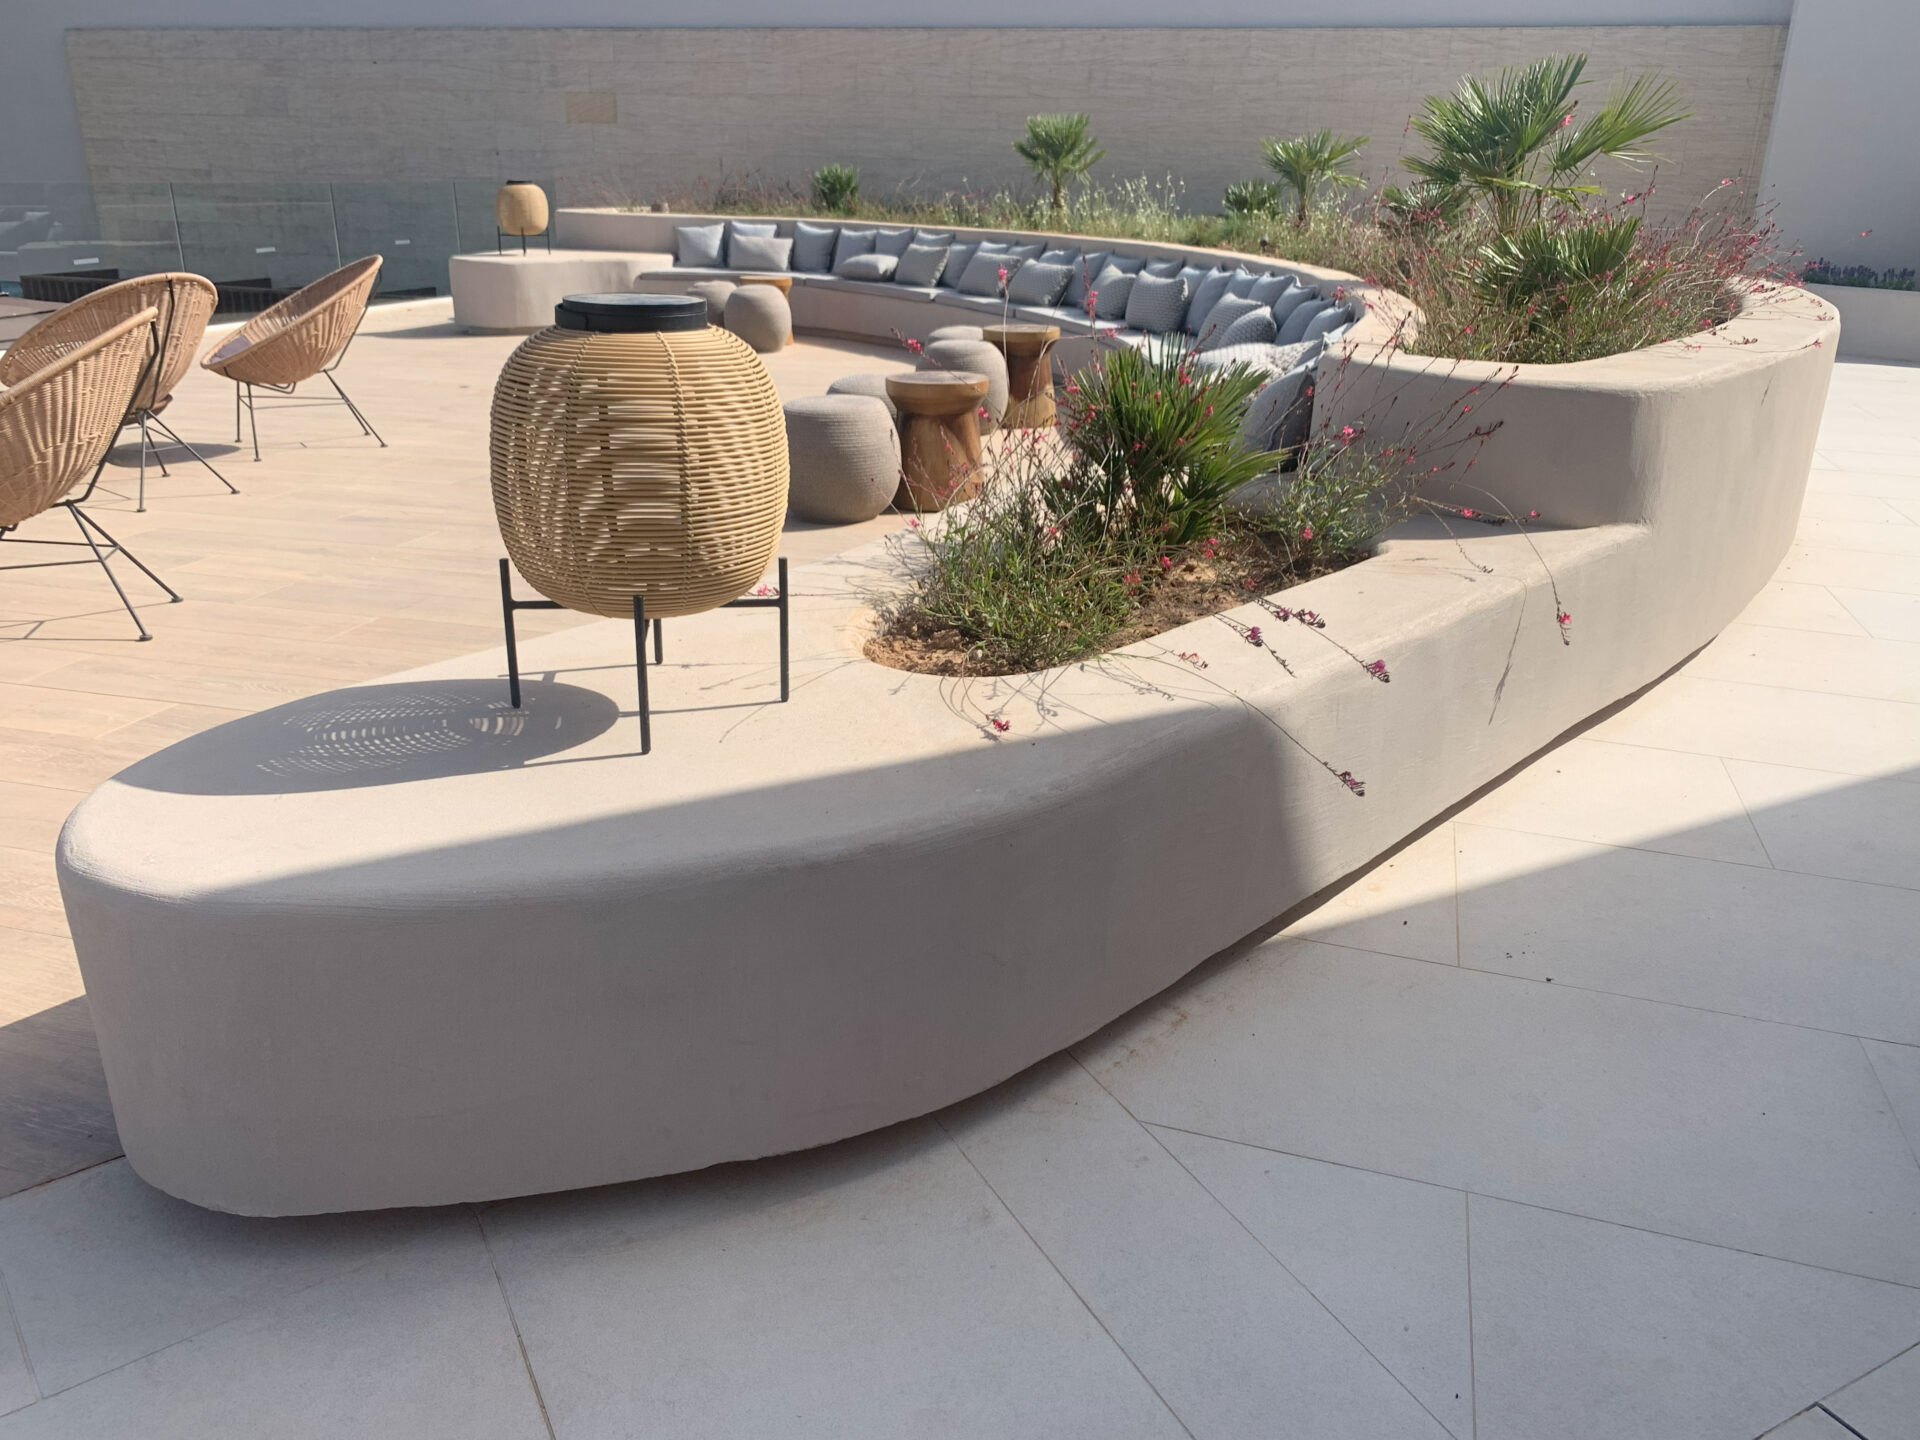
An innovative covering that finds its place anywhere: on walls, on floors, bathrooms, terraces, showers, commercial areas, etc.
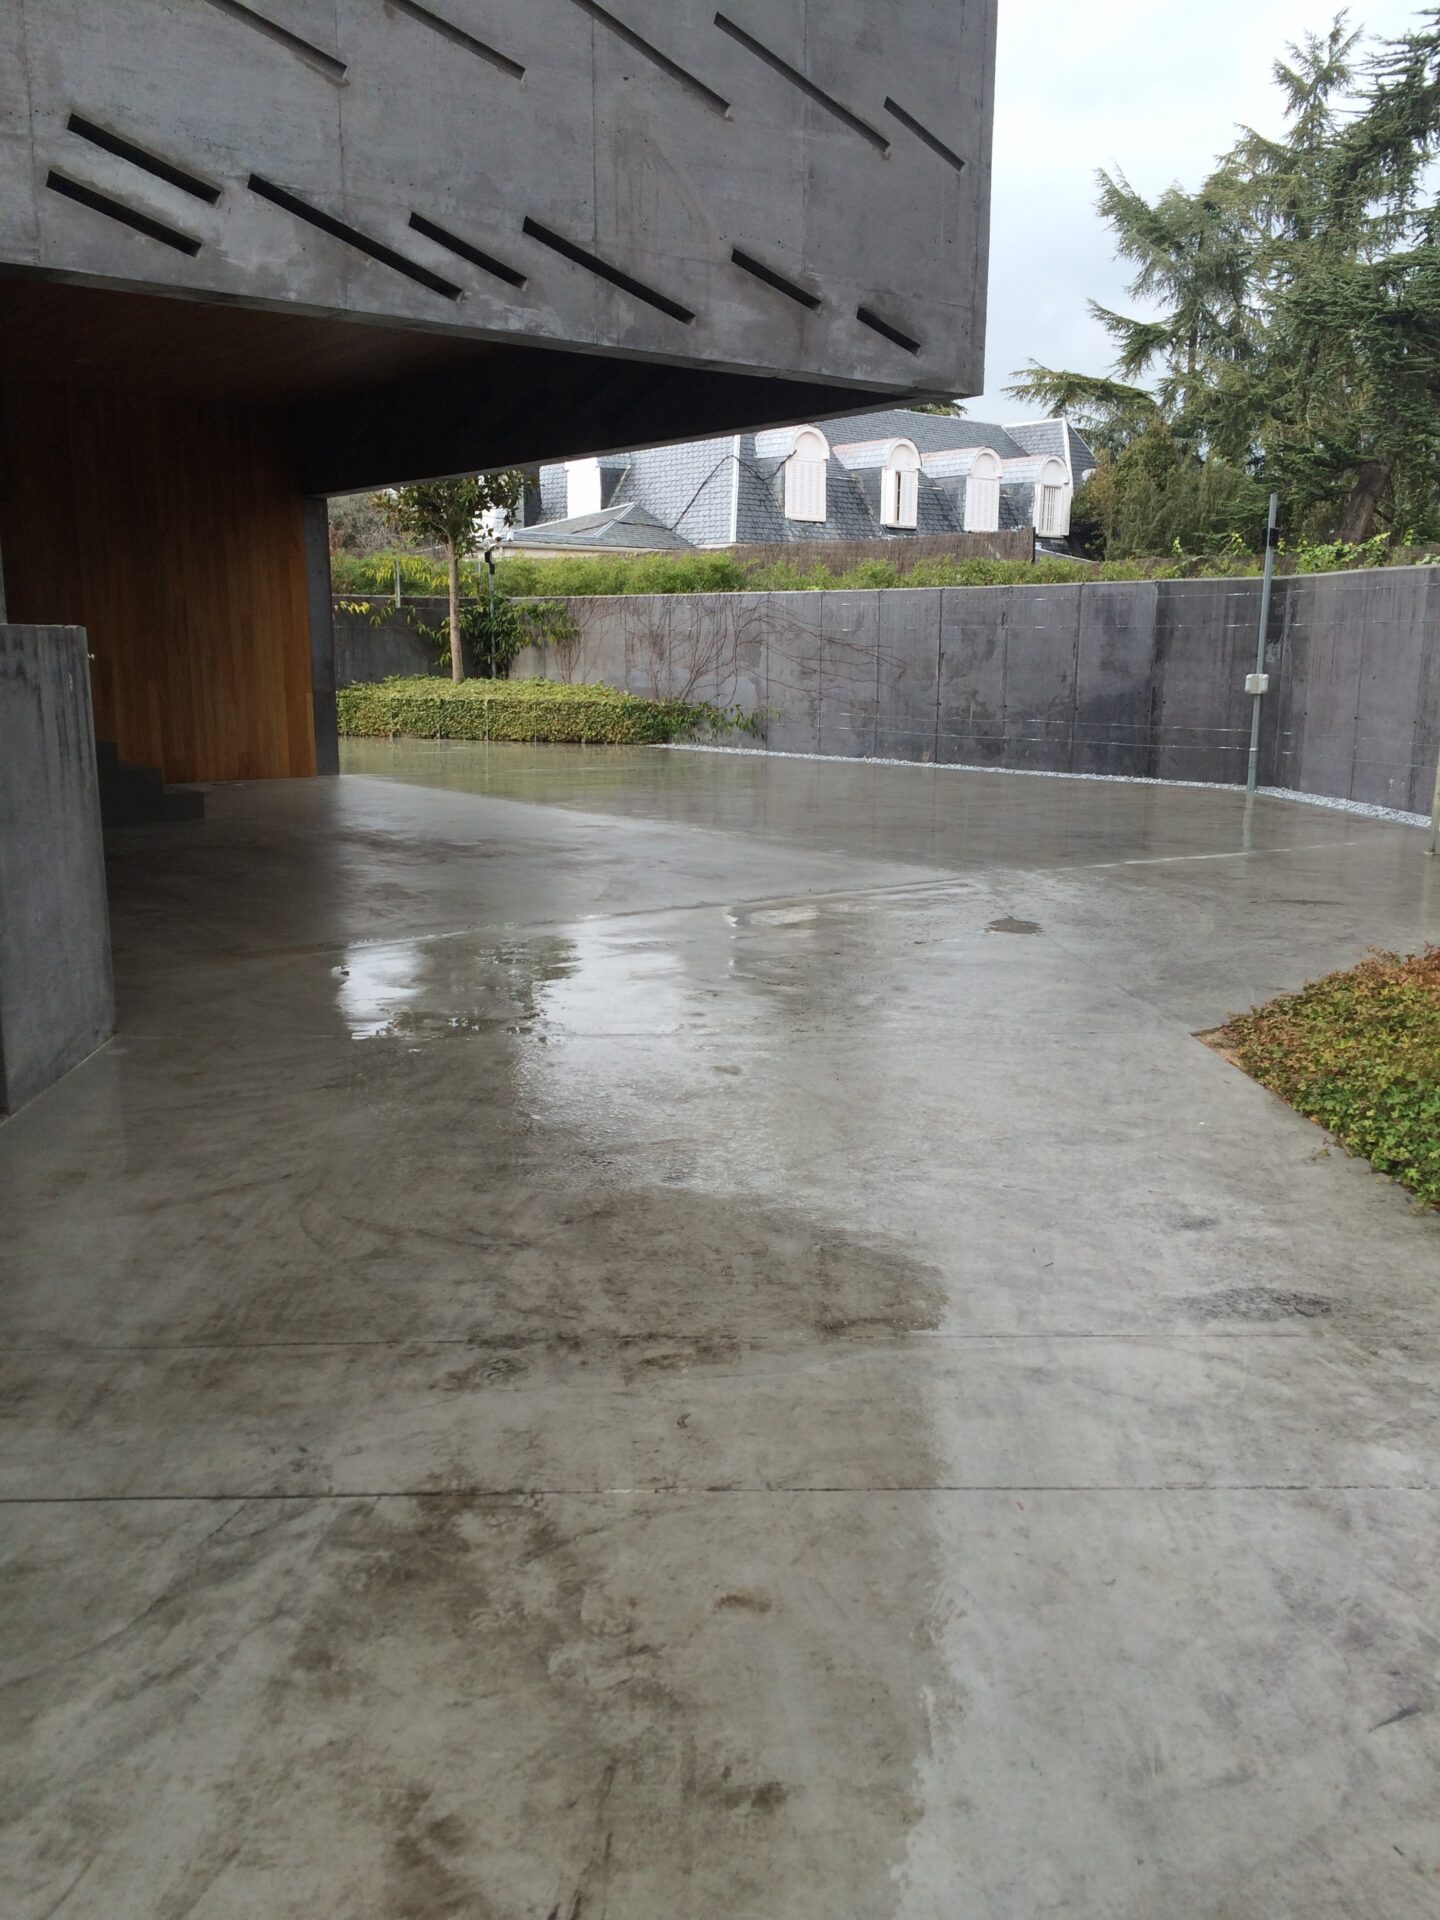
Depending on the indoor or outdoor area where it is going to be applied, it will be necessary to use the ideal microcement in order to achieve the best result.
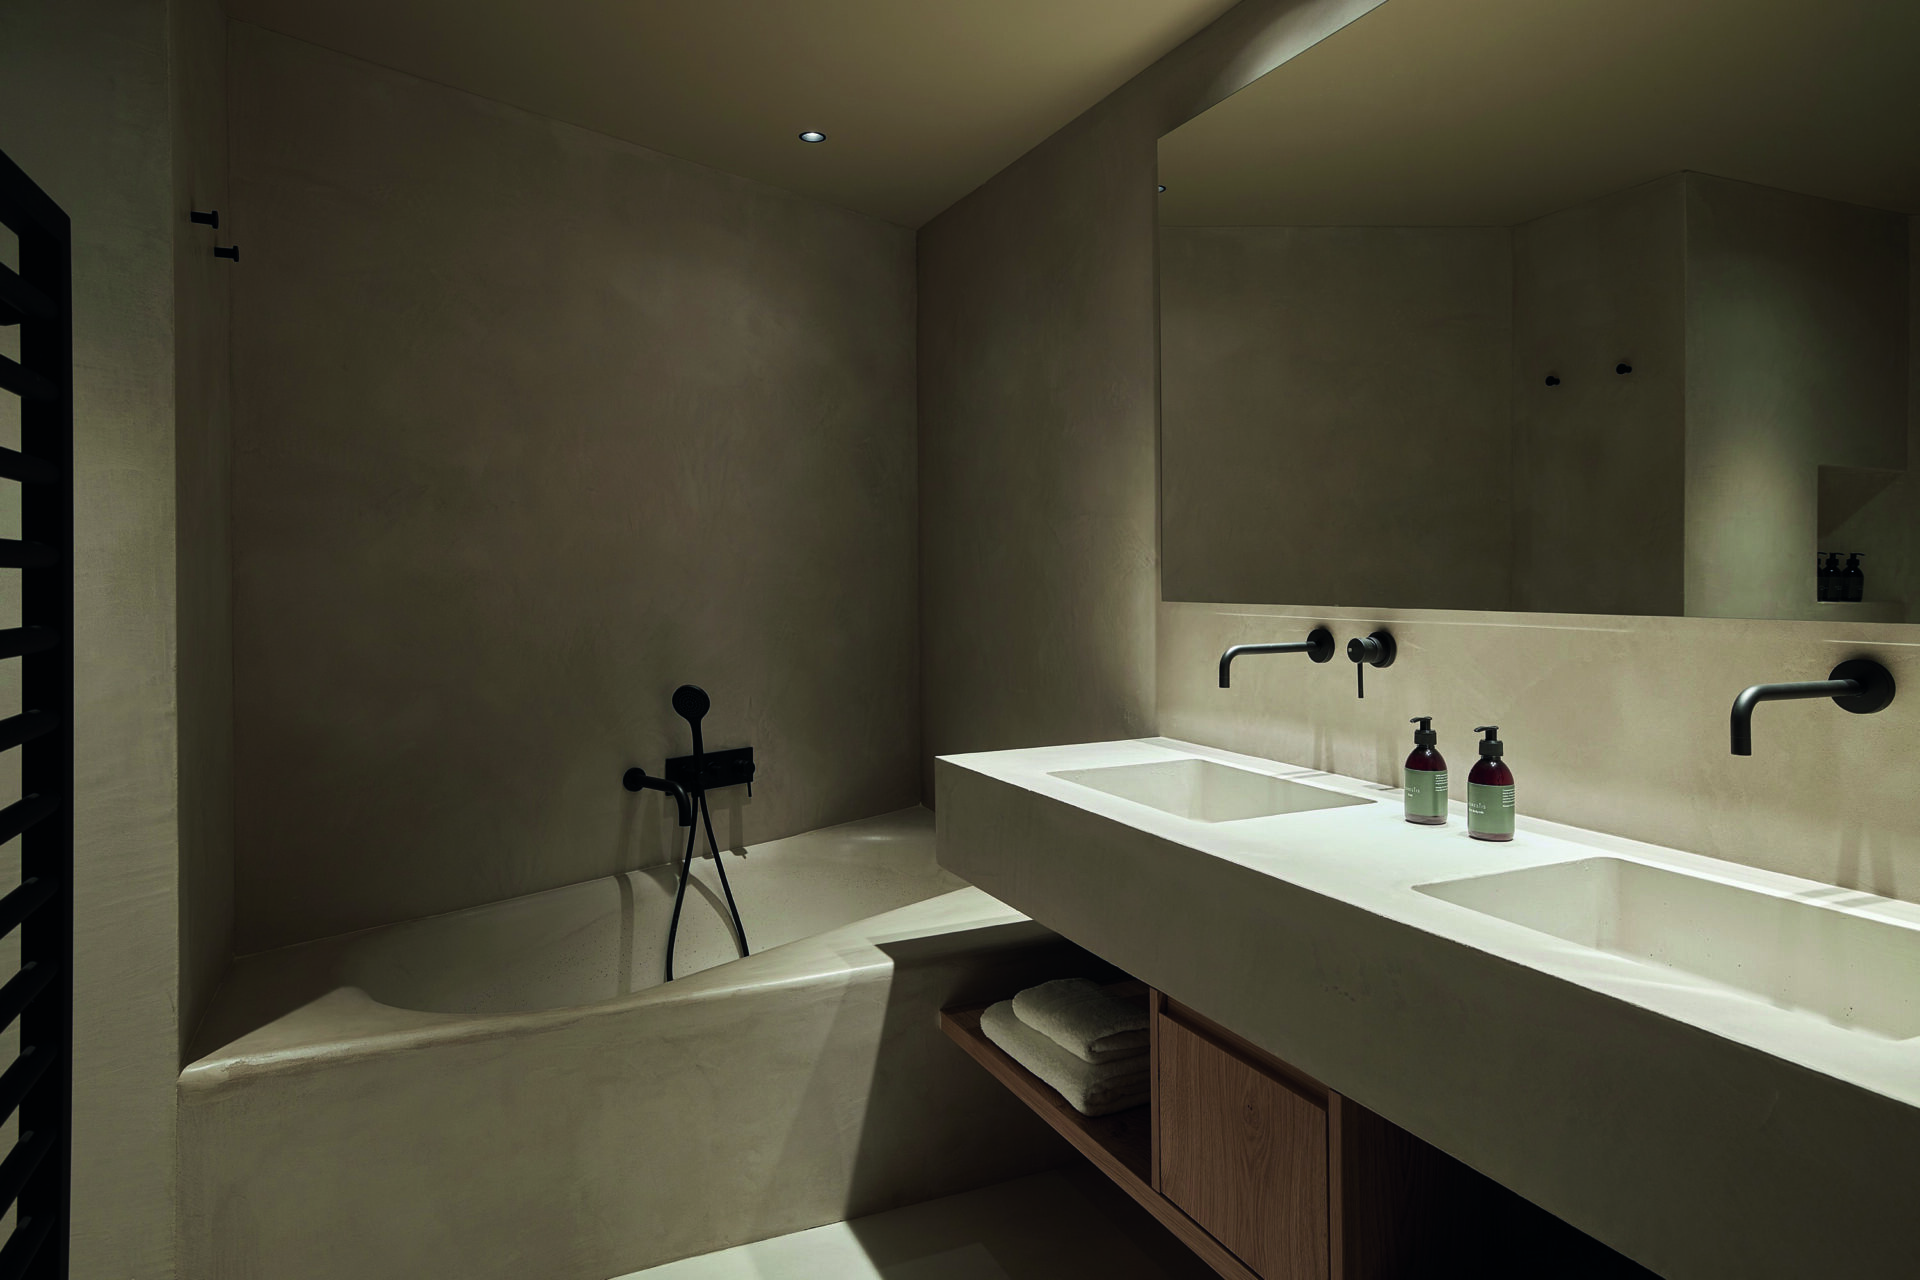
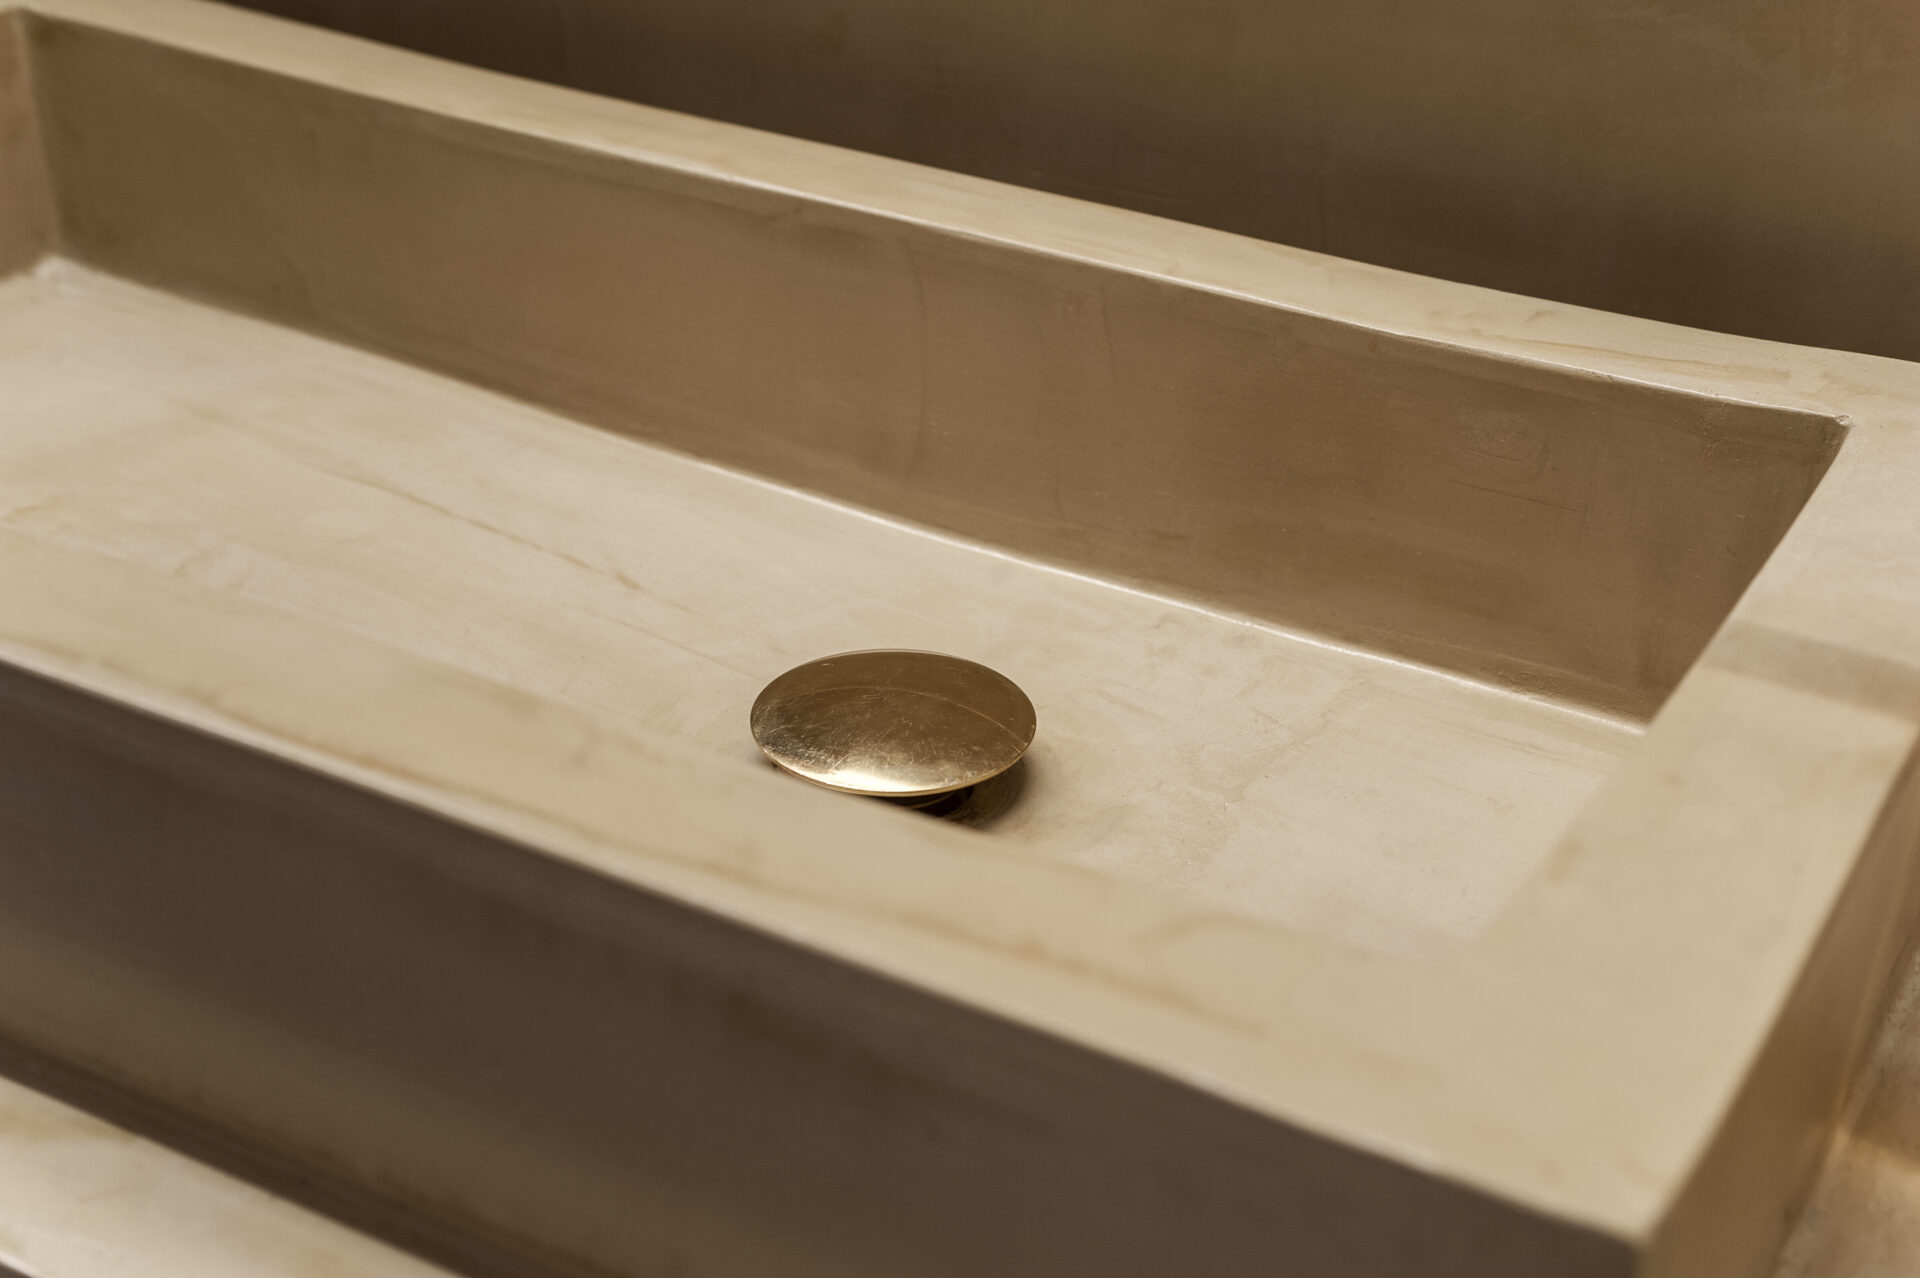
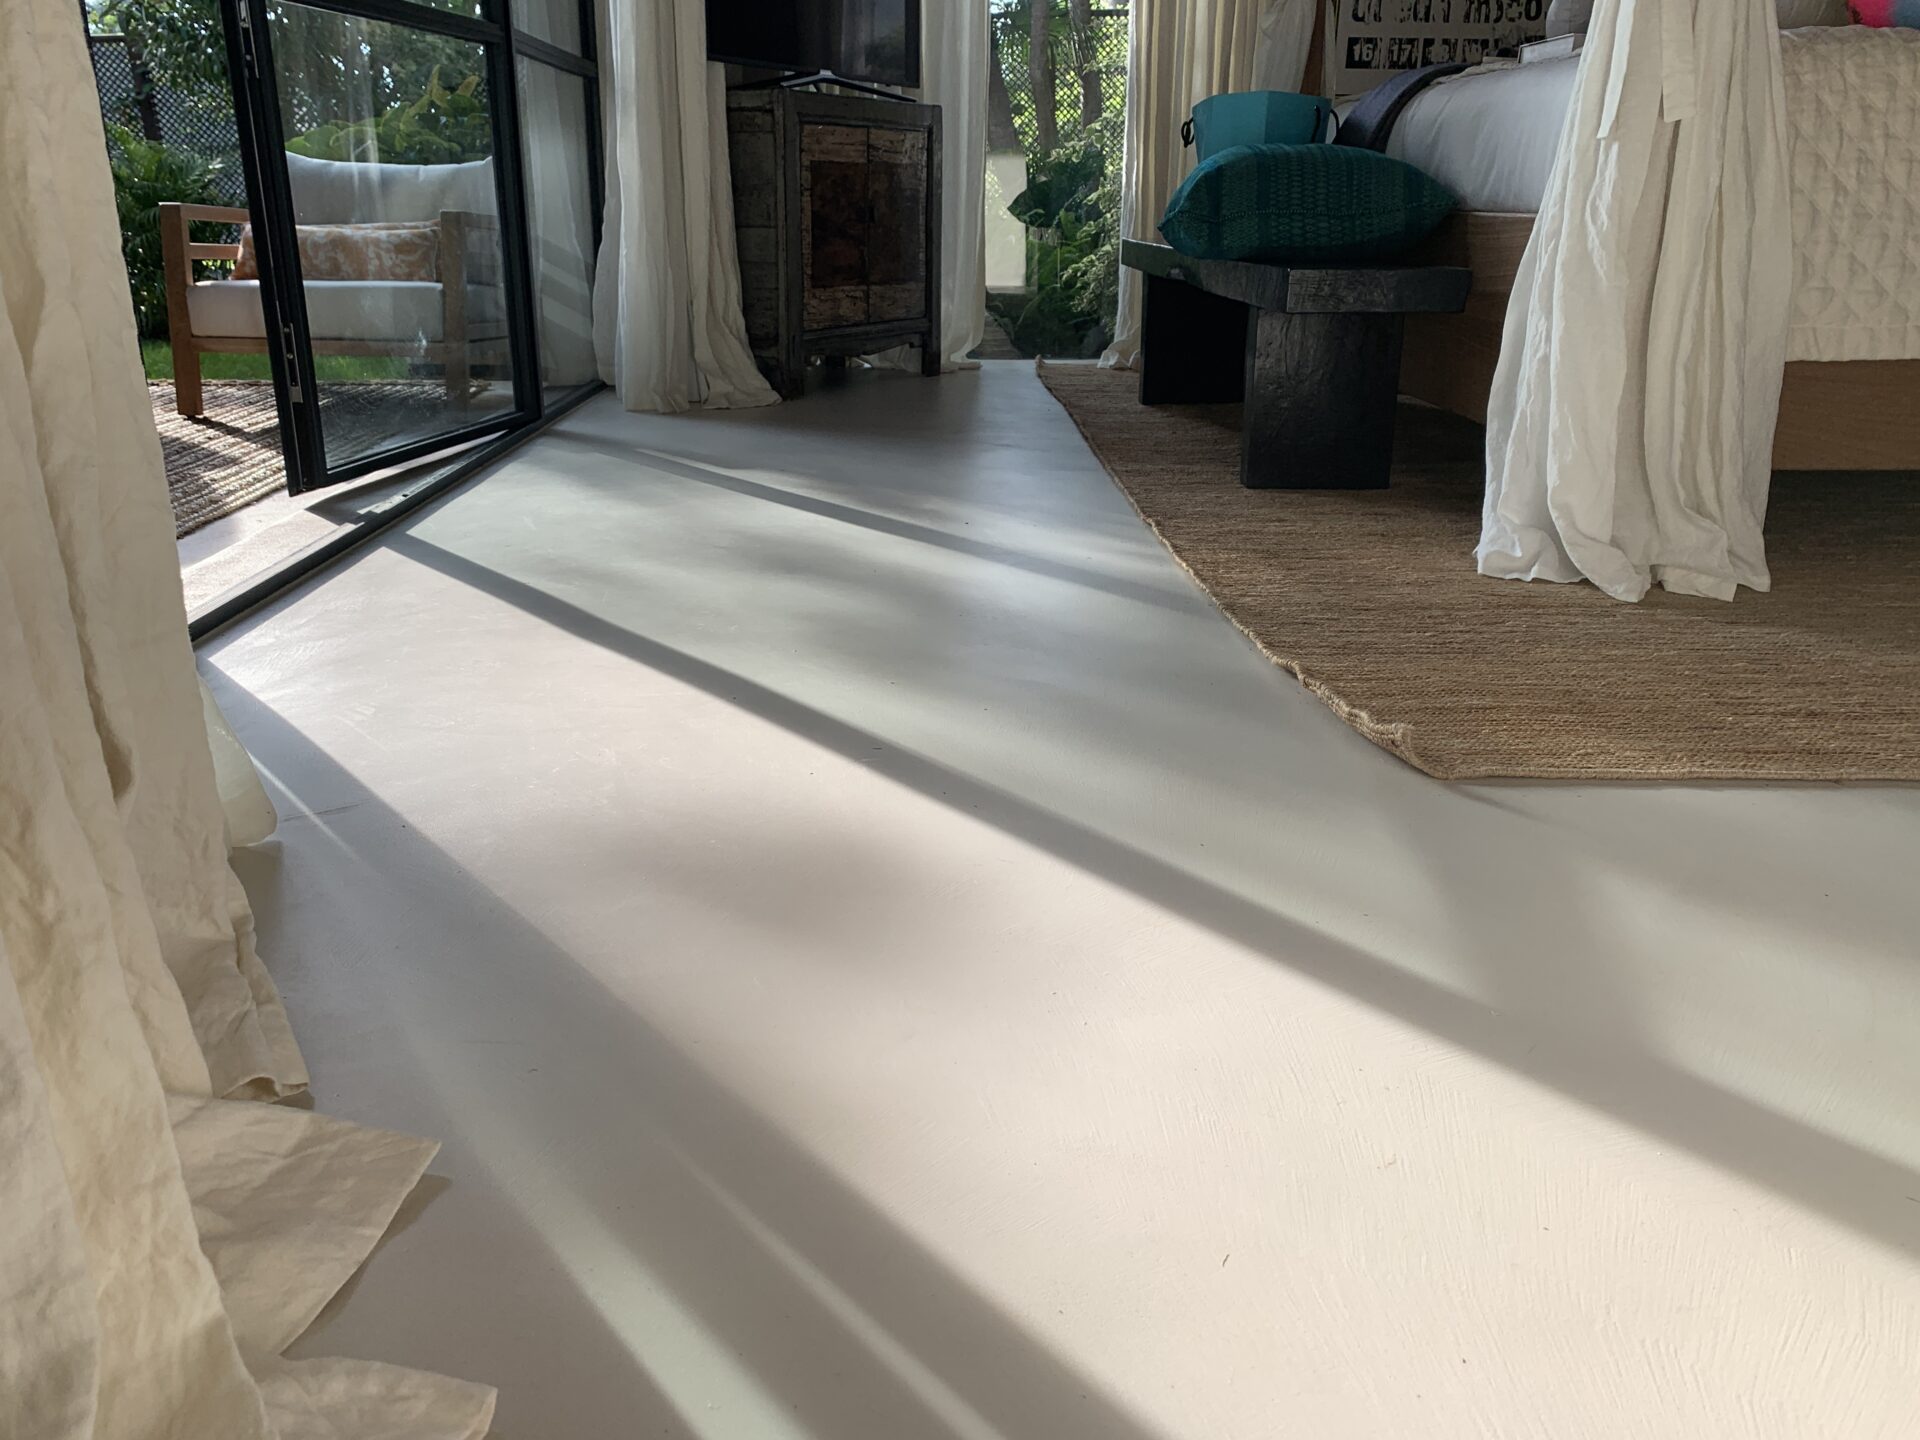
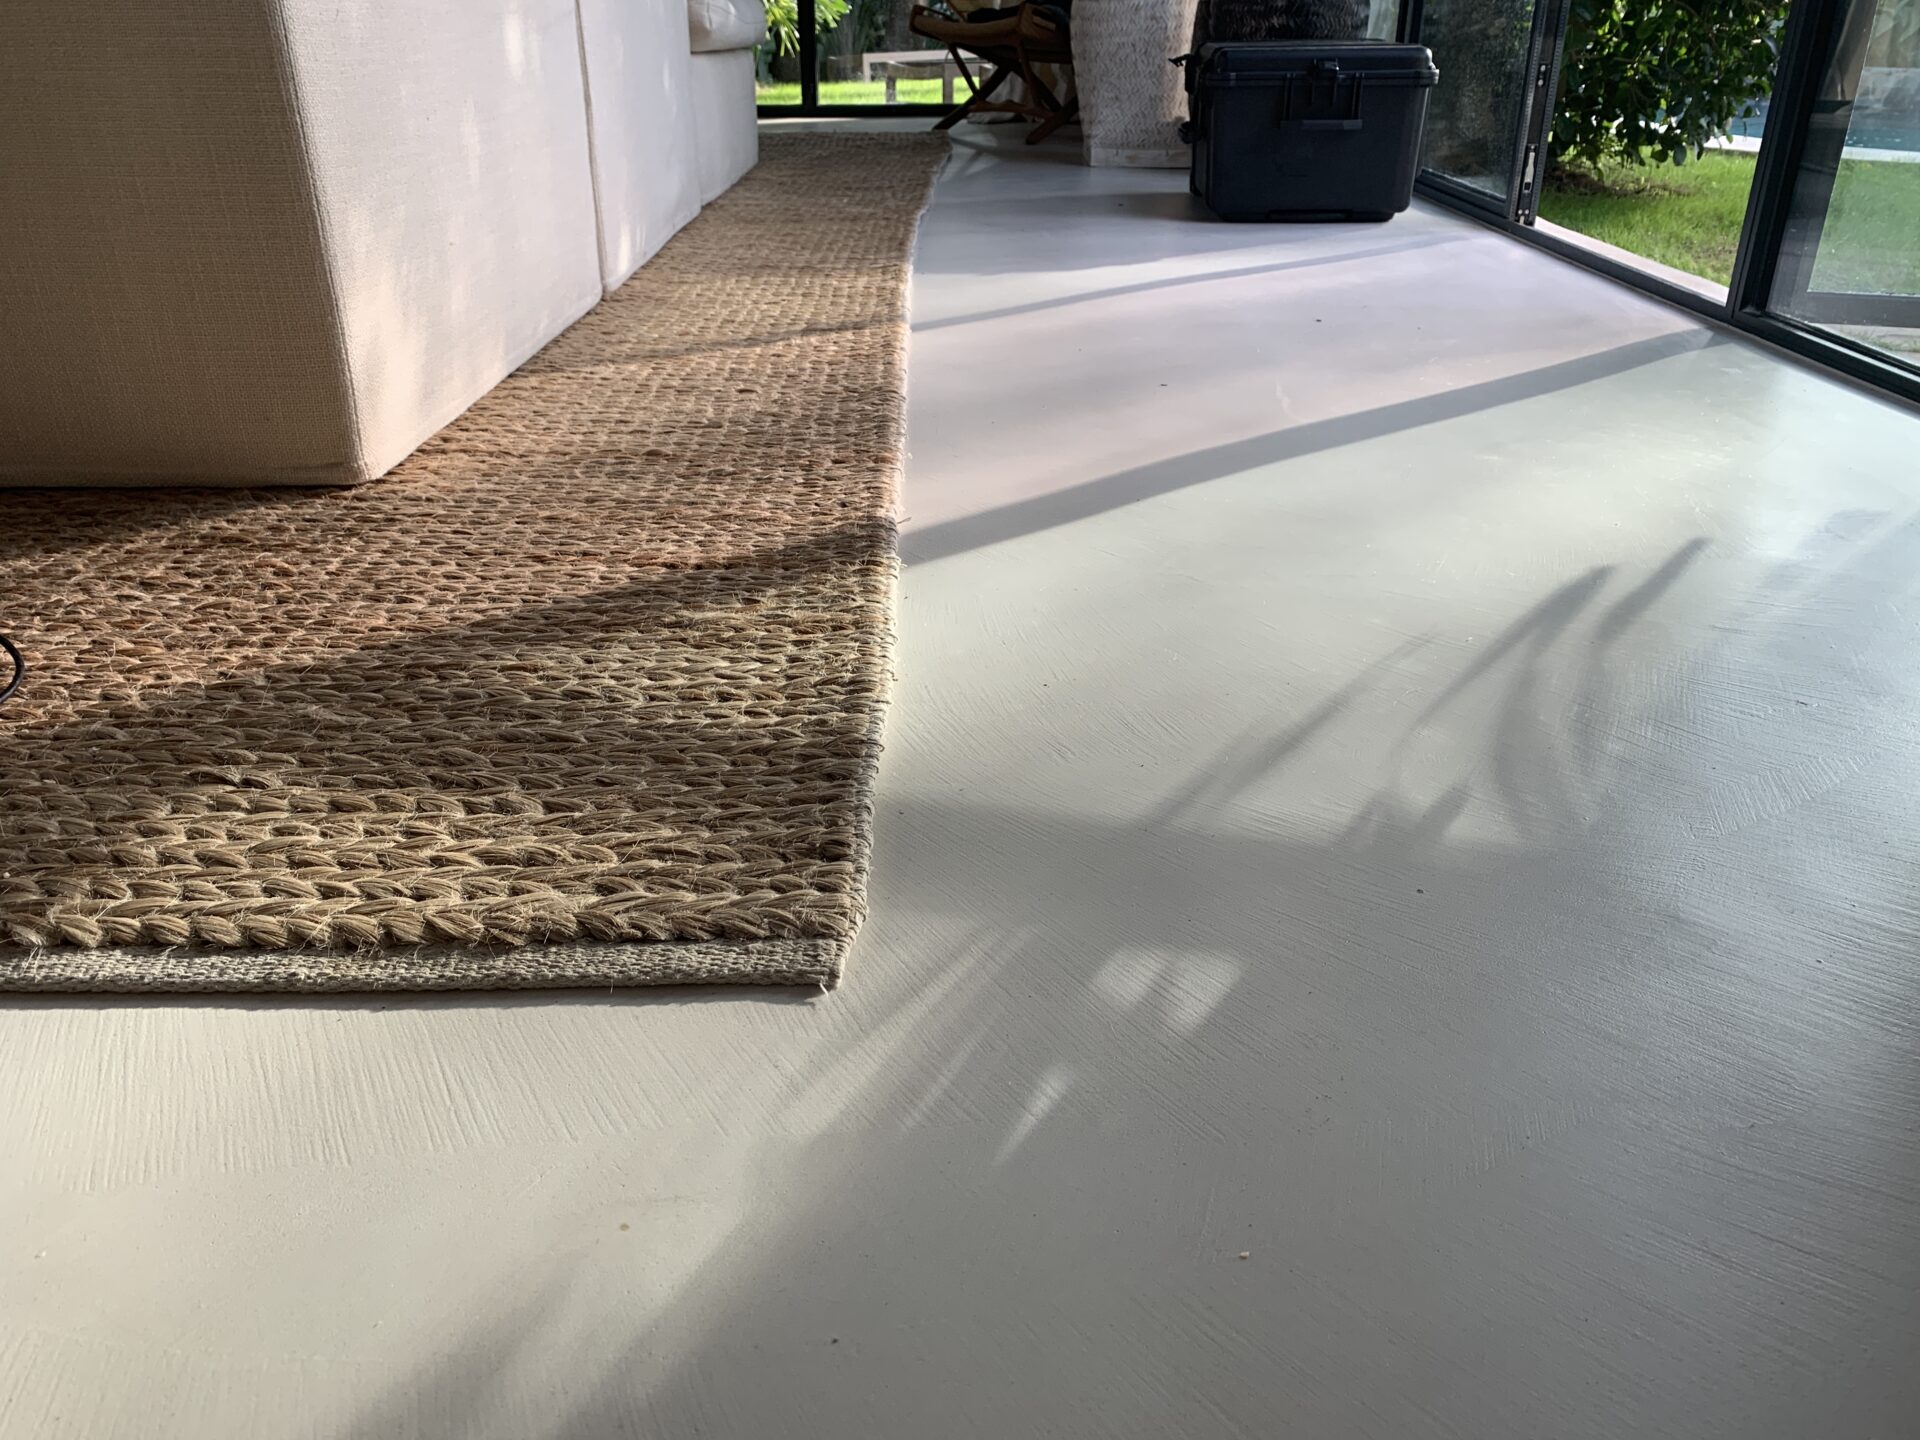
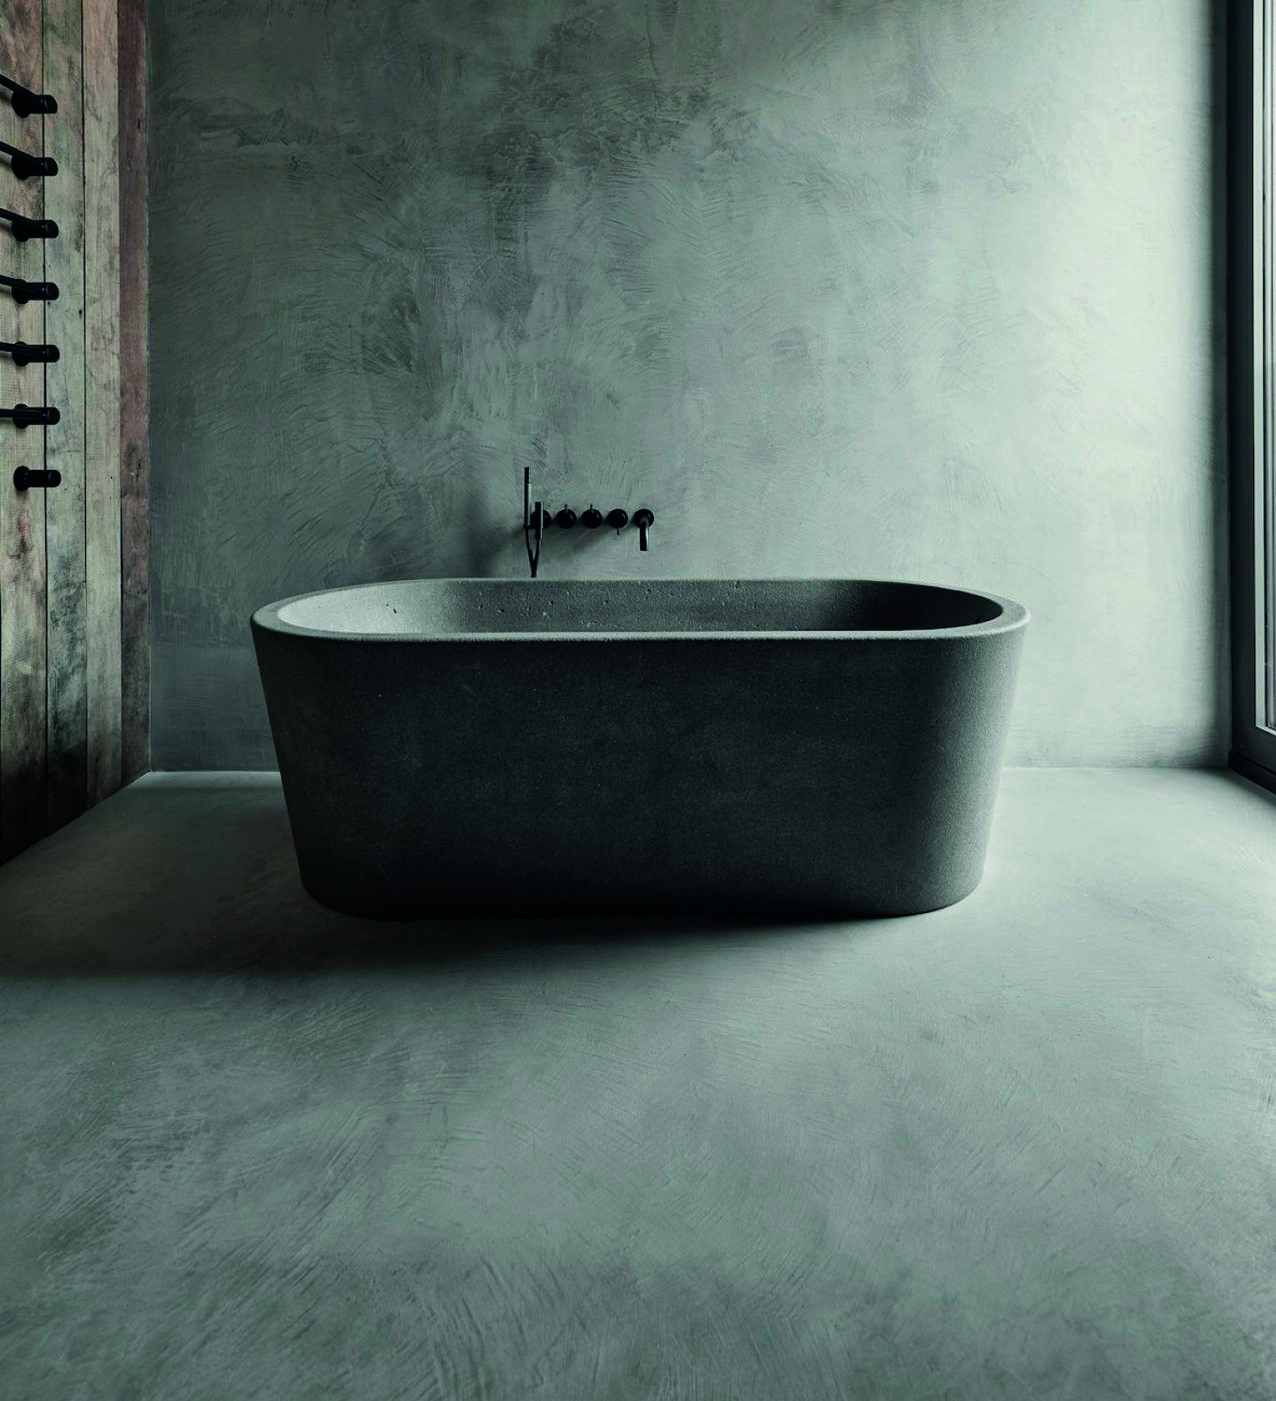
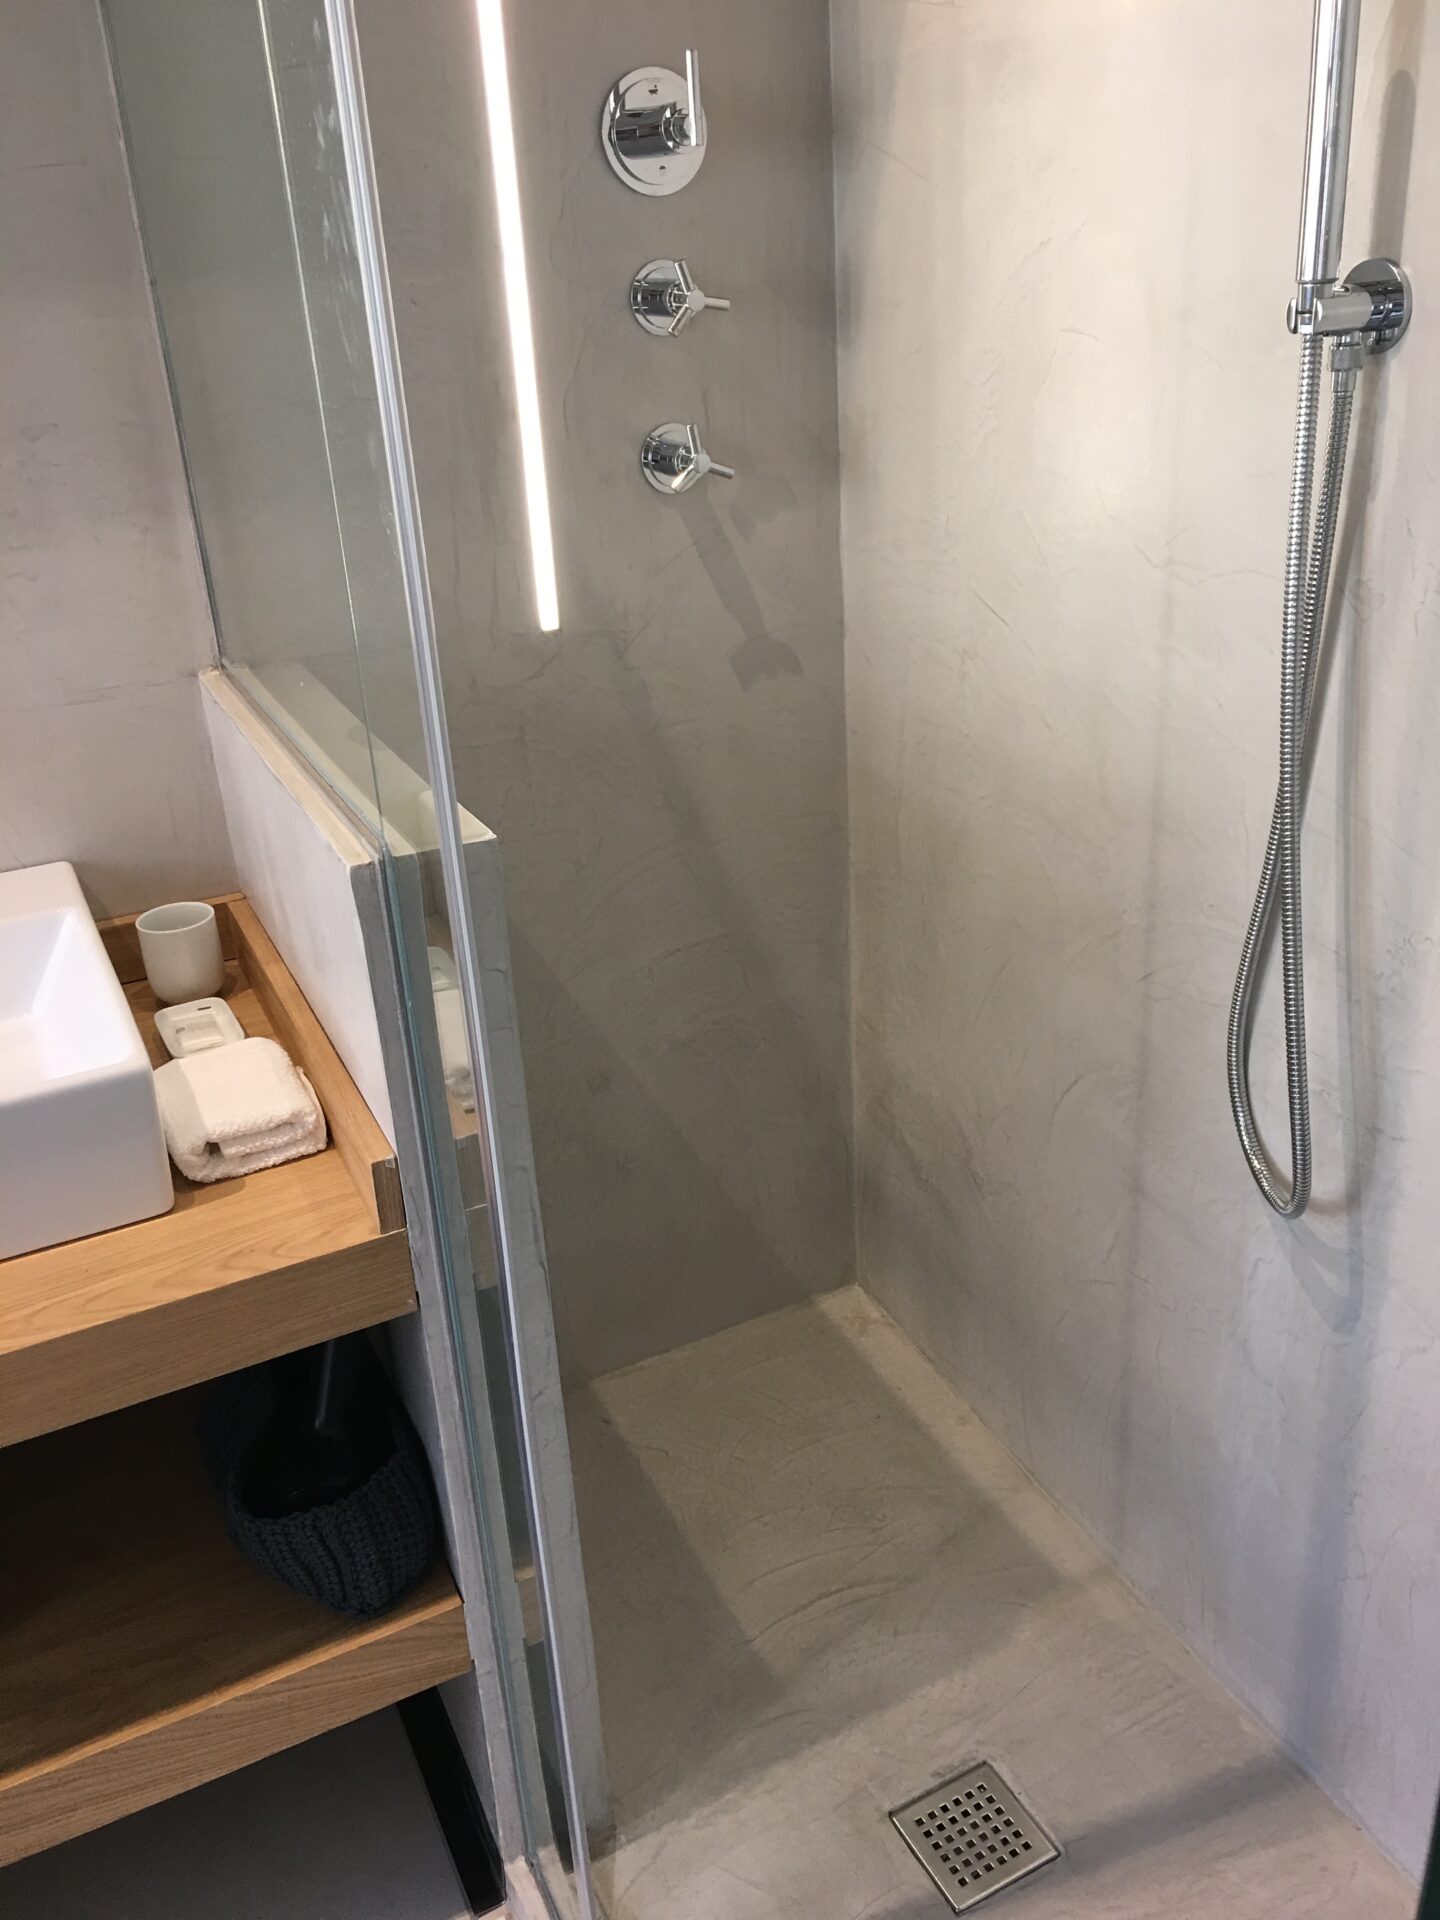
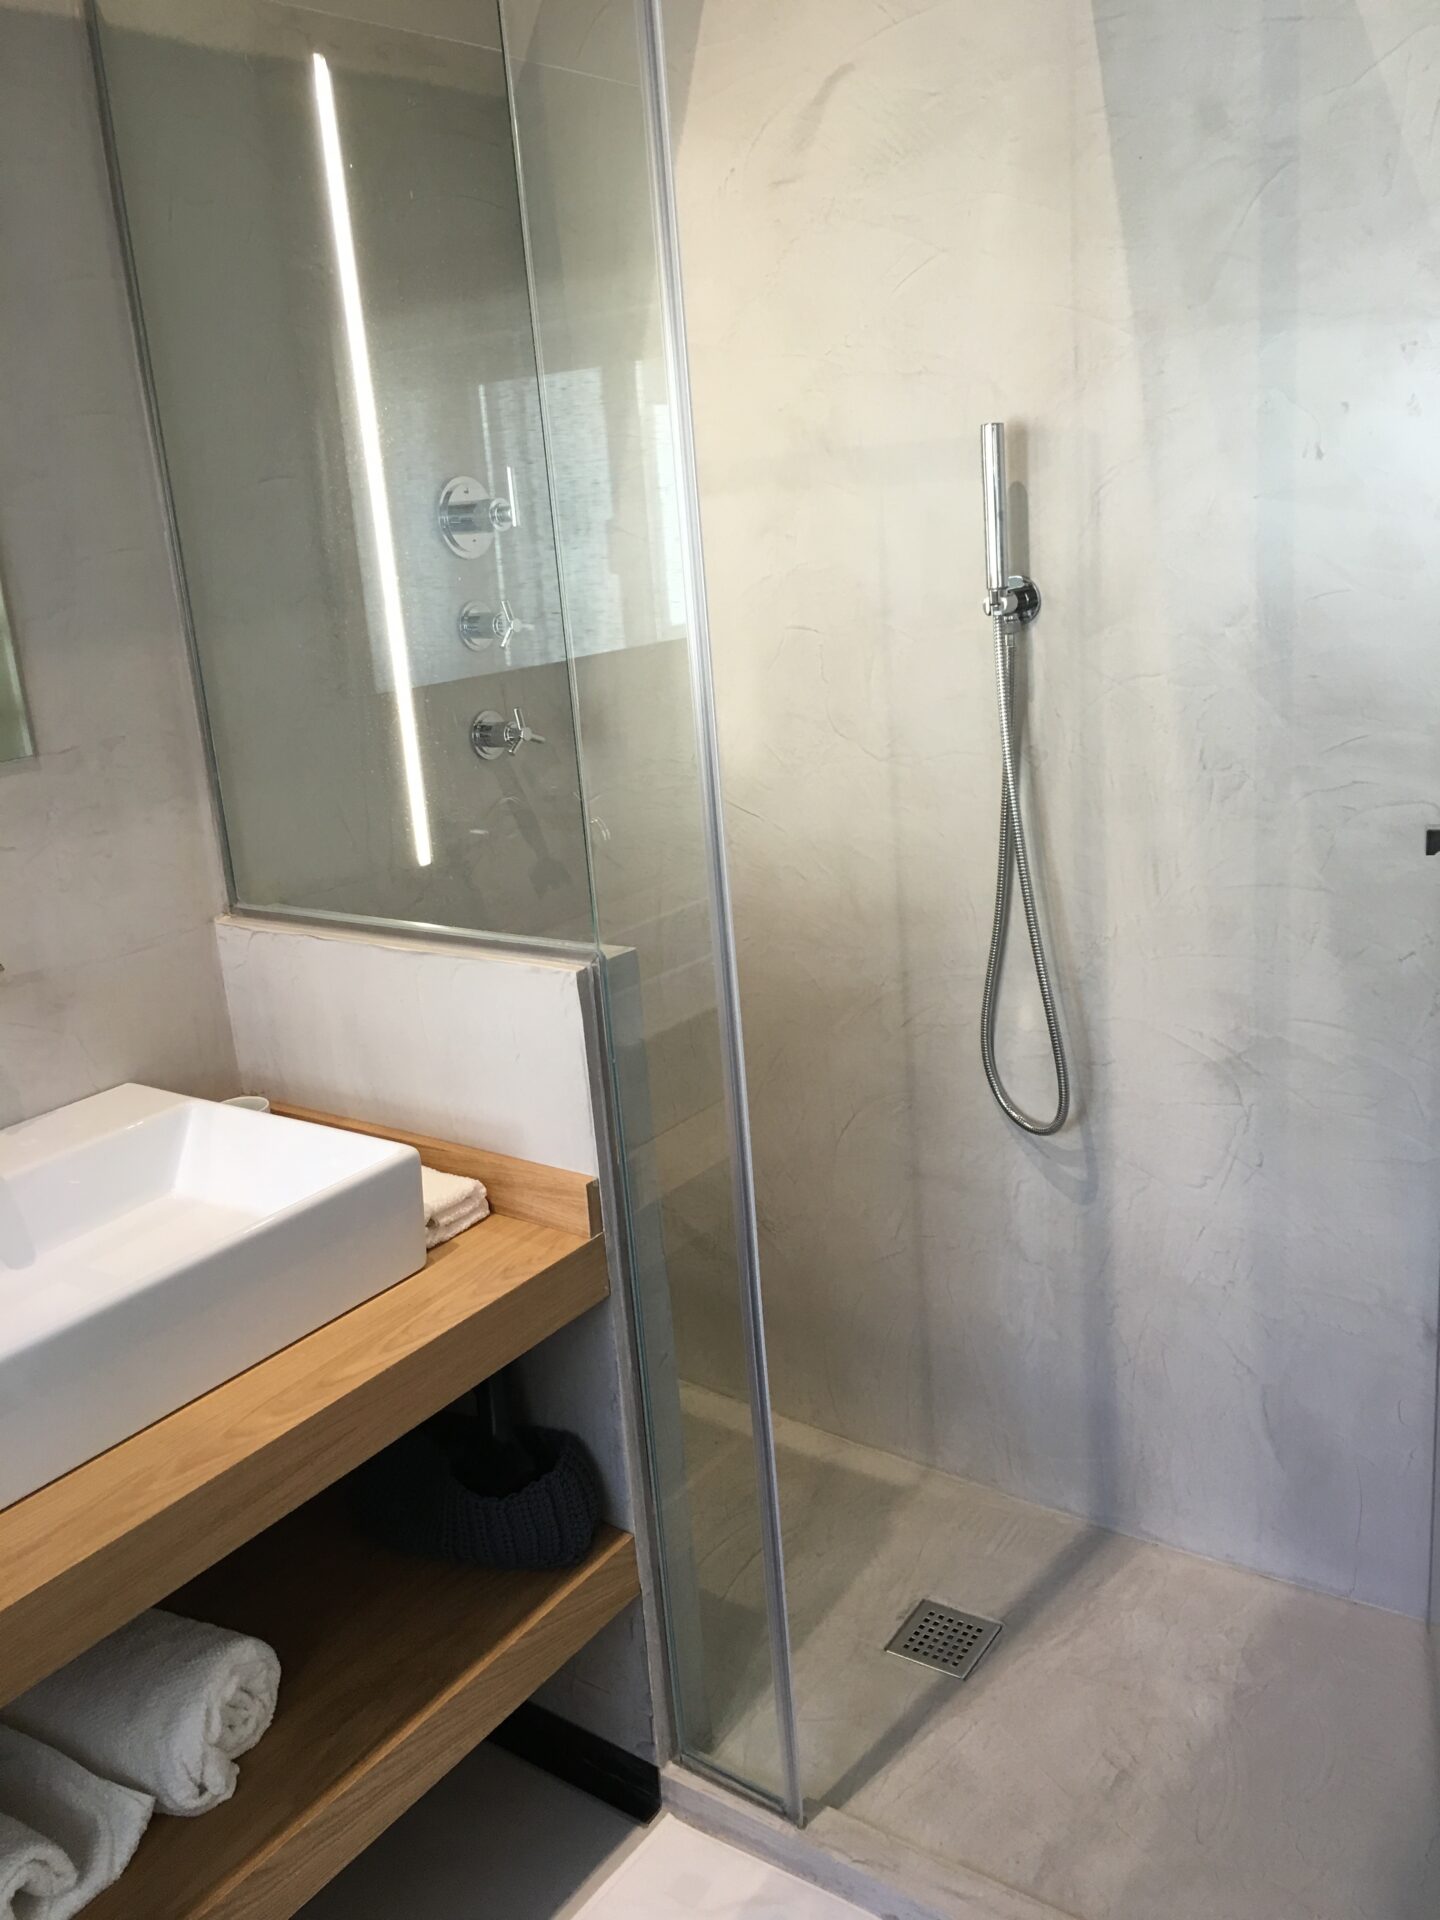
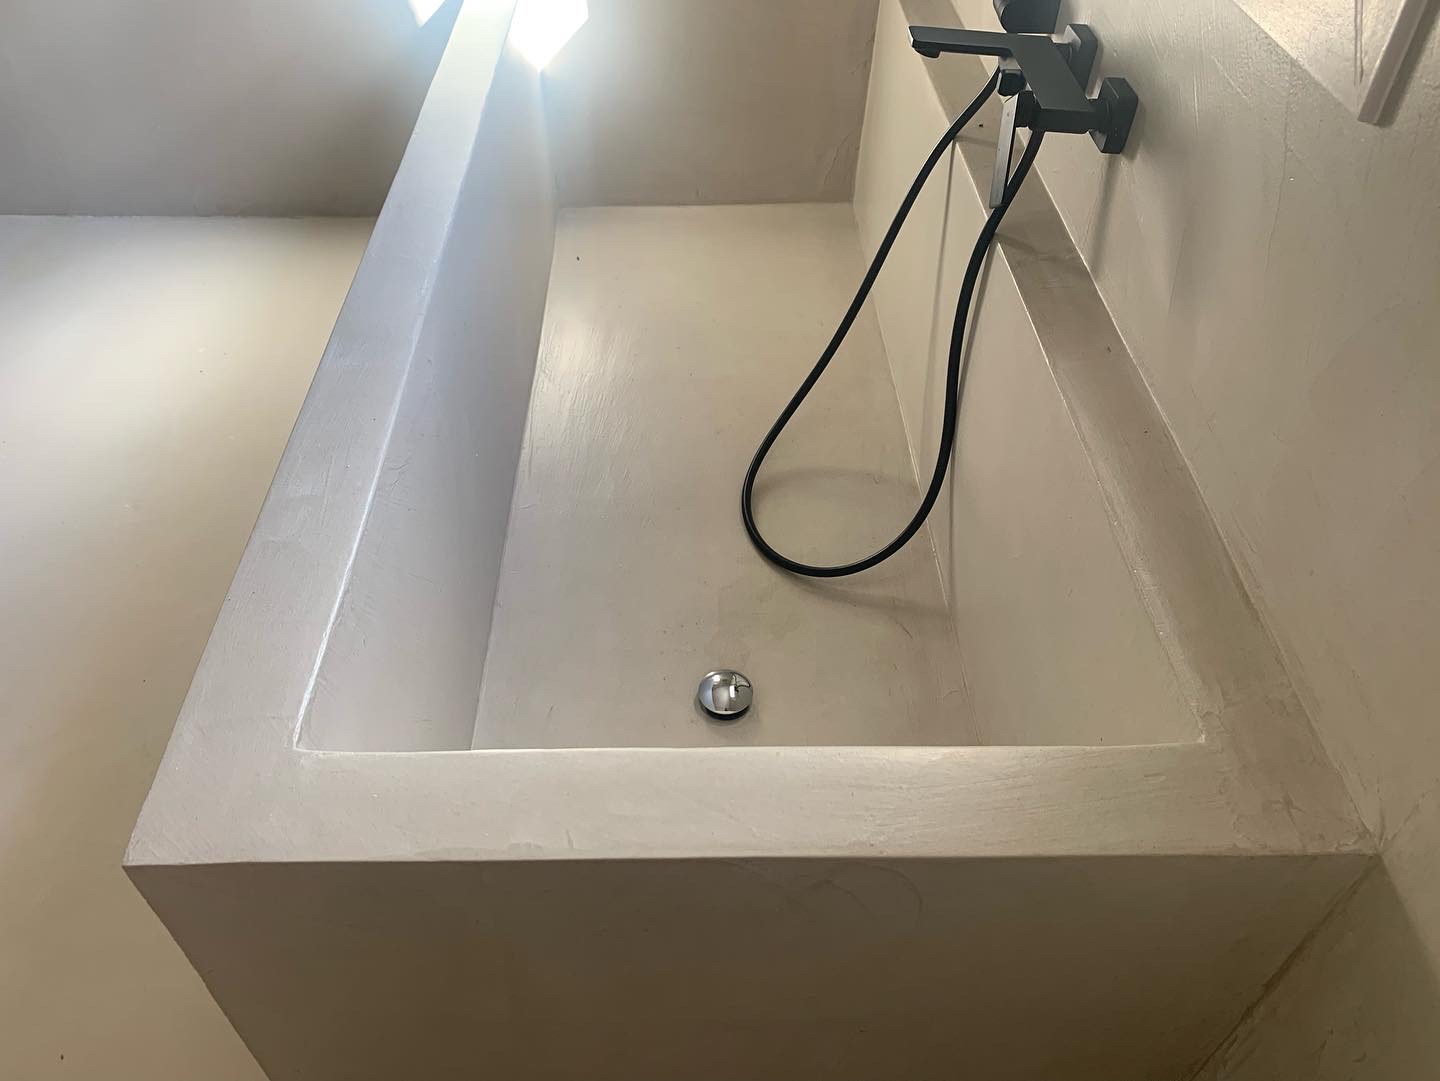
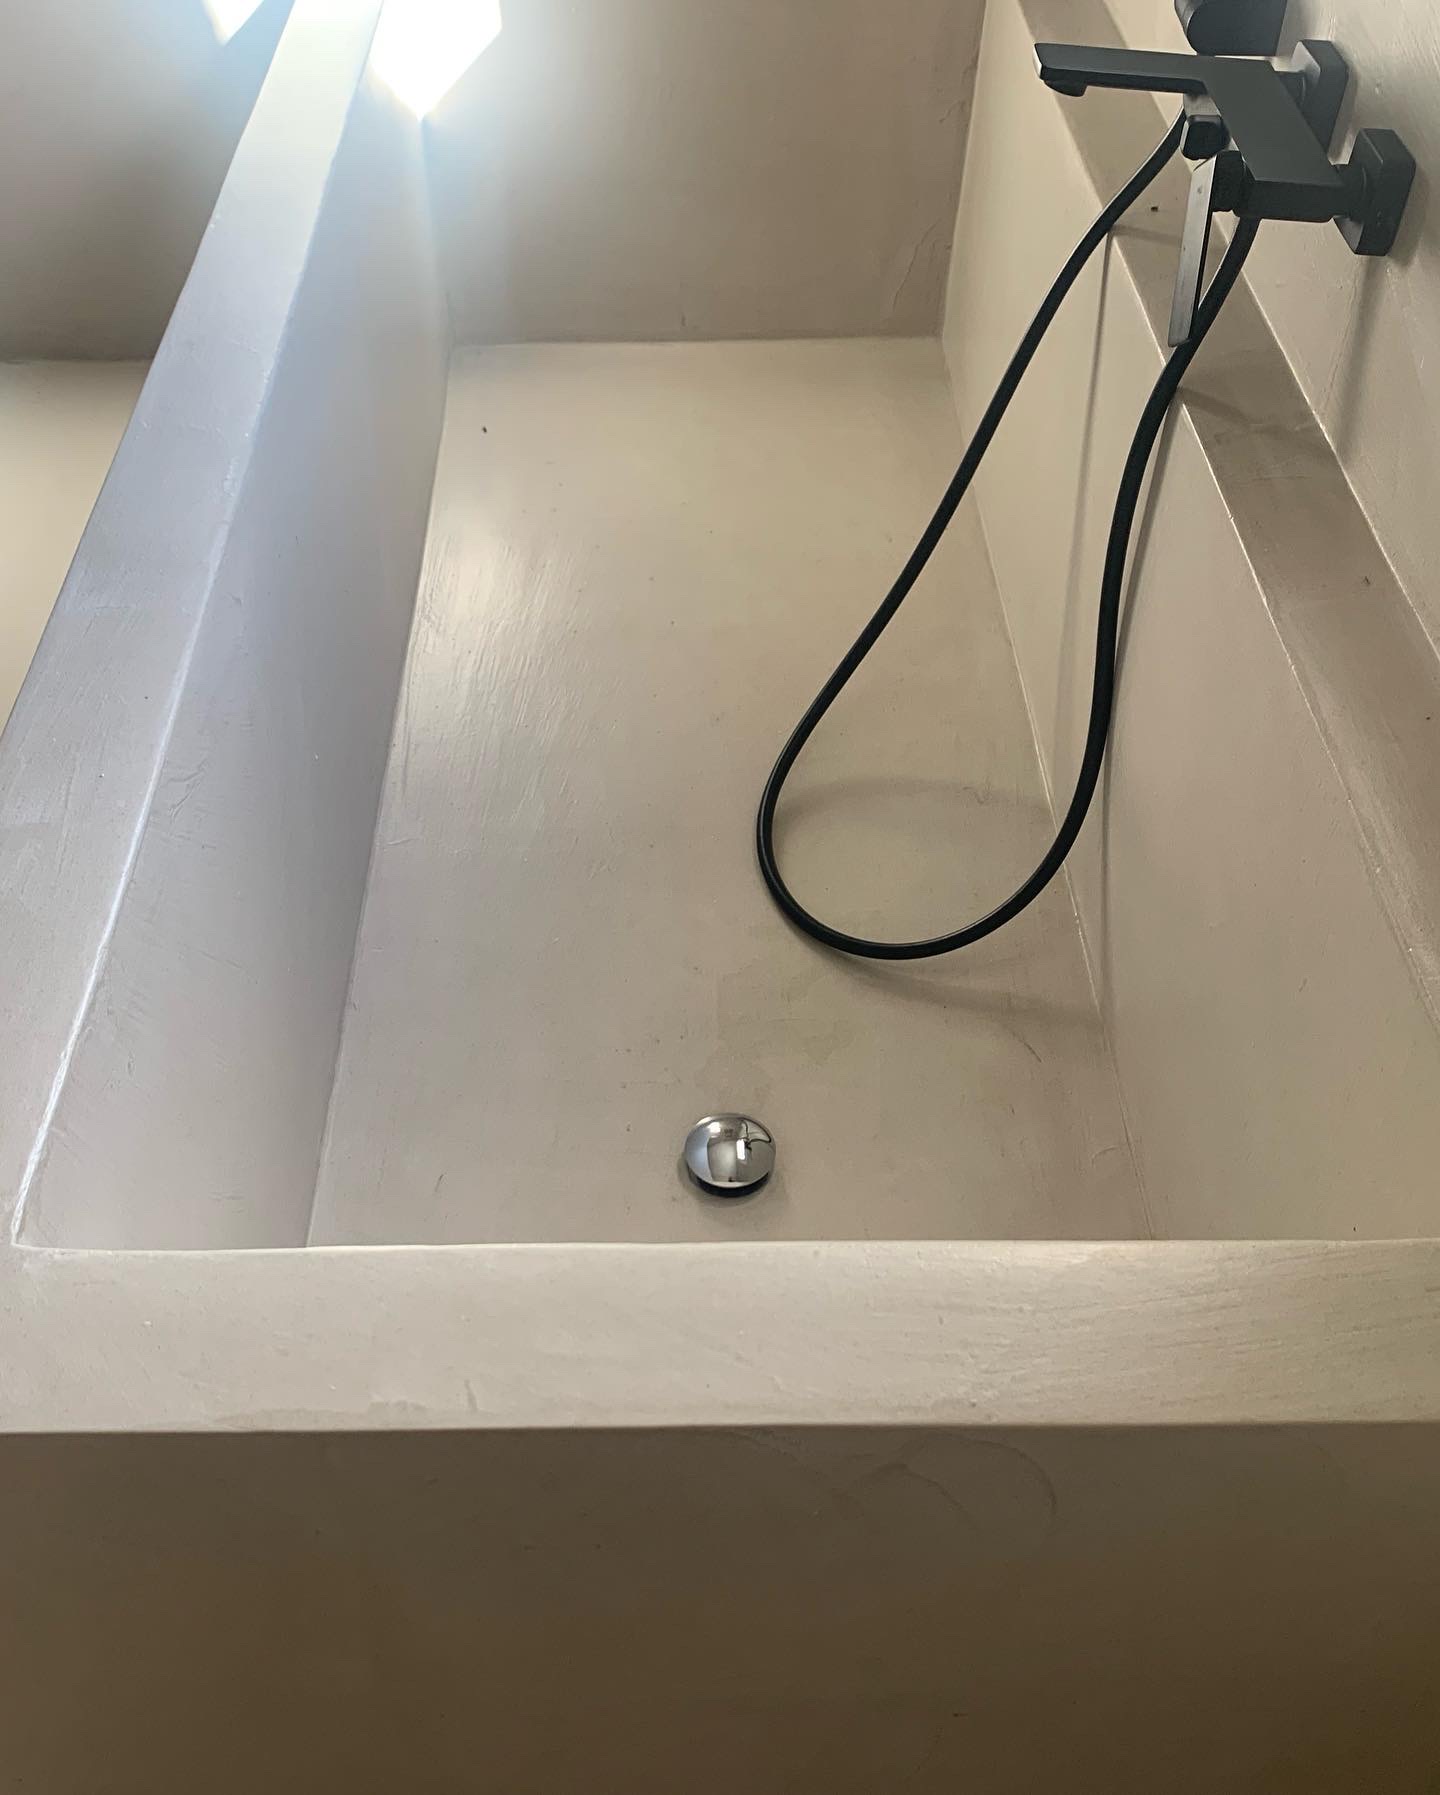
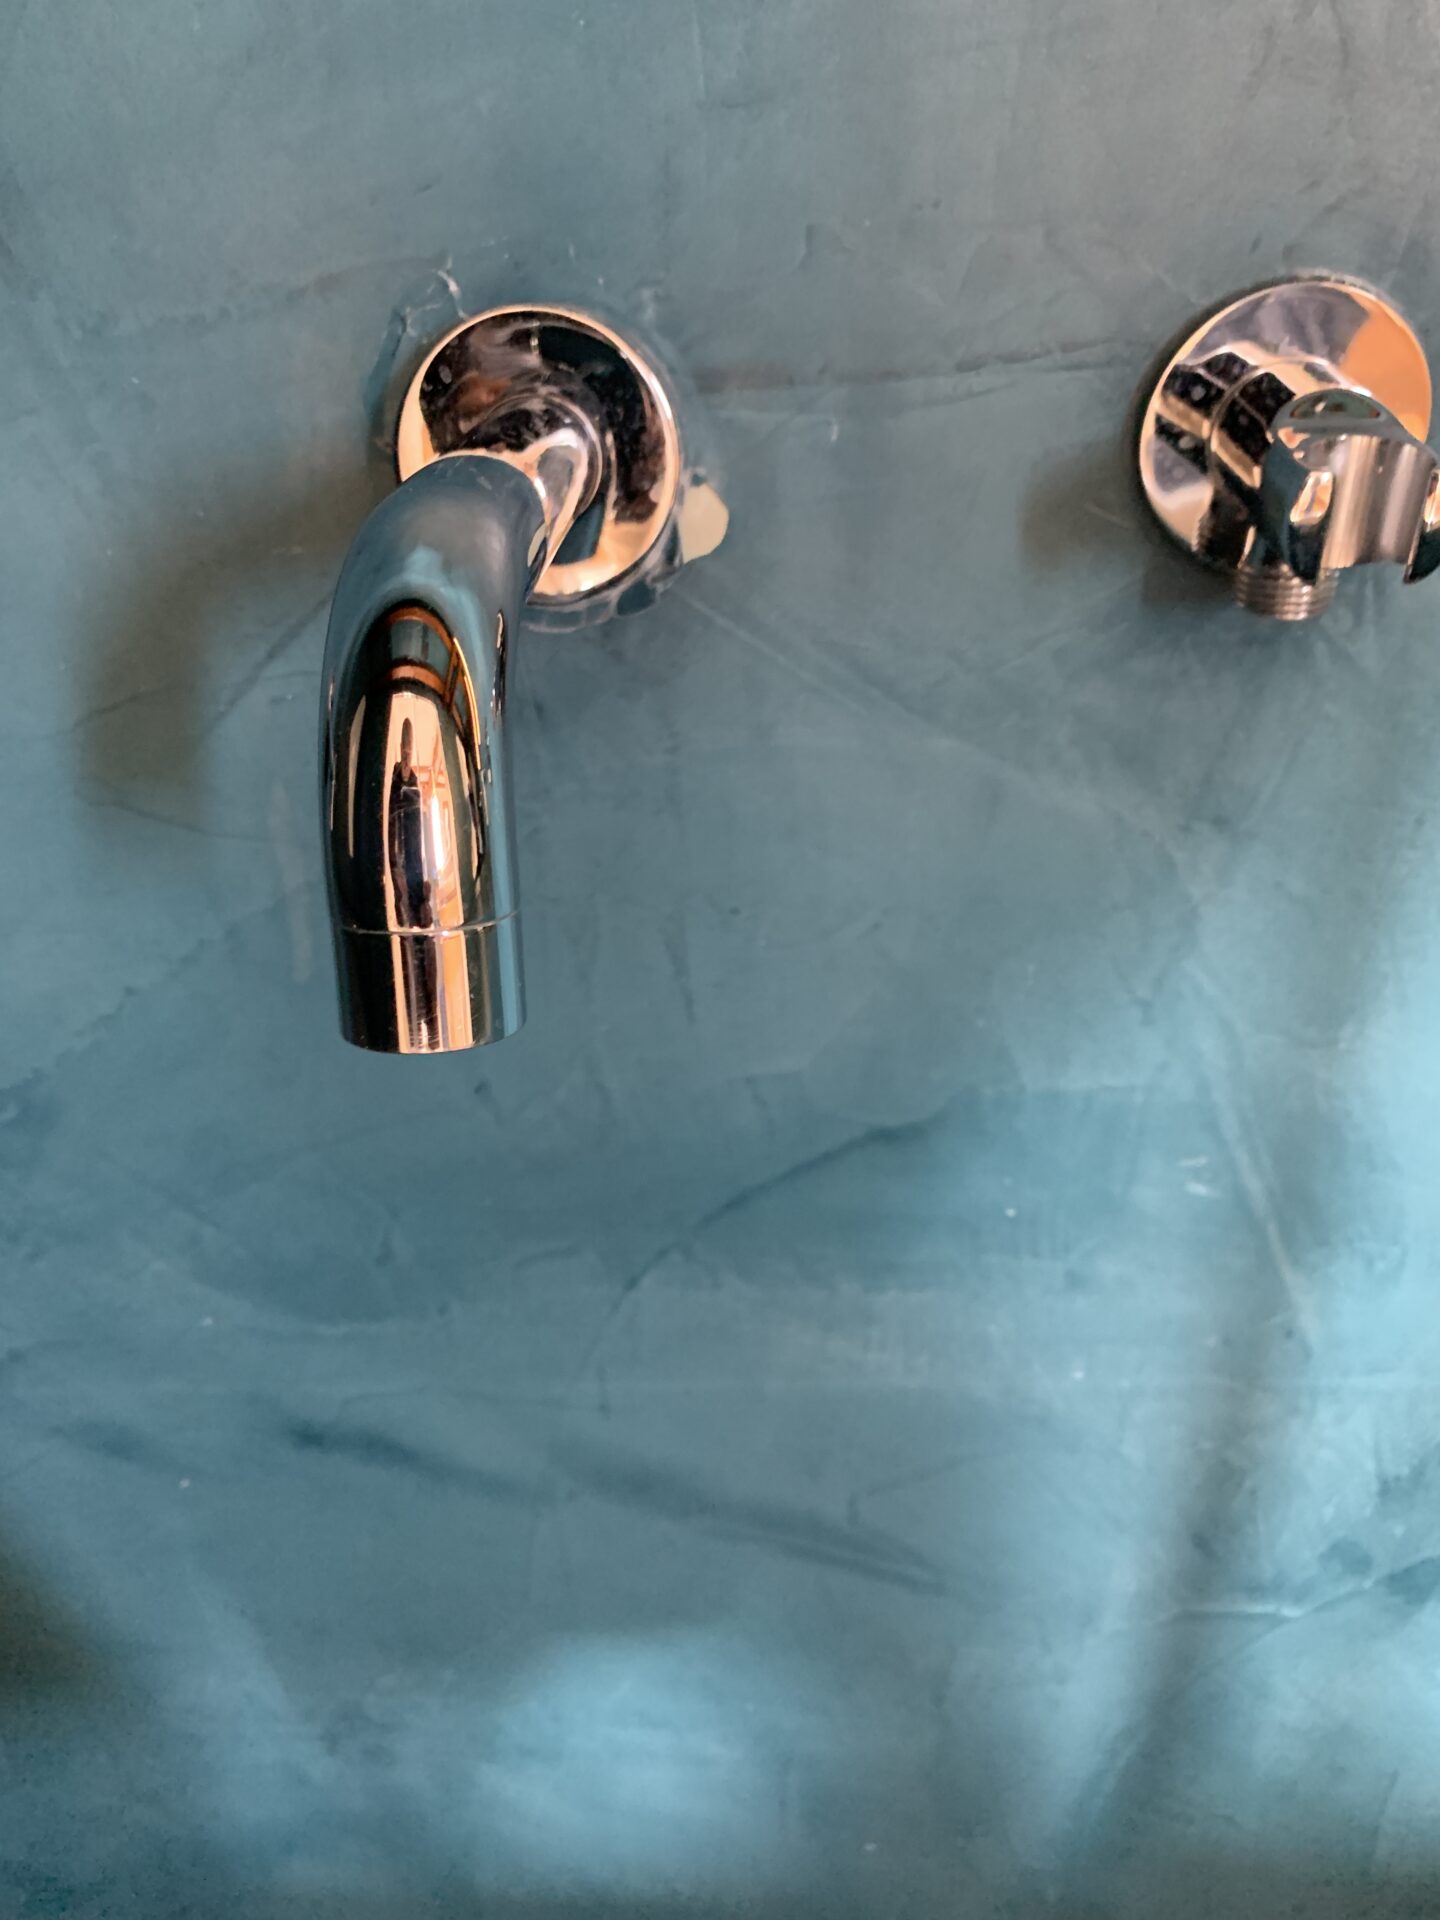
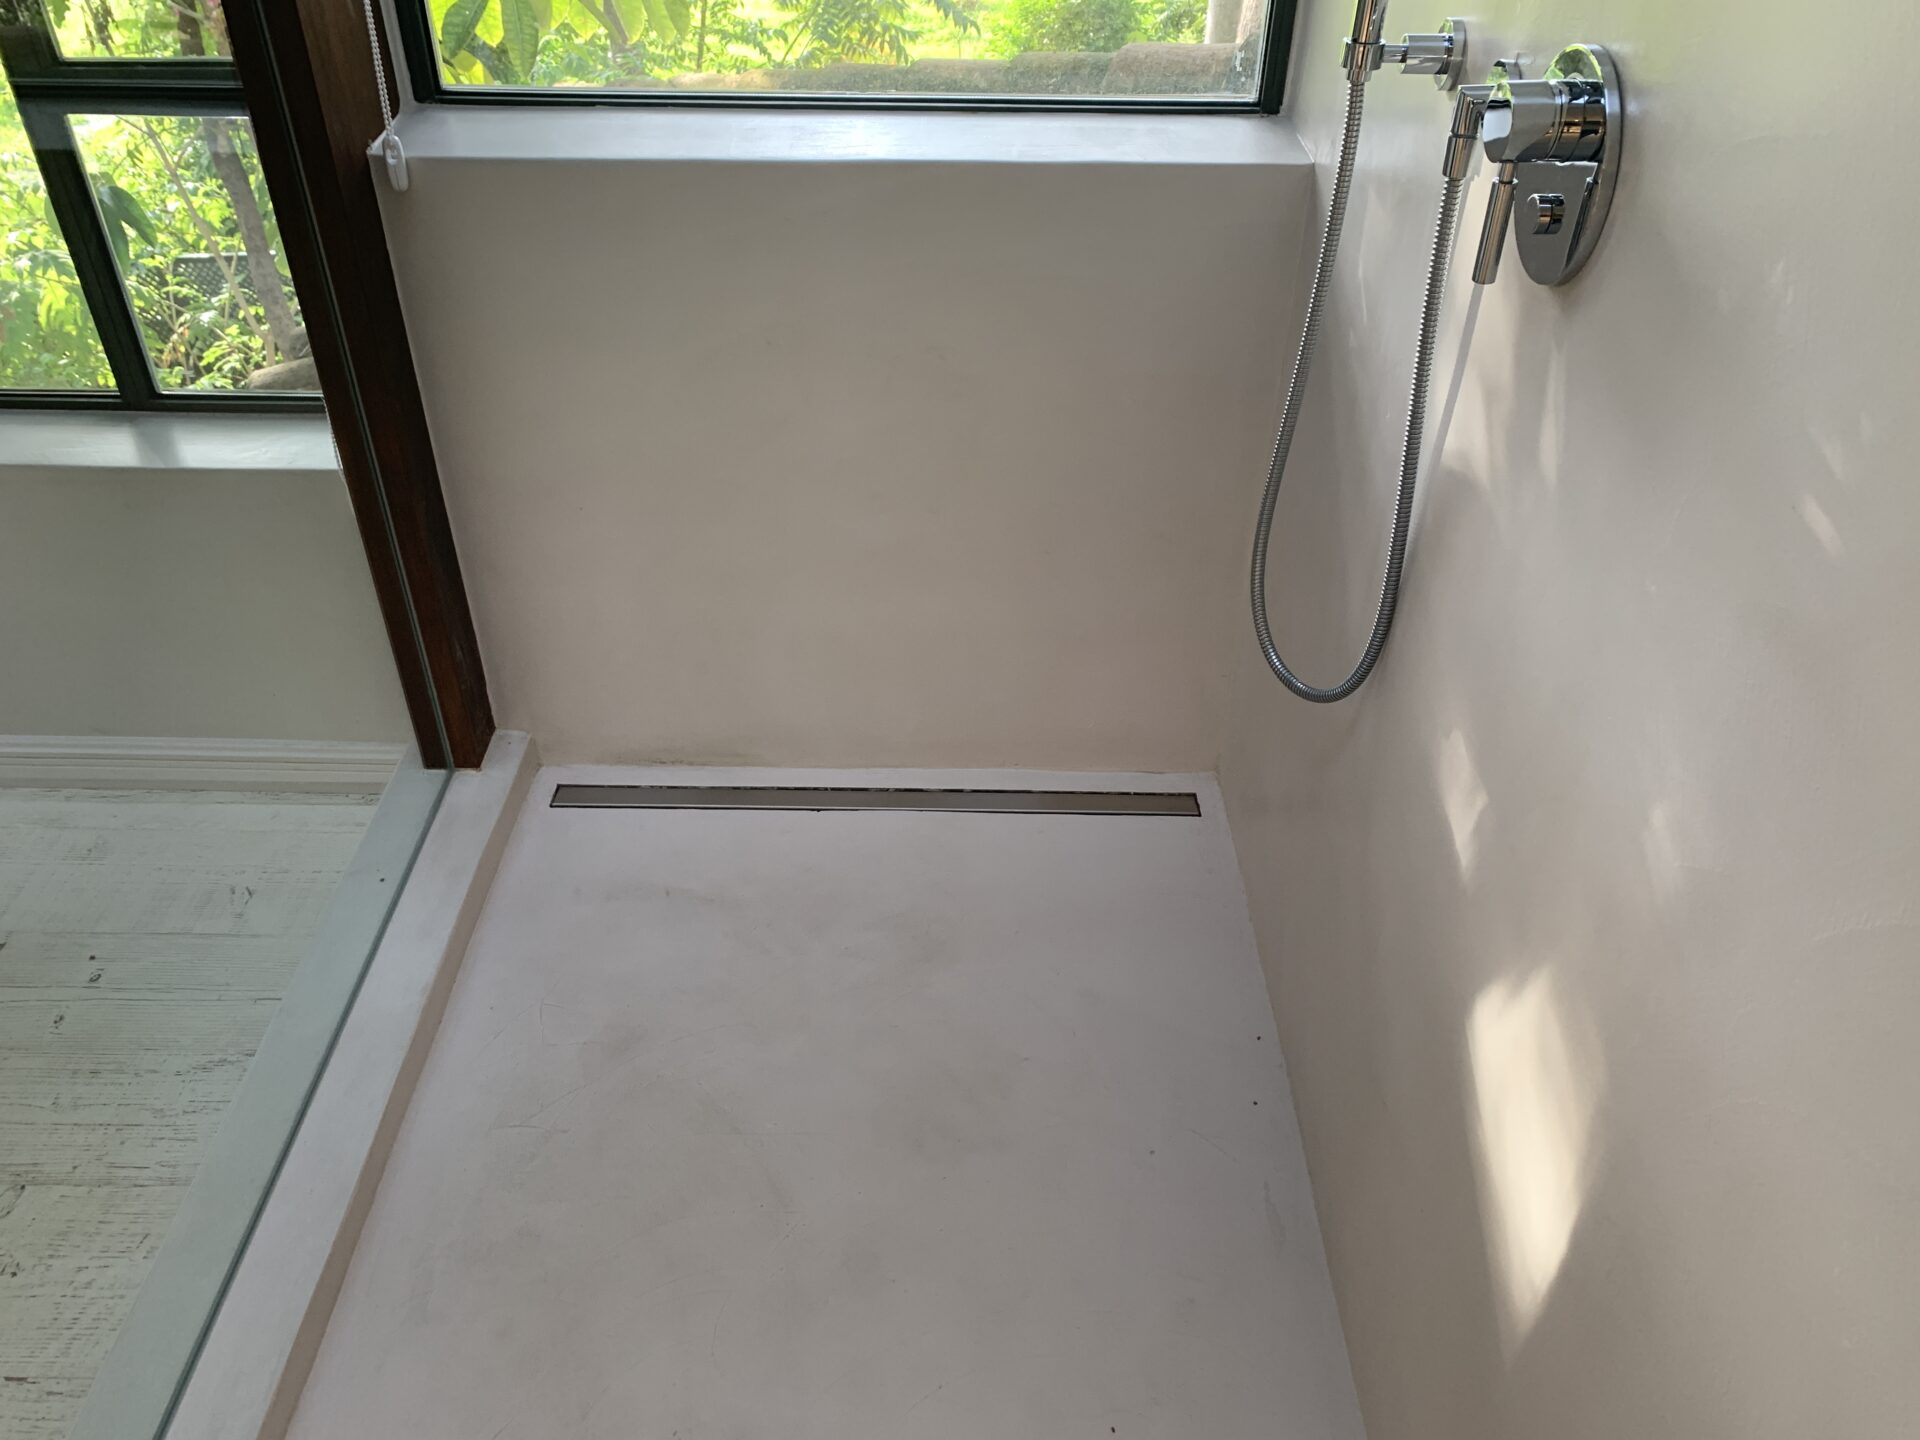
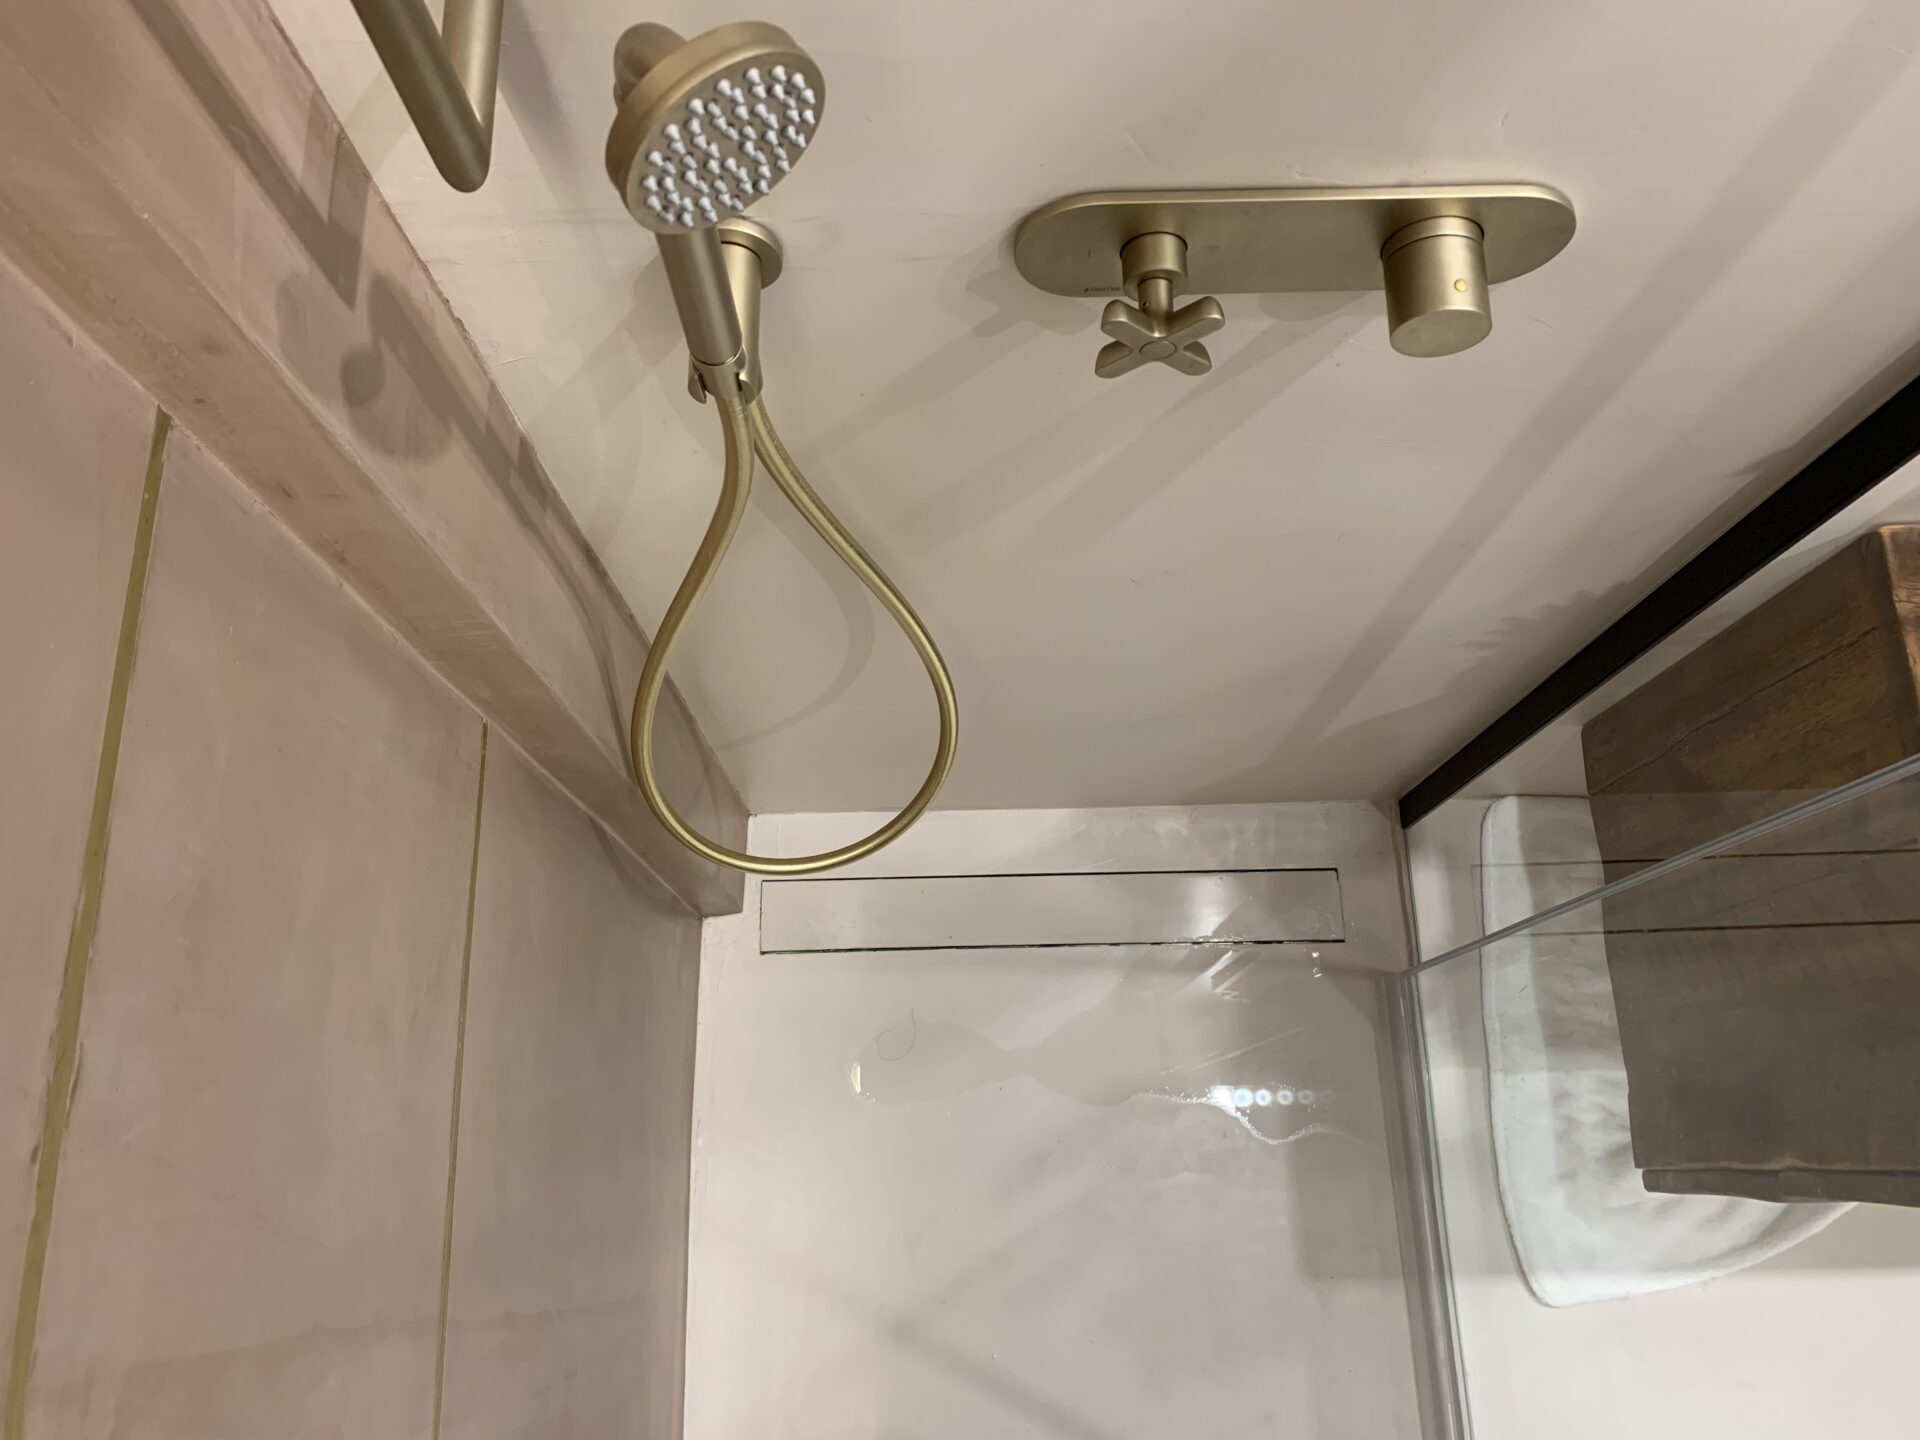
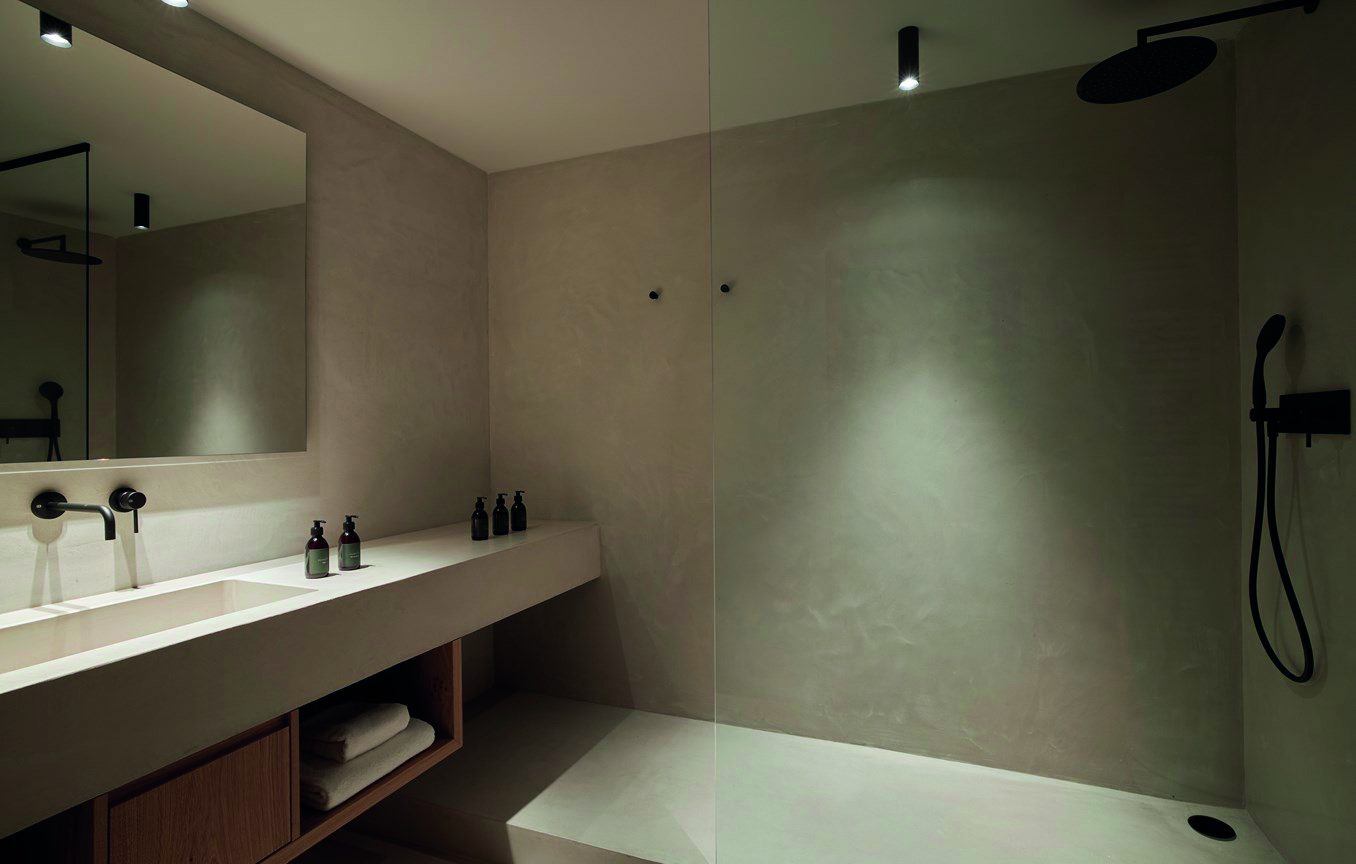
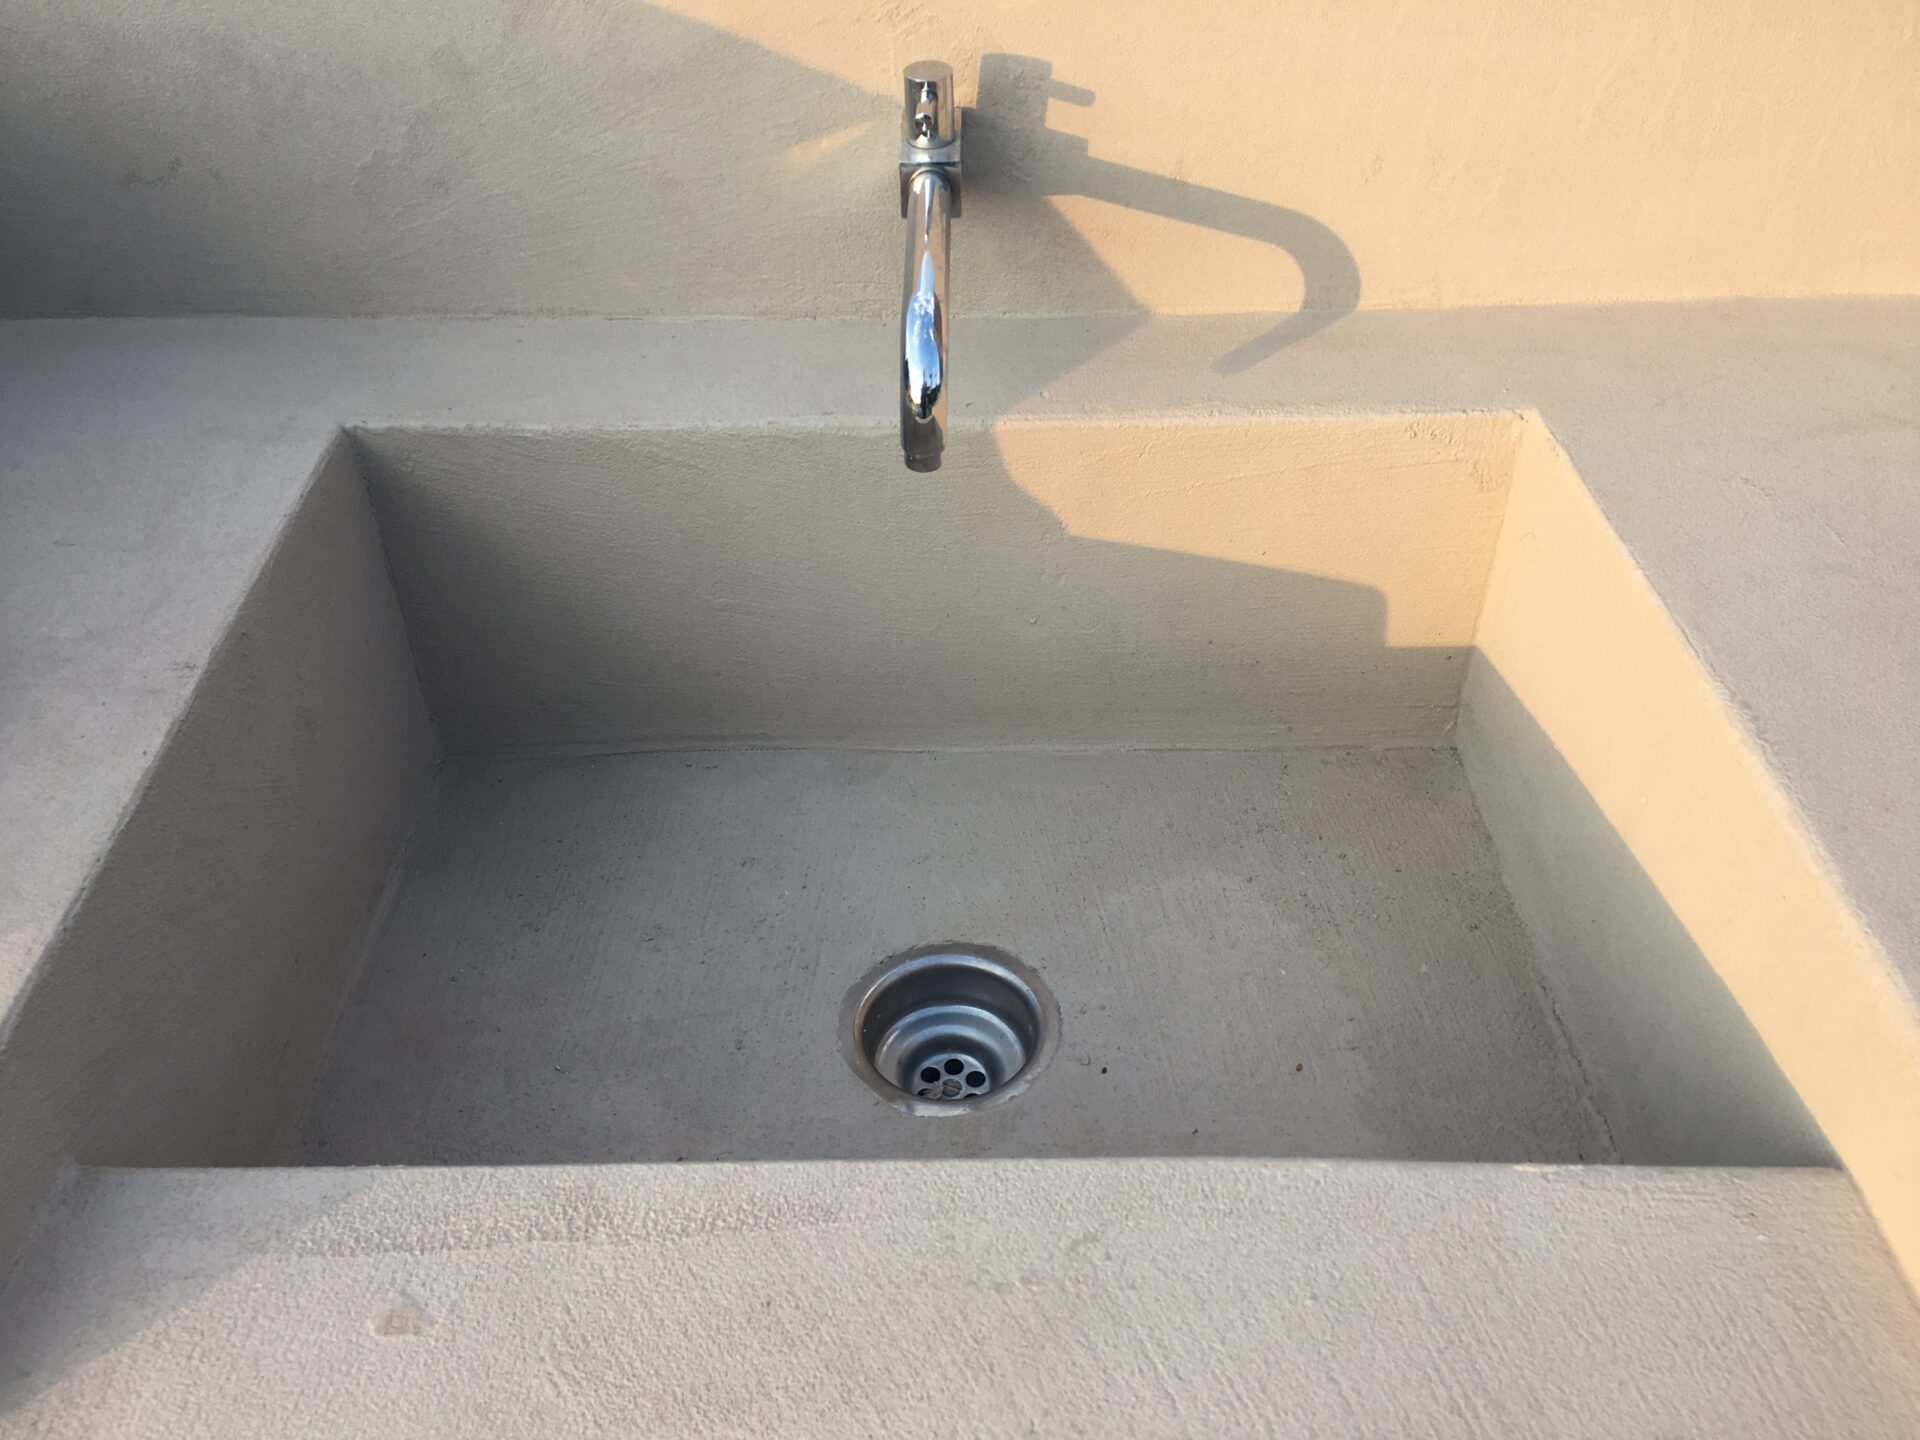
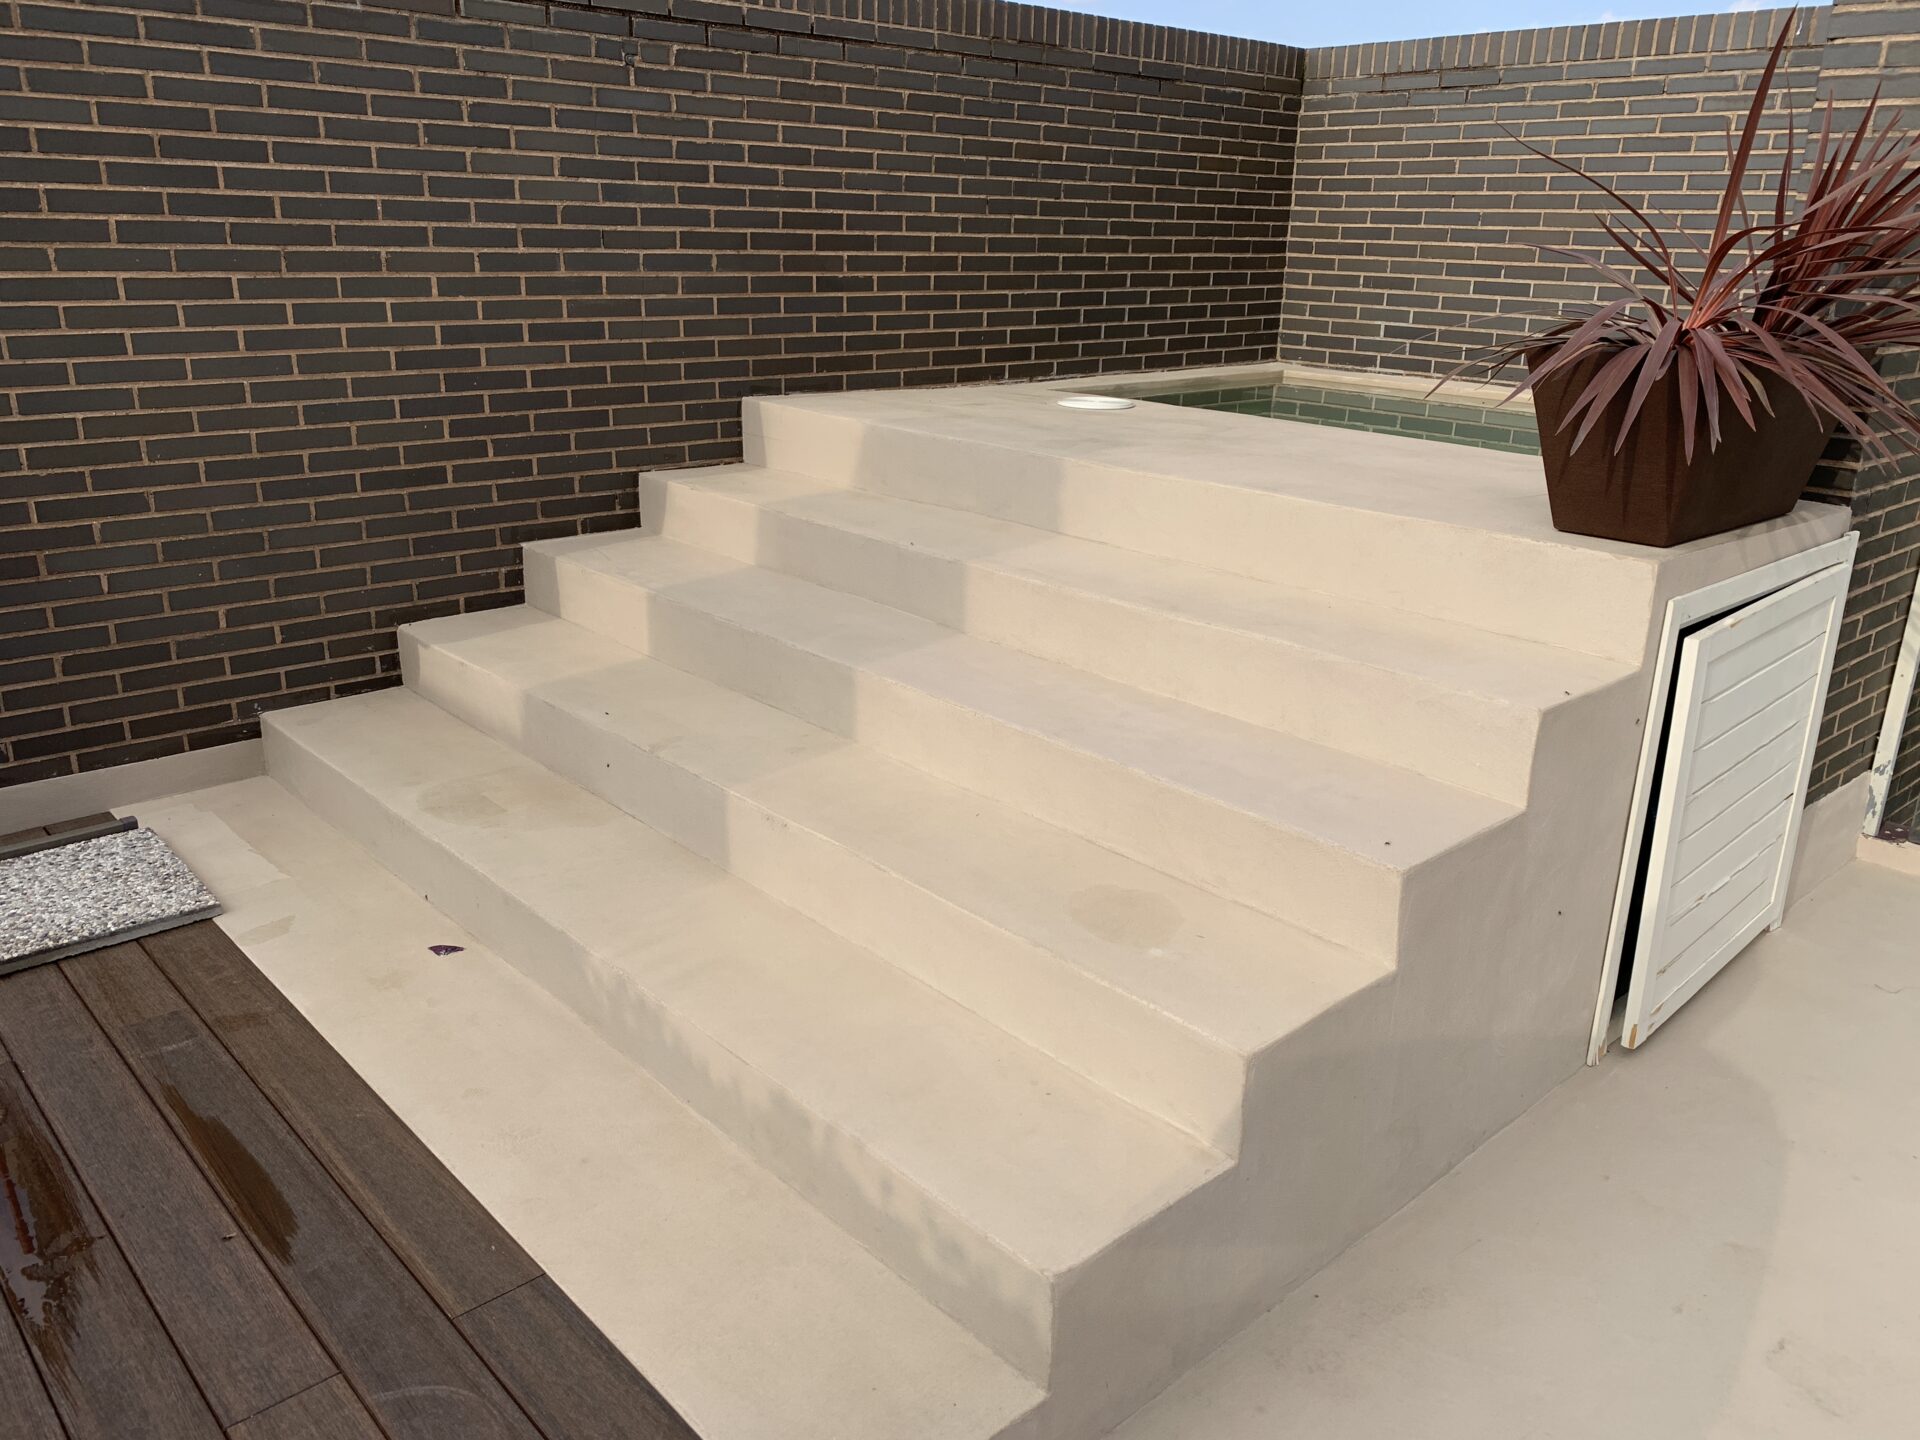
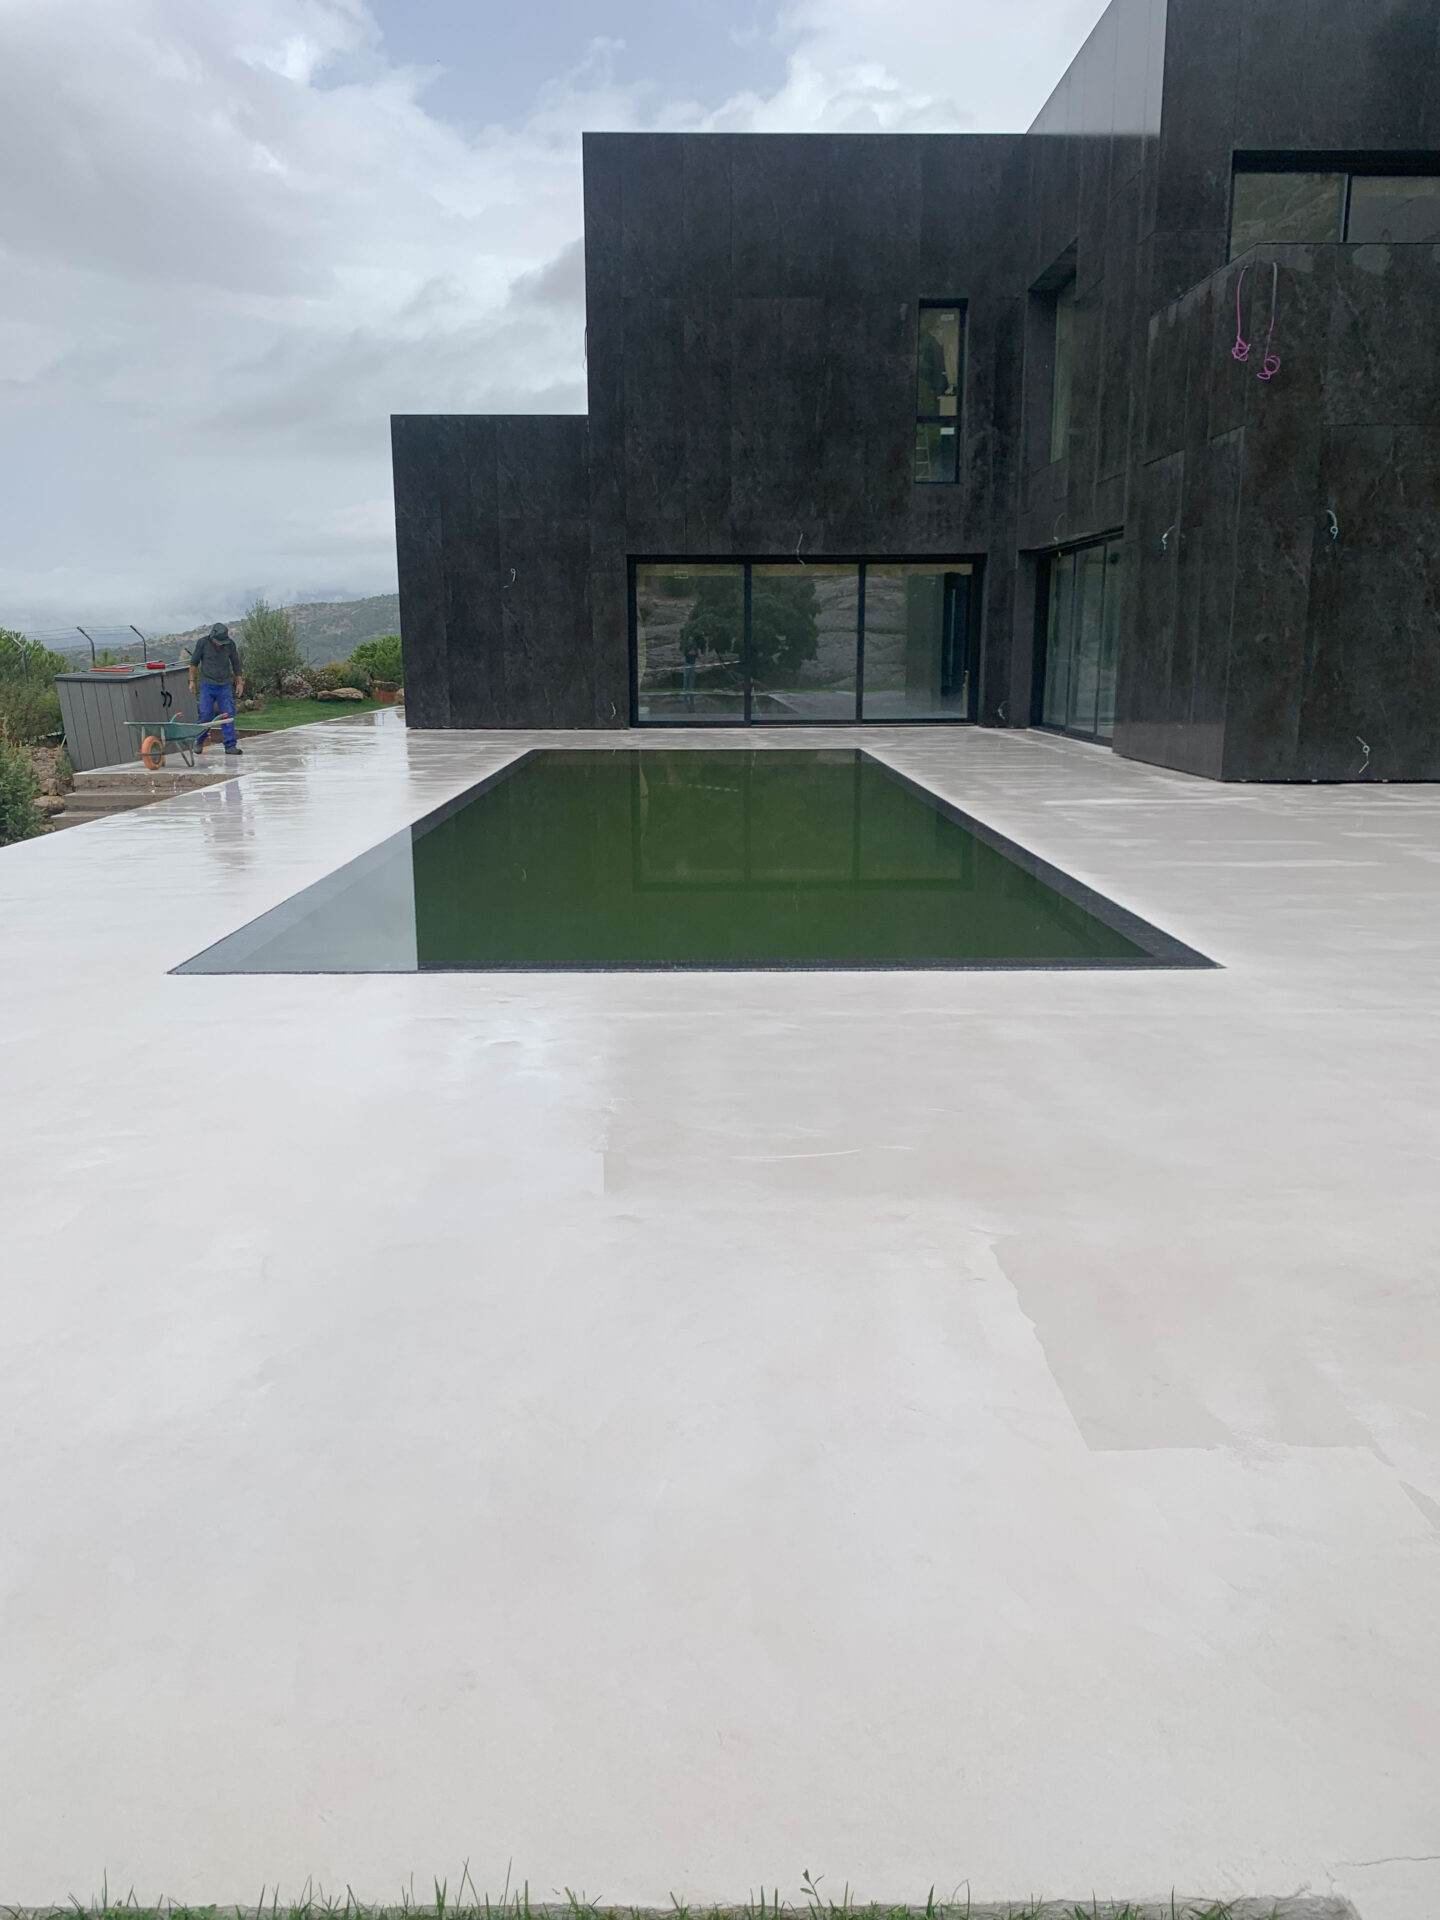
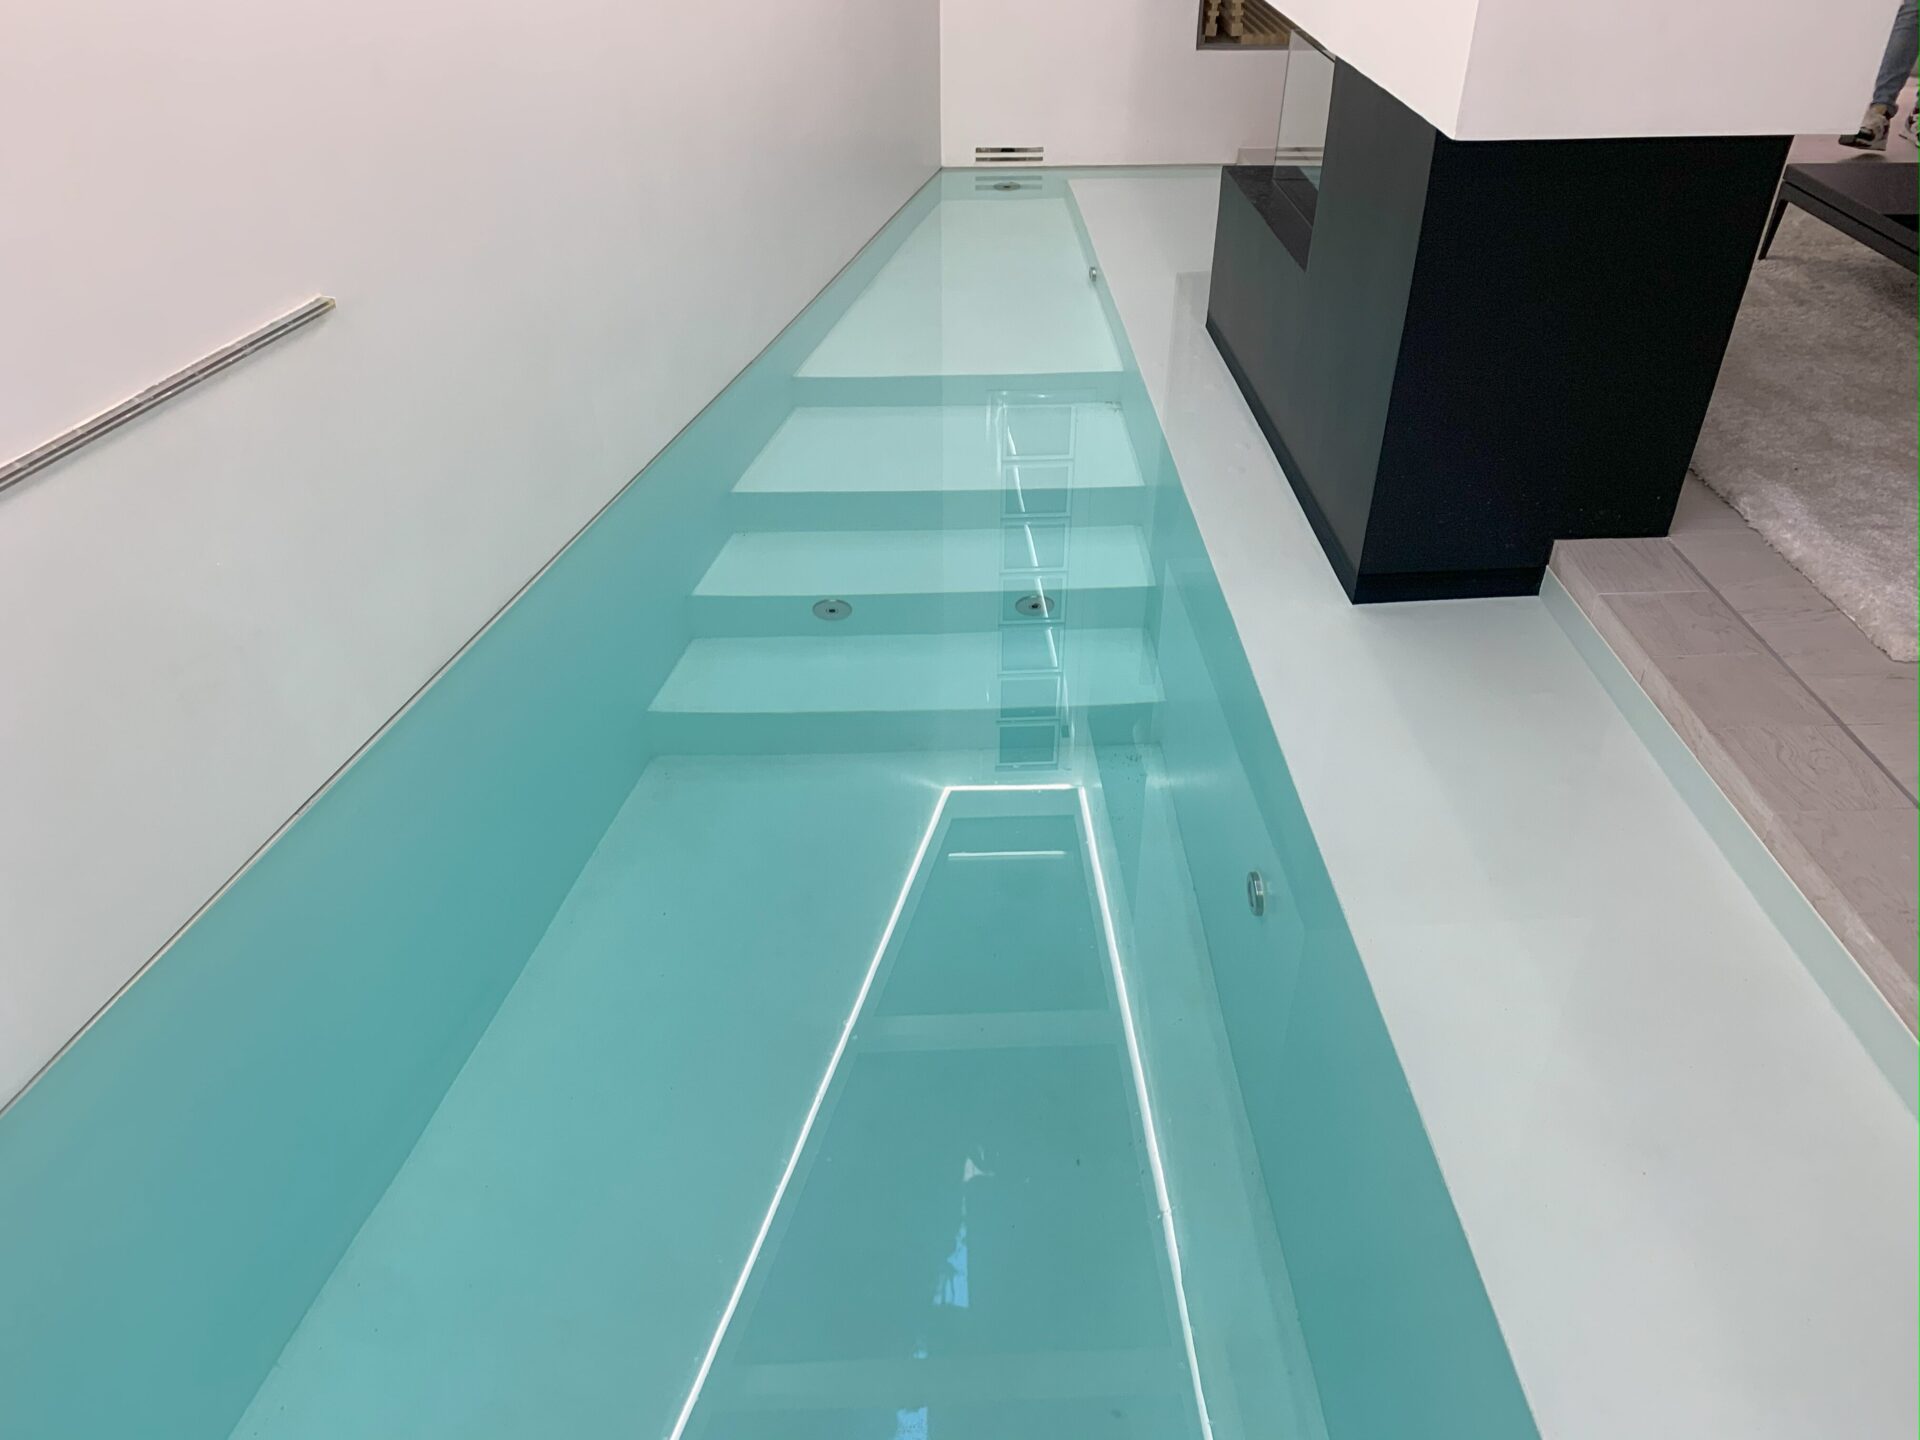
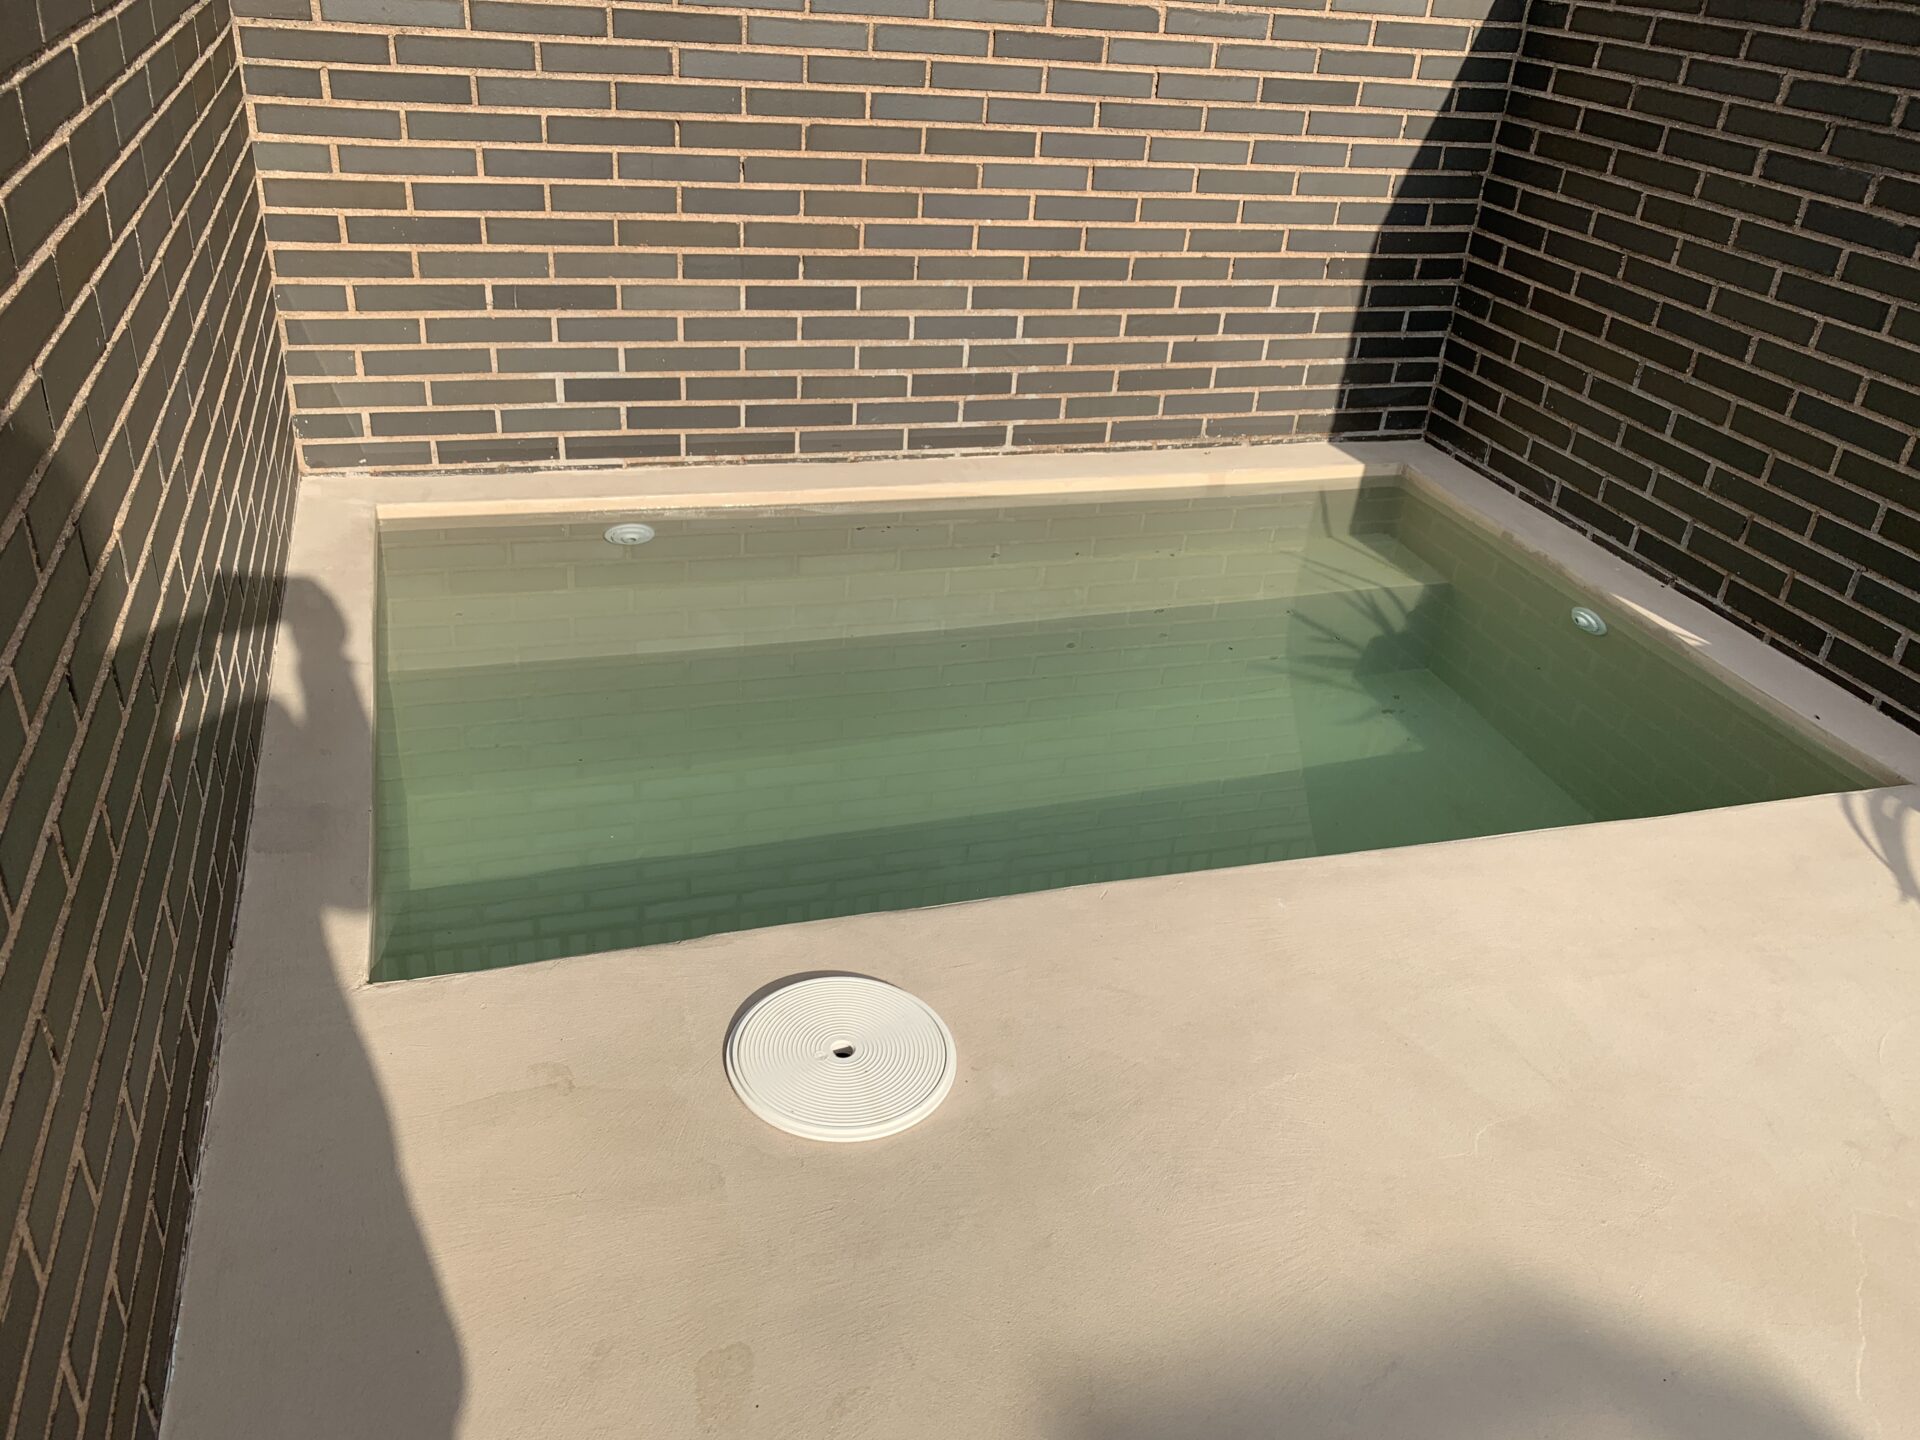
Added to this, we have the impermeability of the material that makes Homecret microcement allies of water and humid areas.
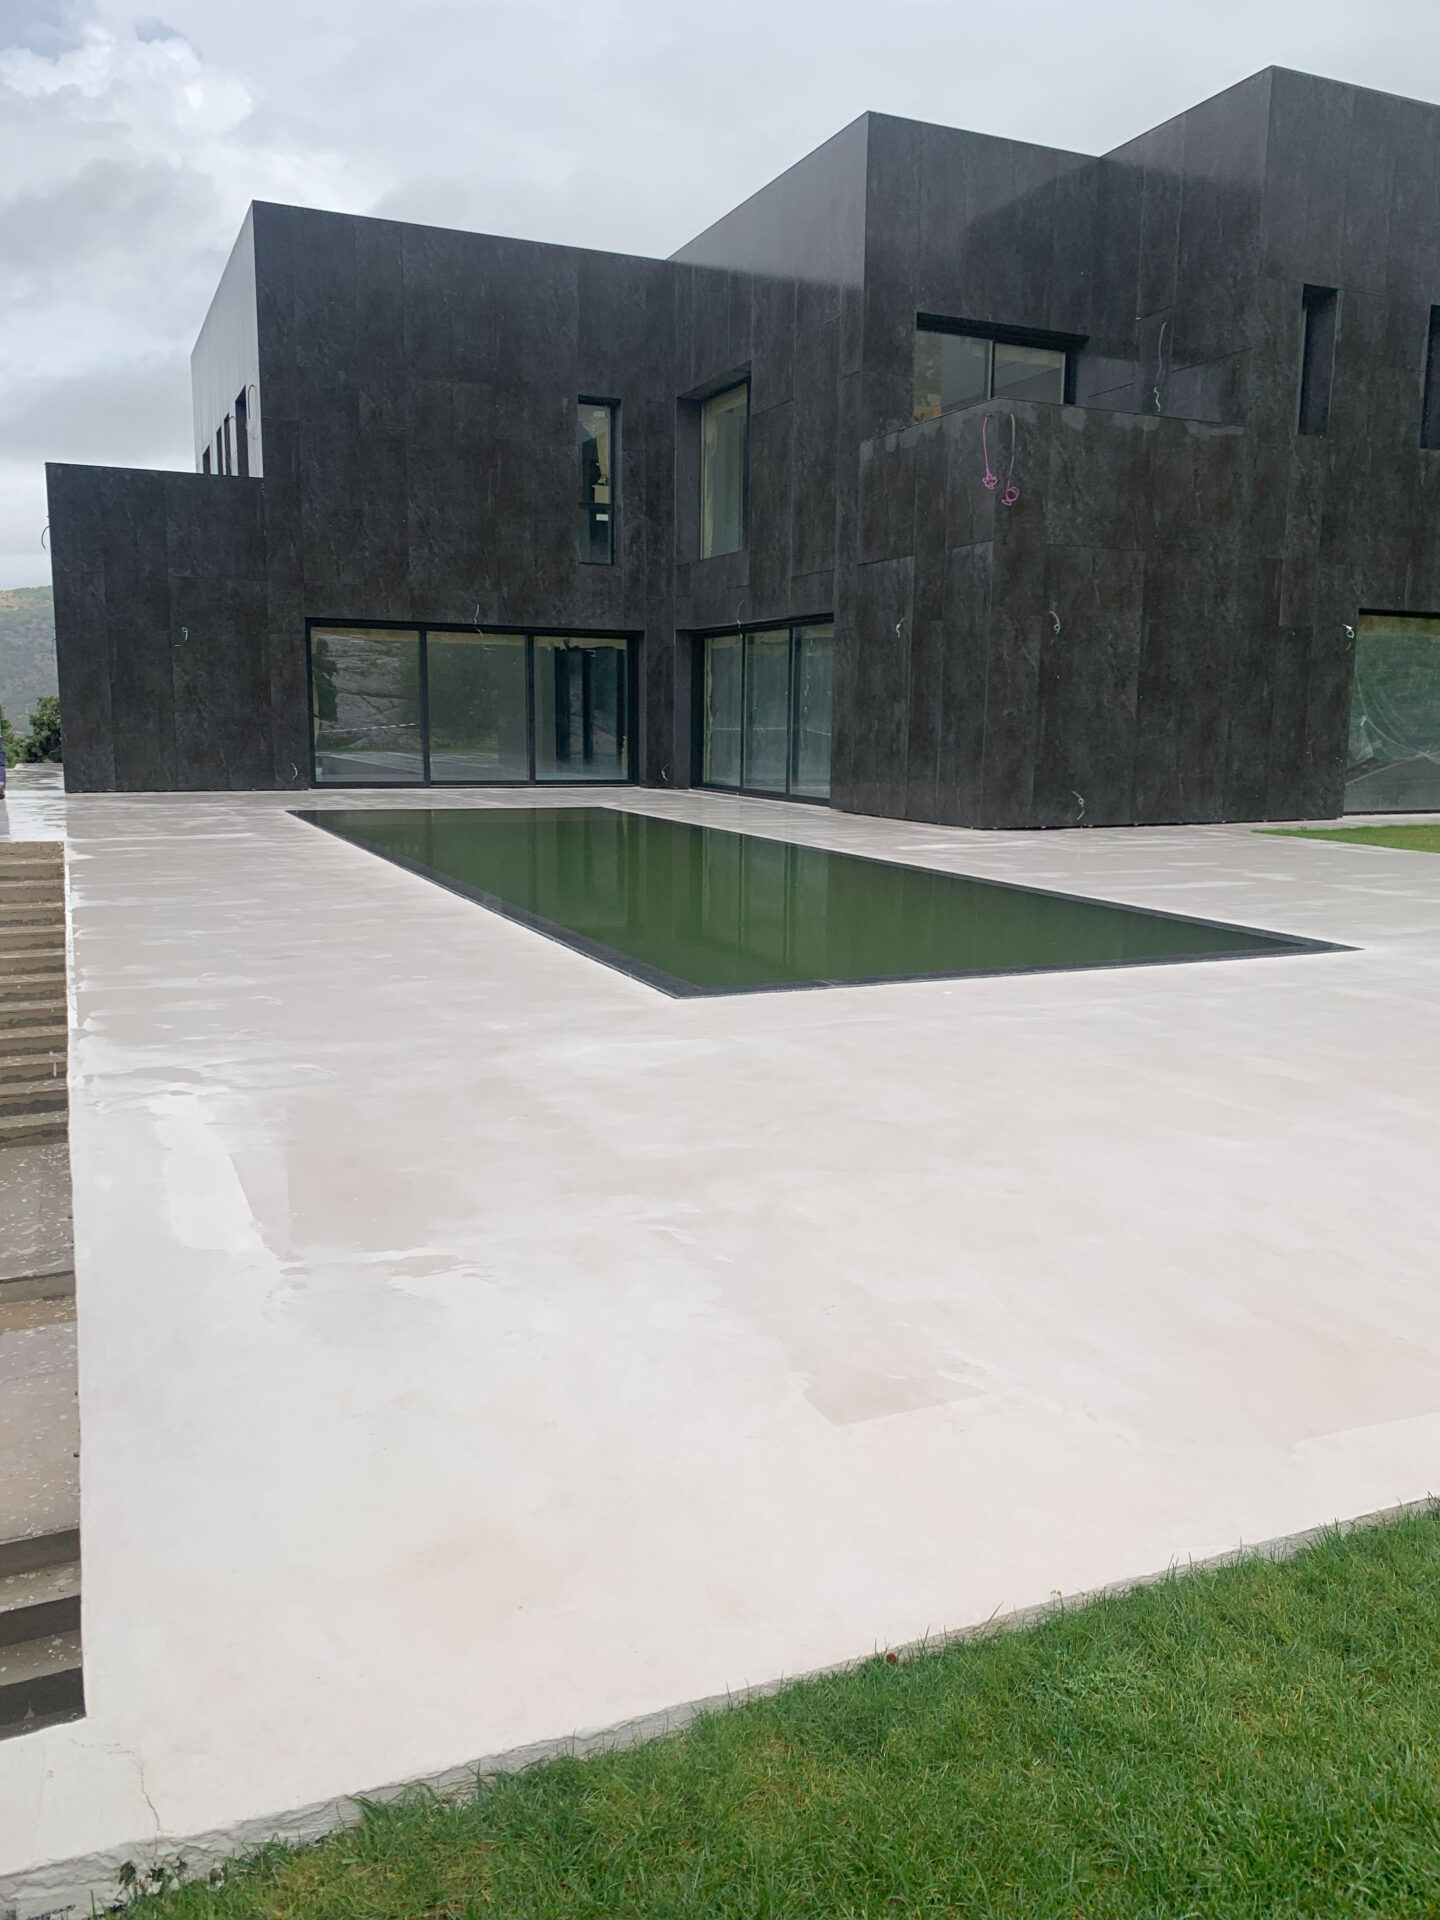
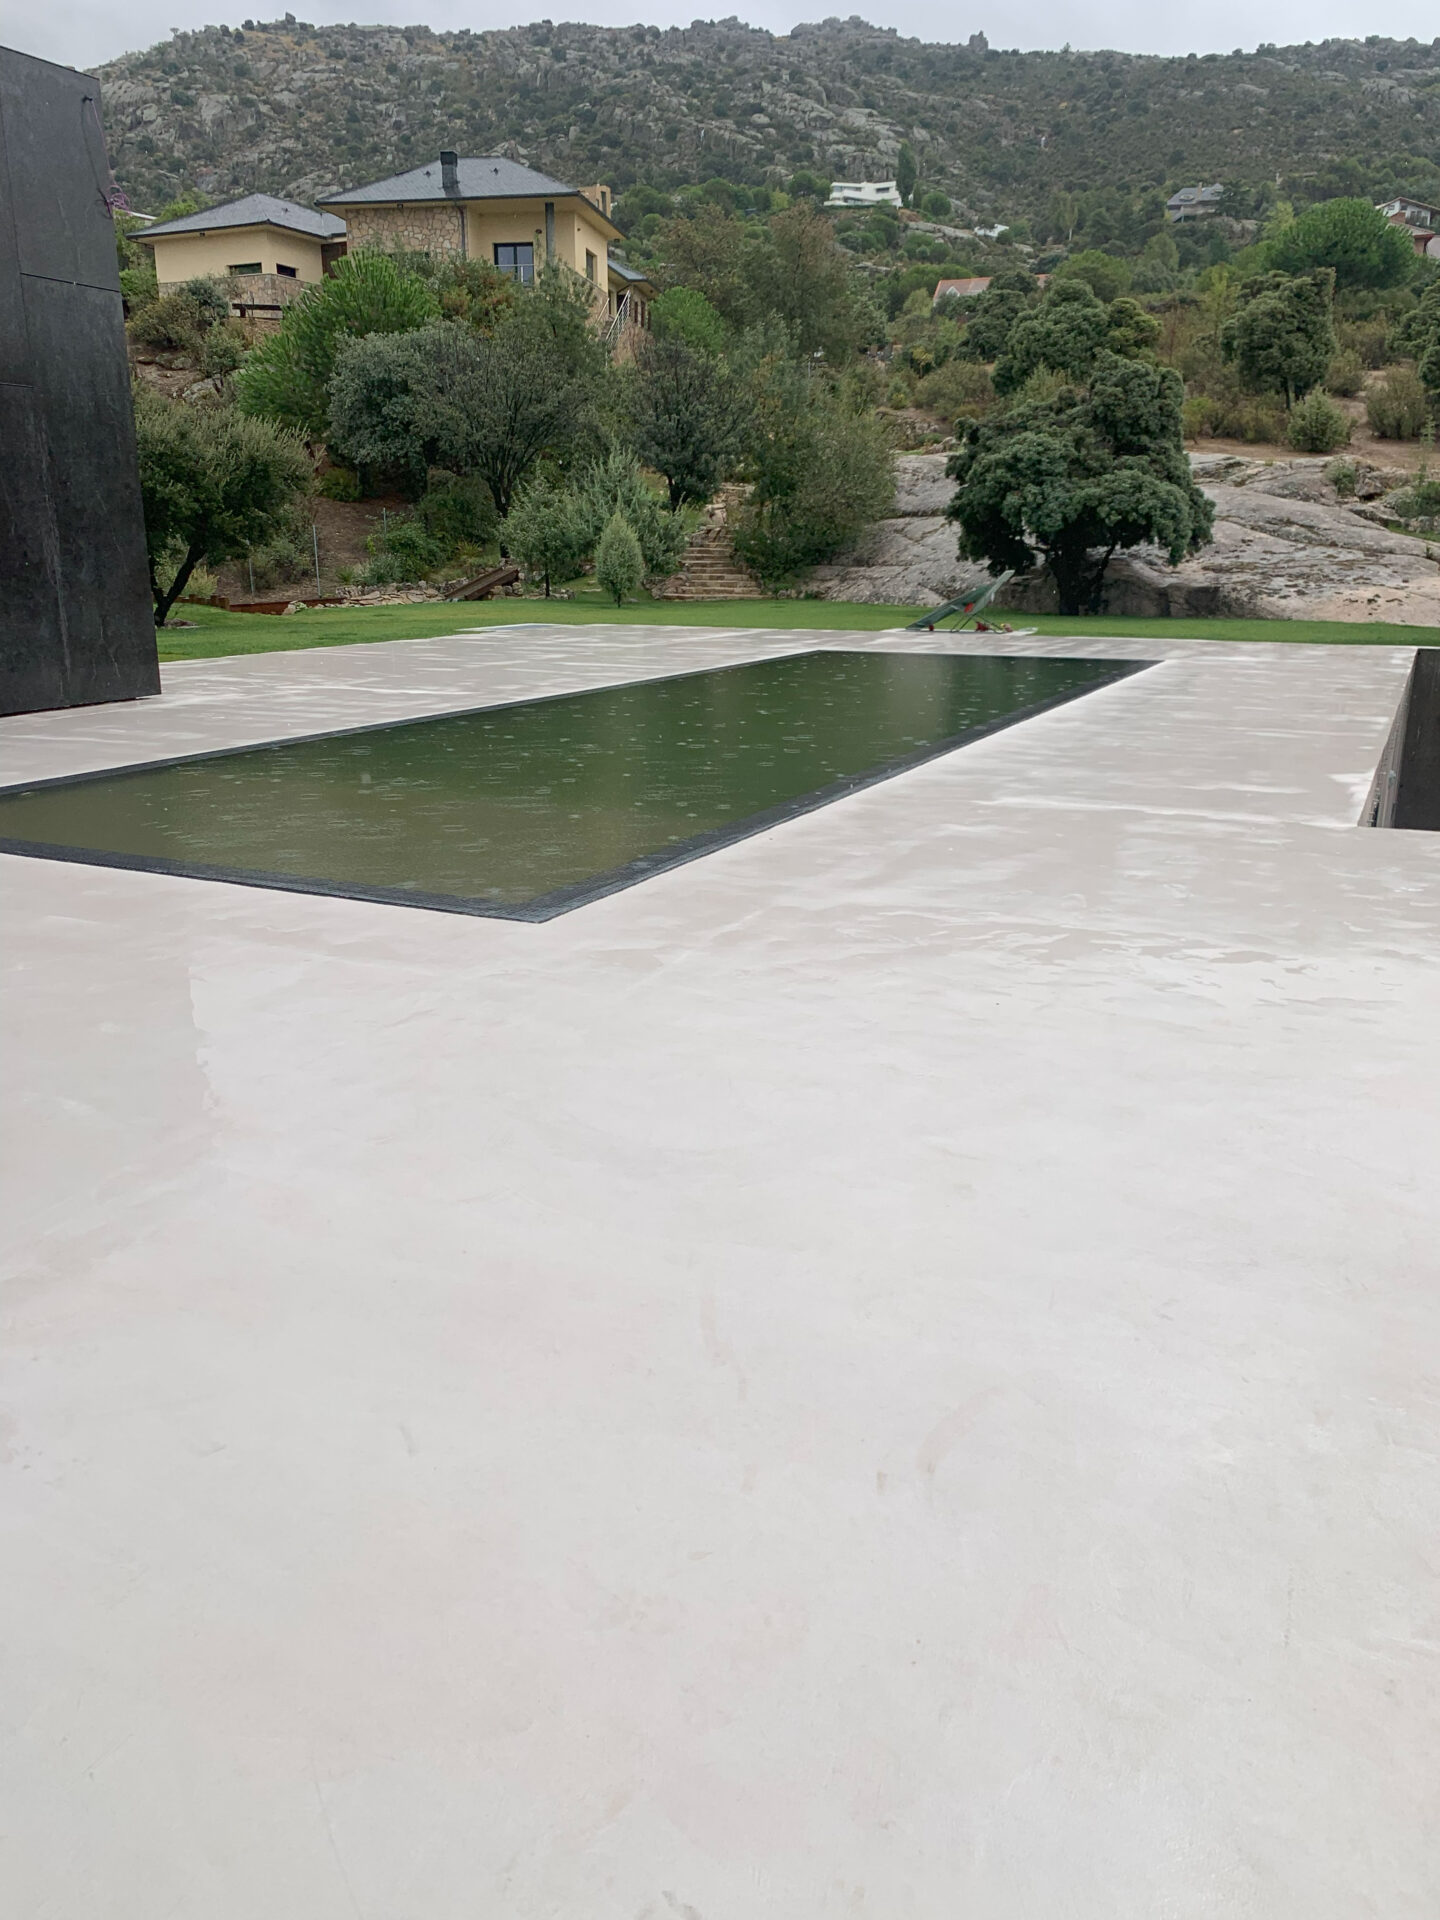
Its non-slip properties prevent risks, making it the ideal flooring for swimming pools, shower floors or spas.
Some of our Partners
And many more…
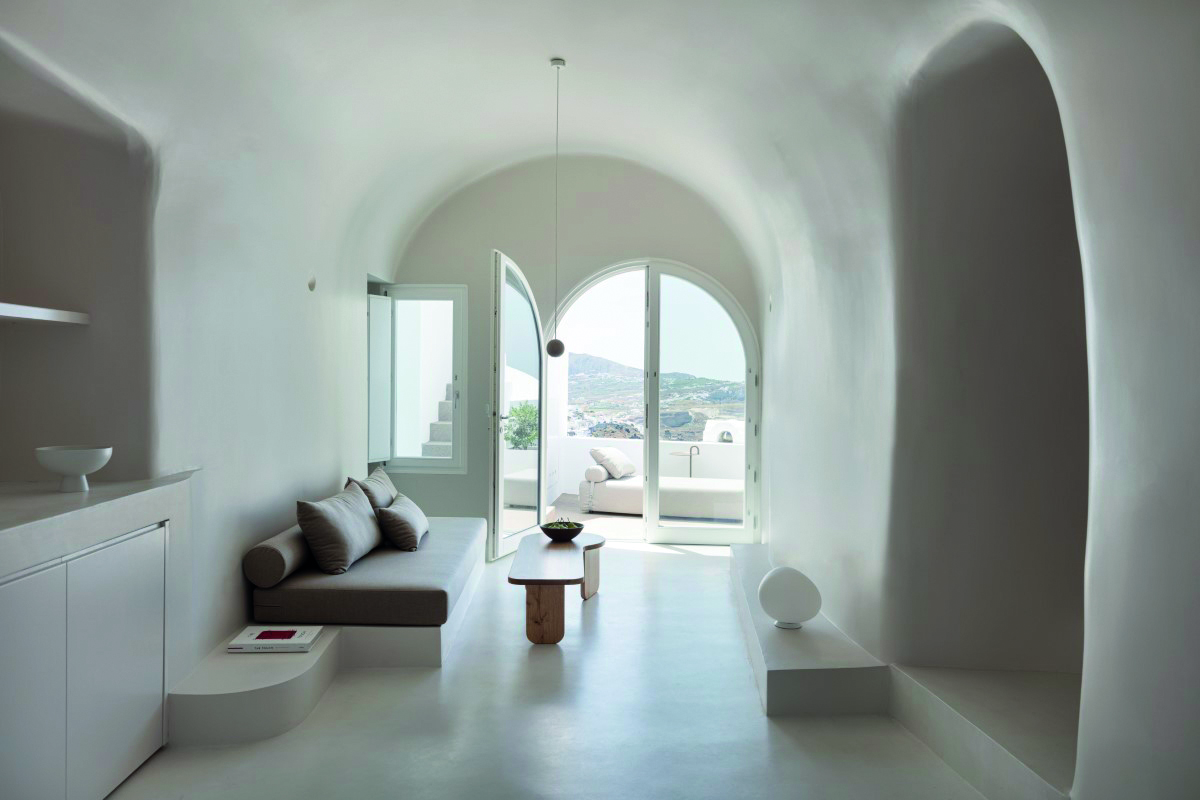
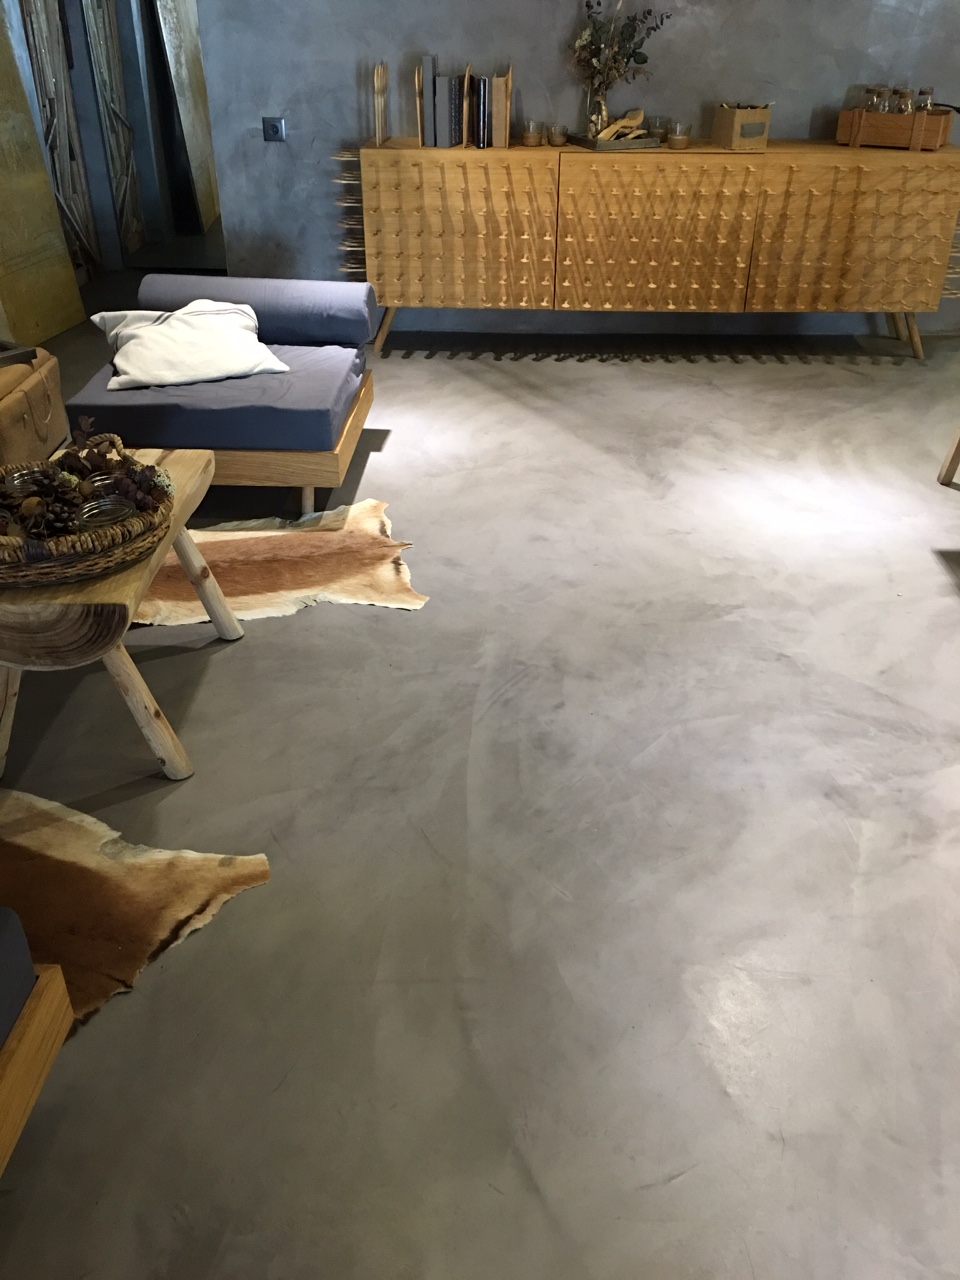
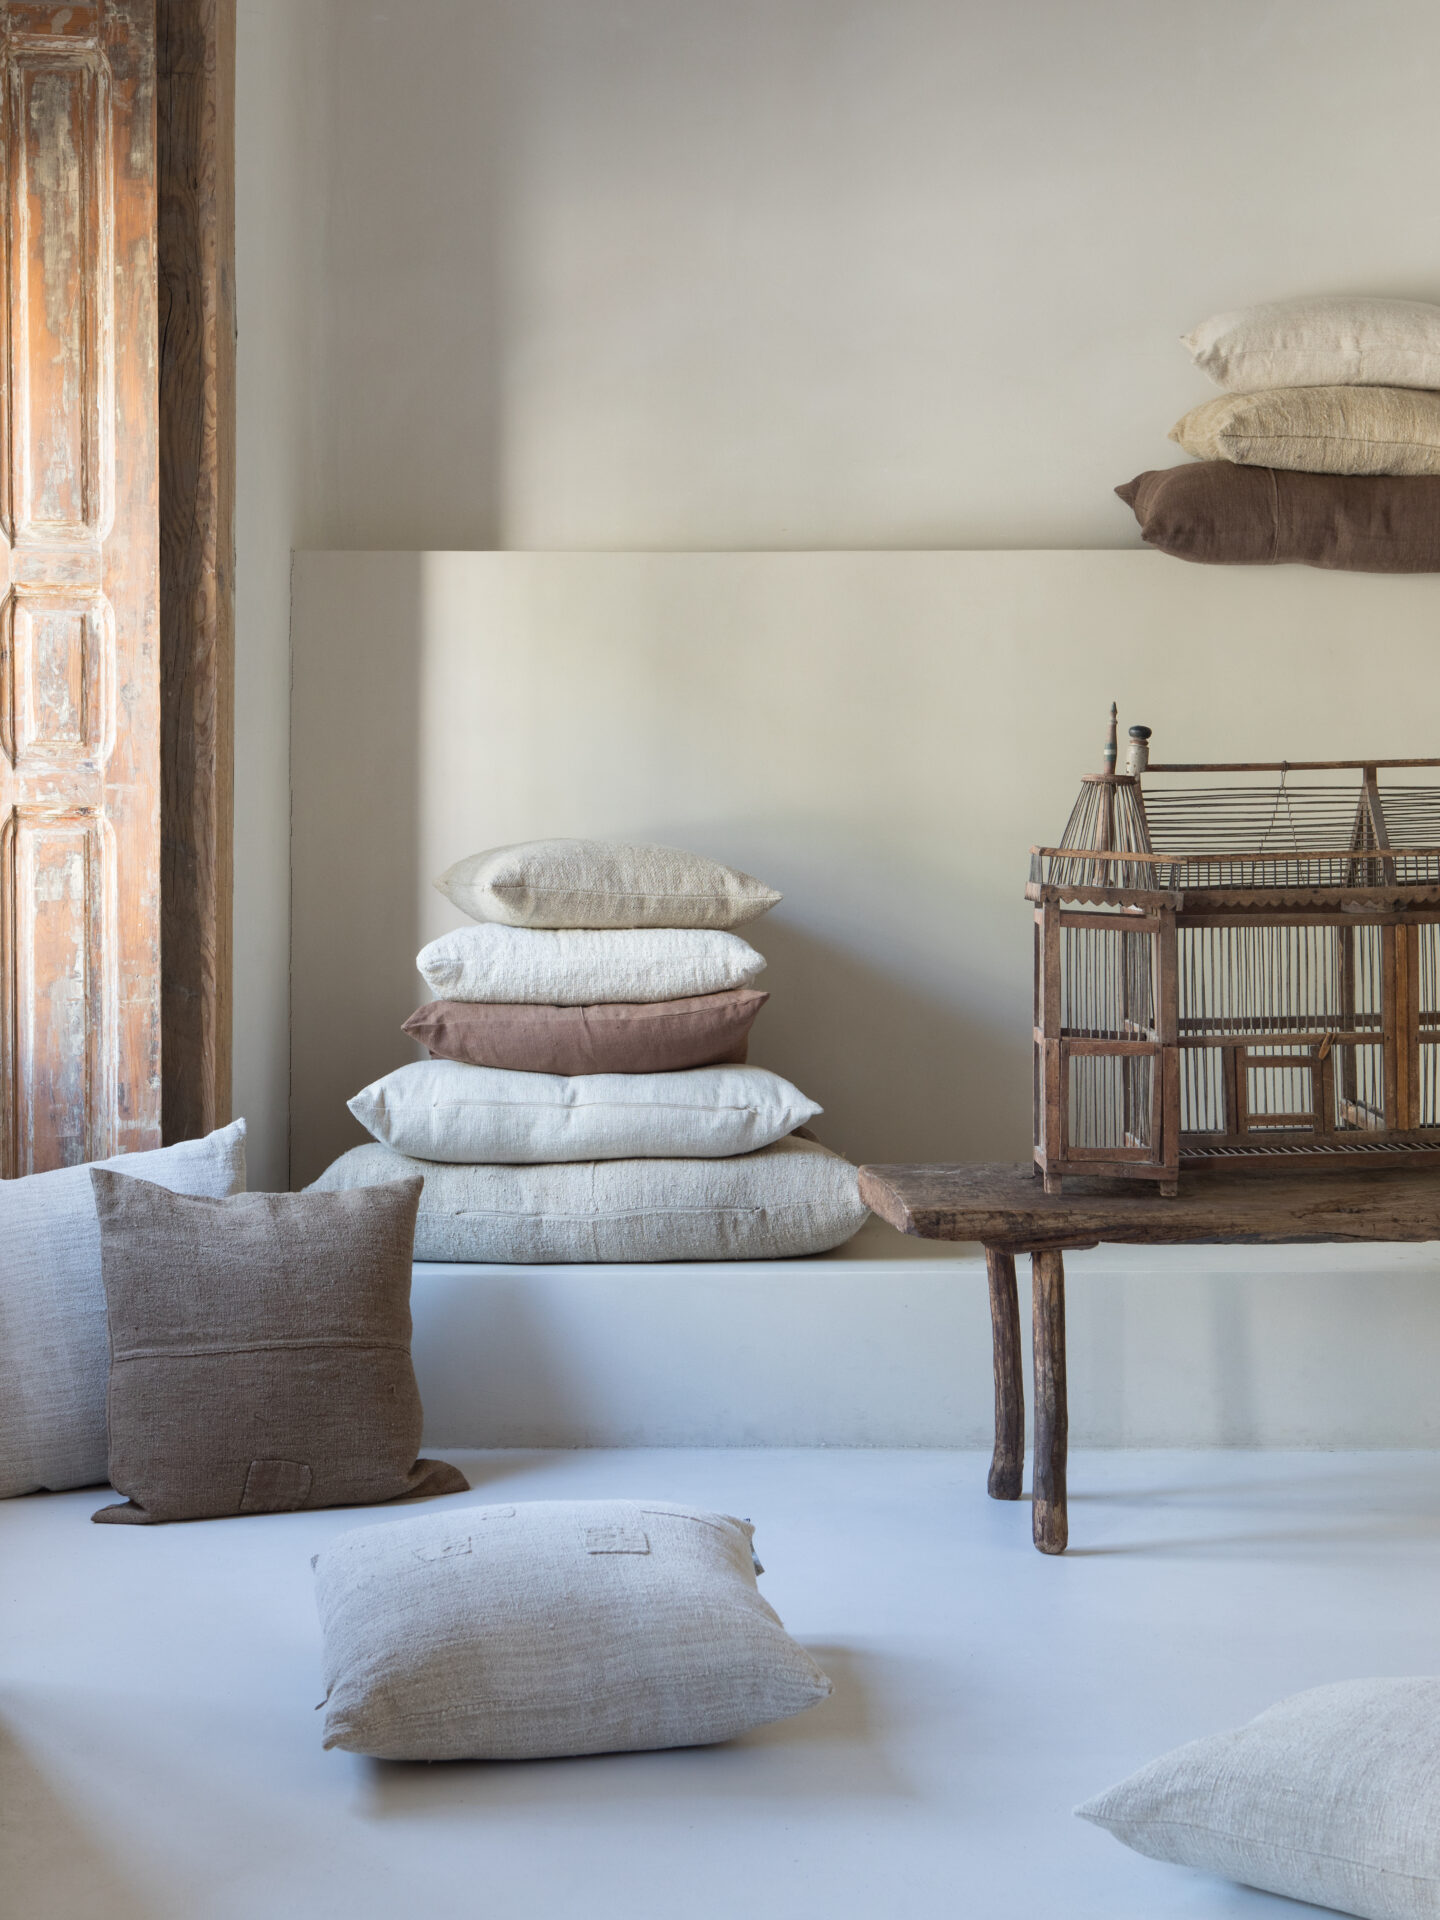
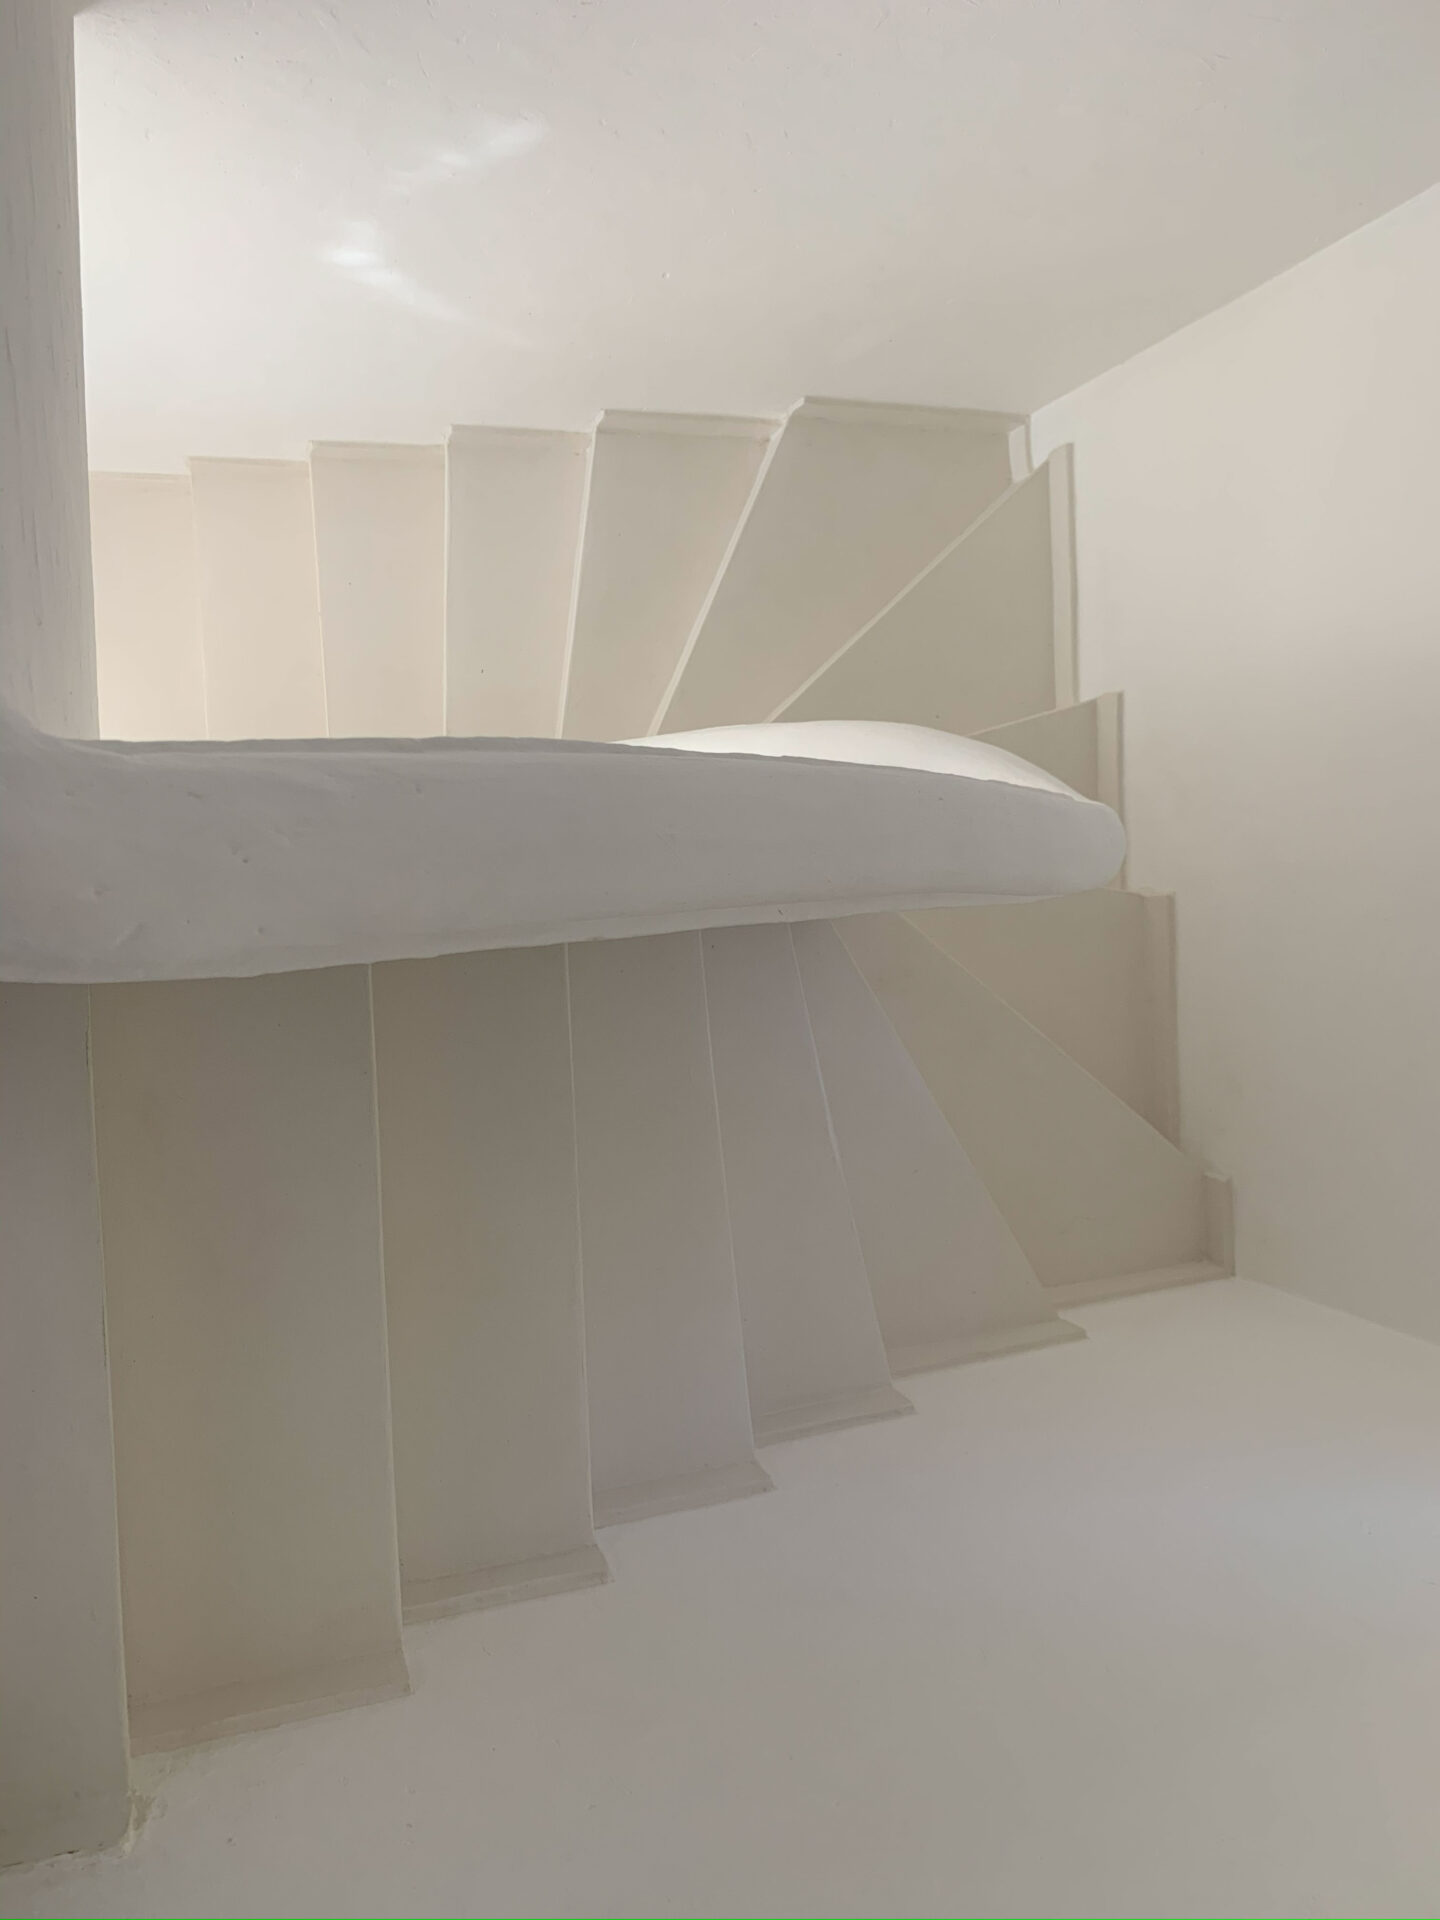
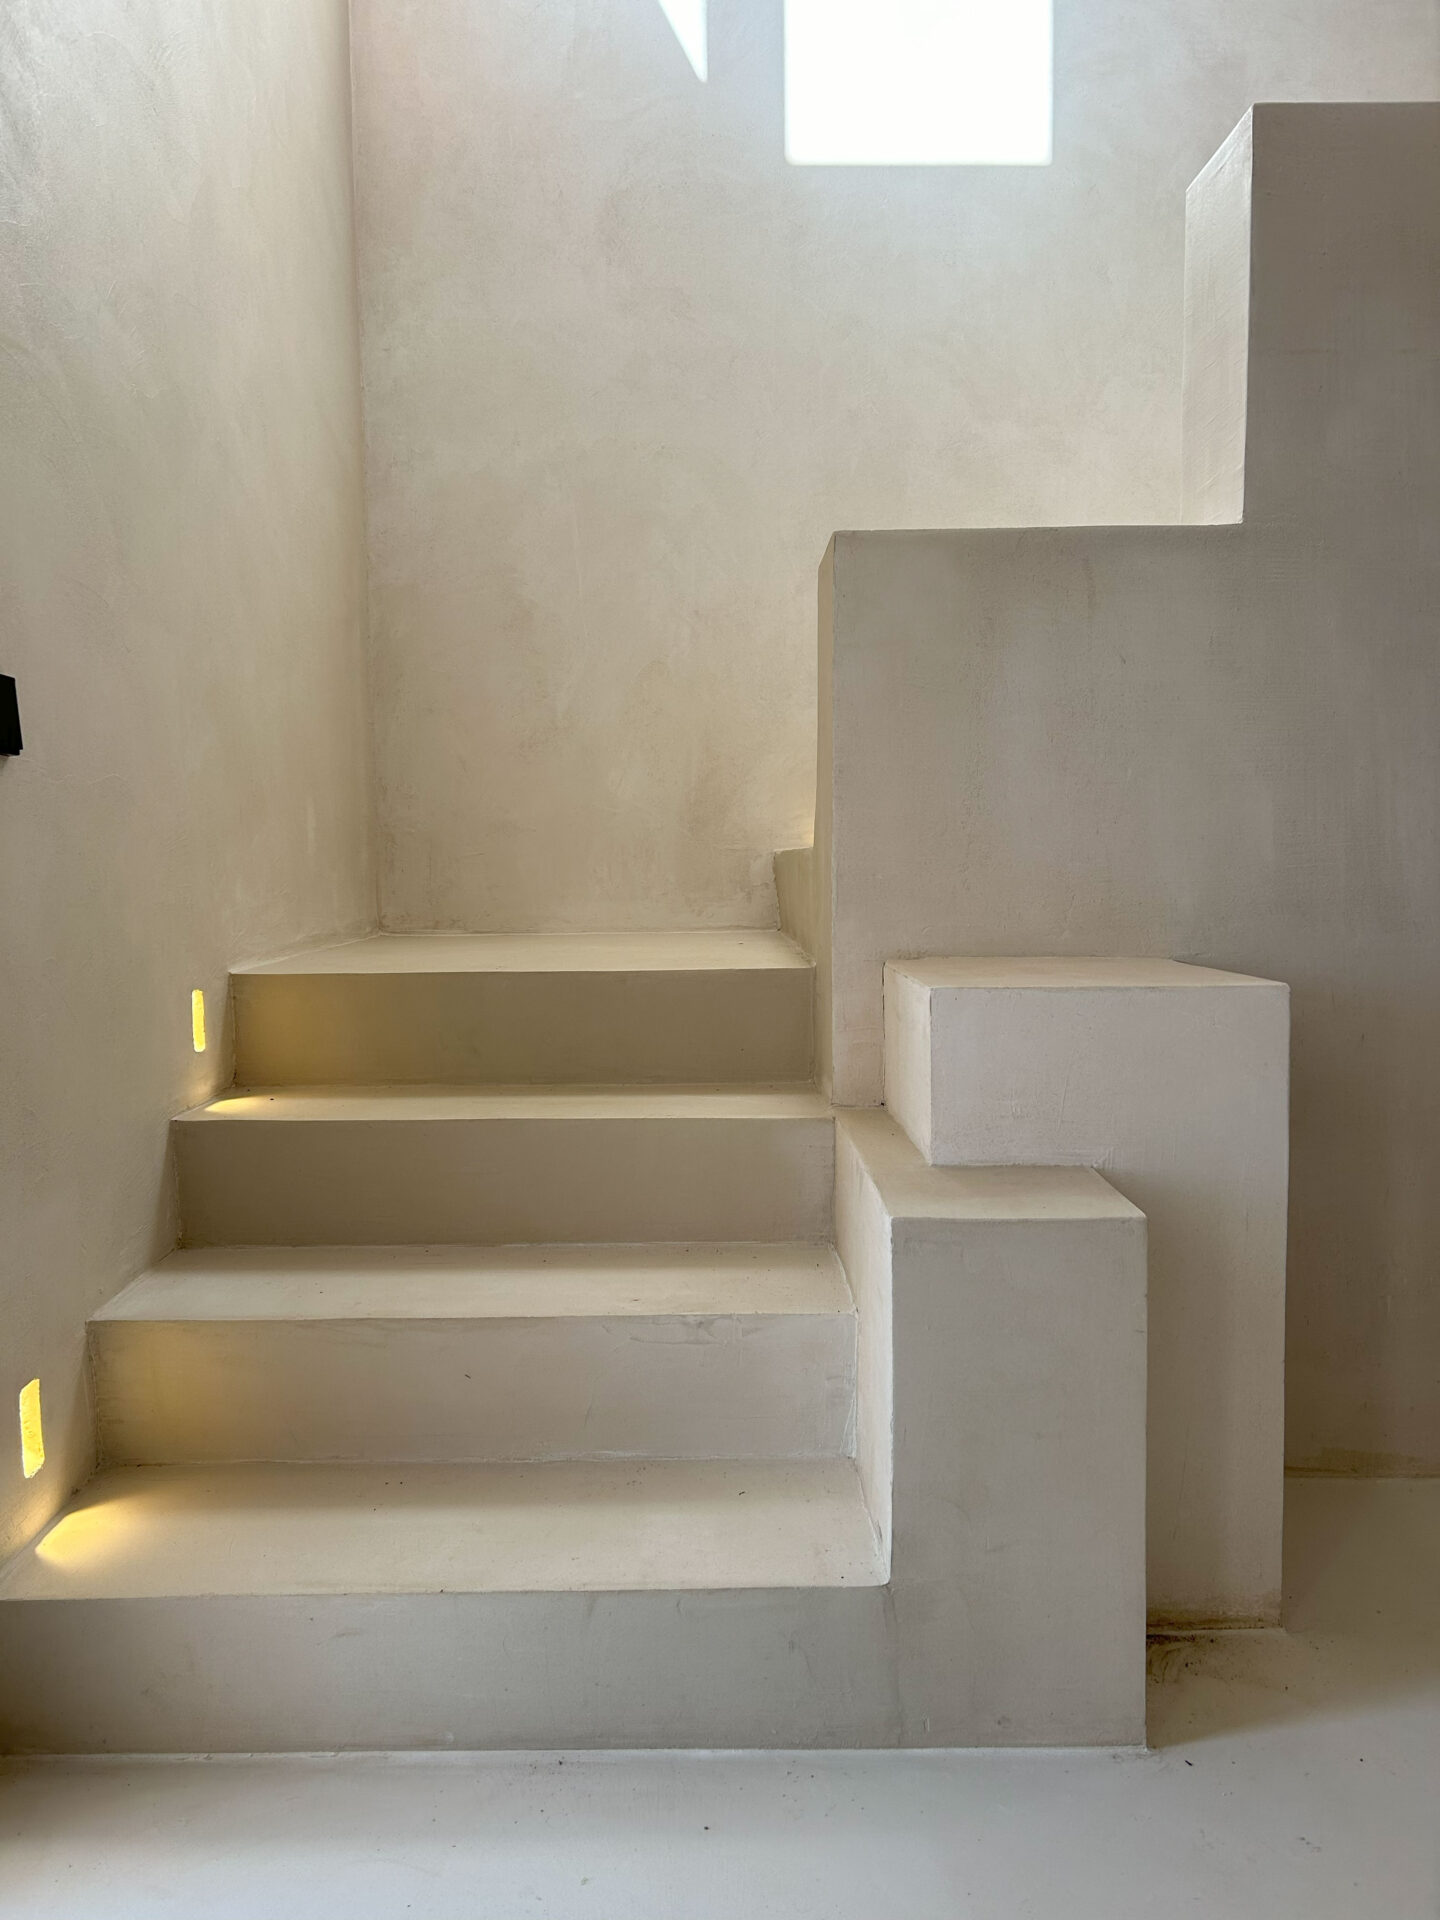
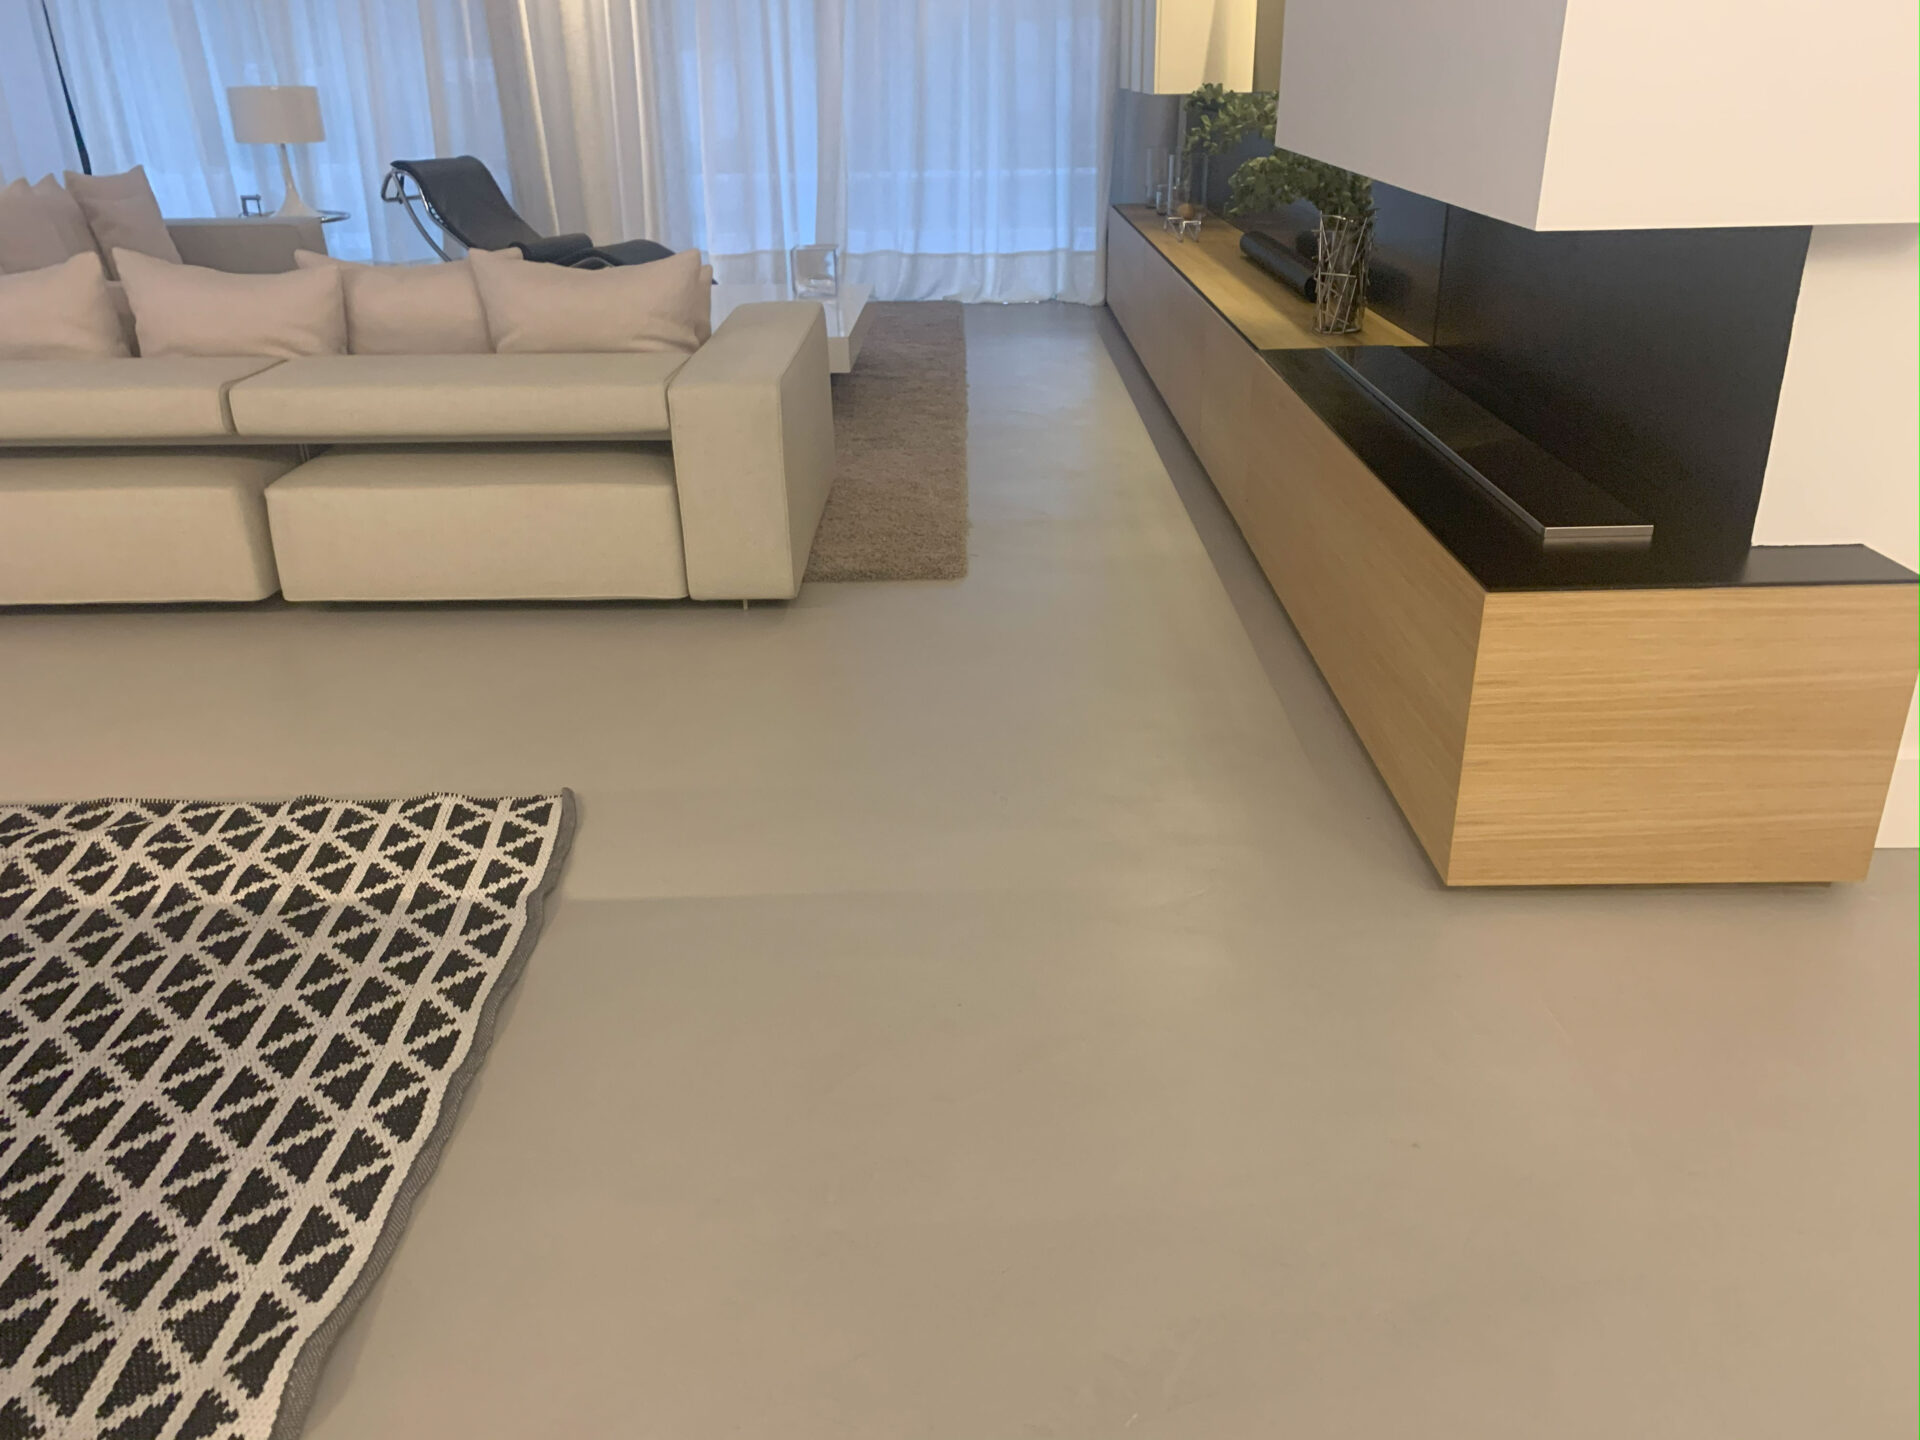
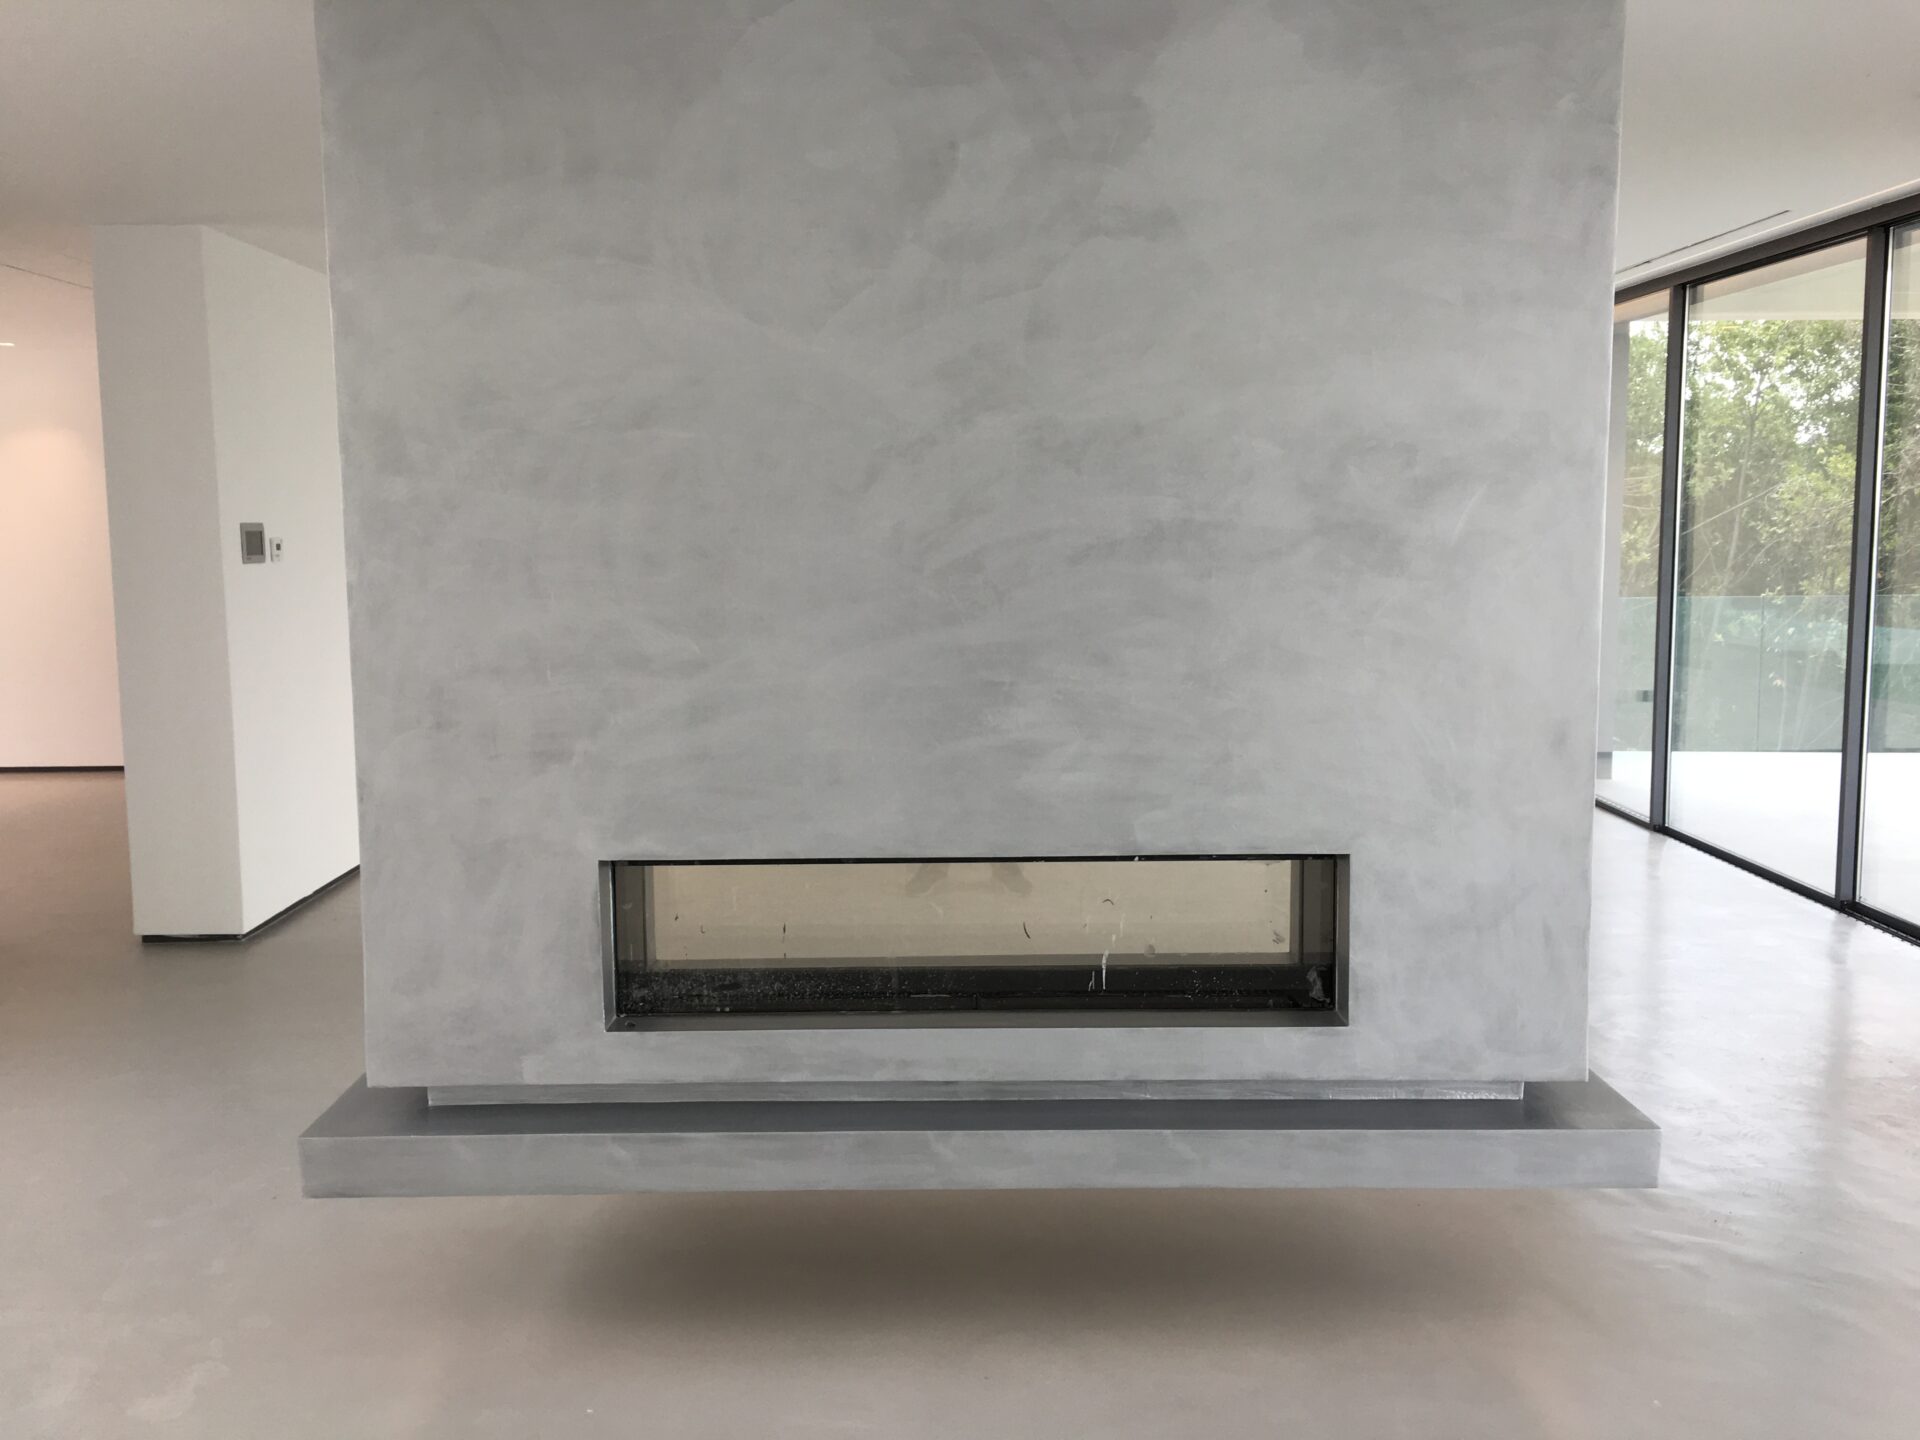
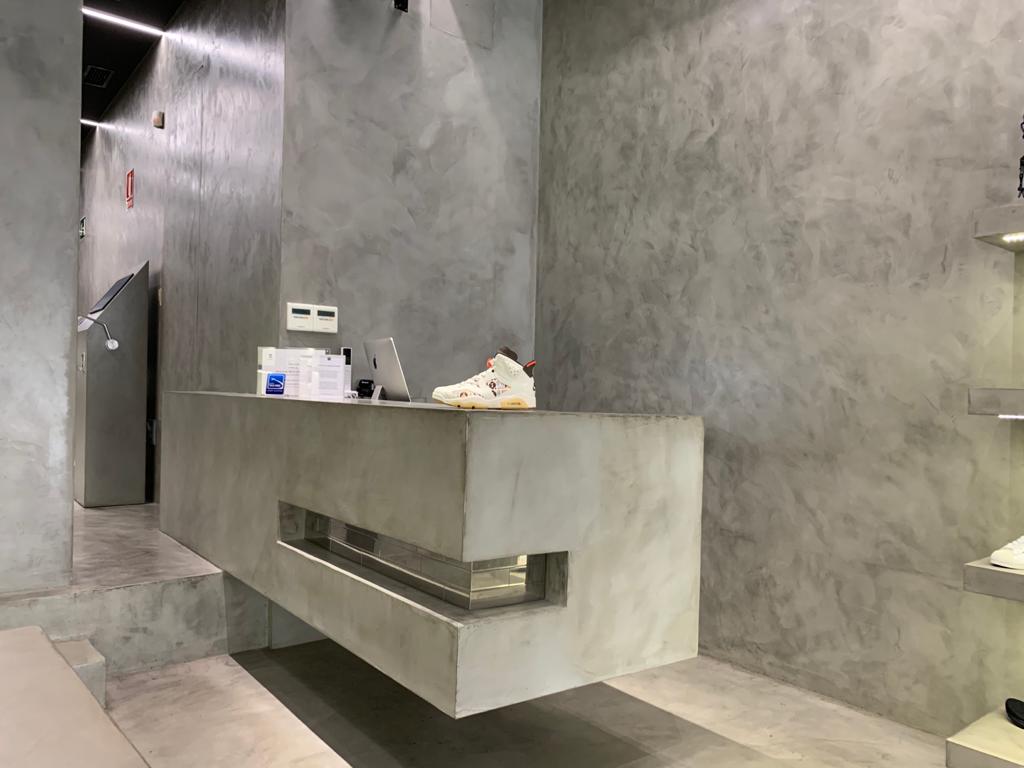
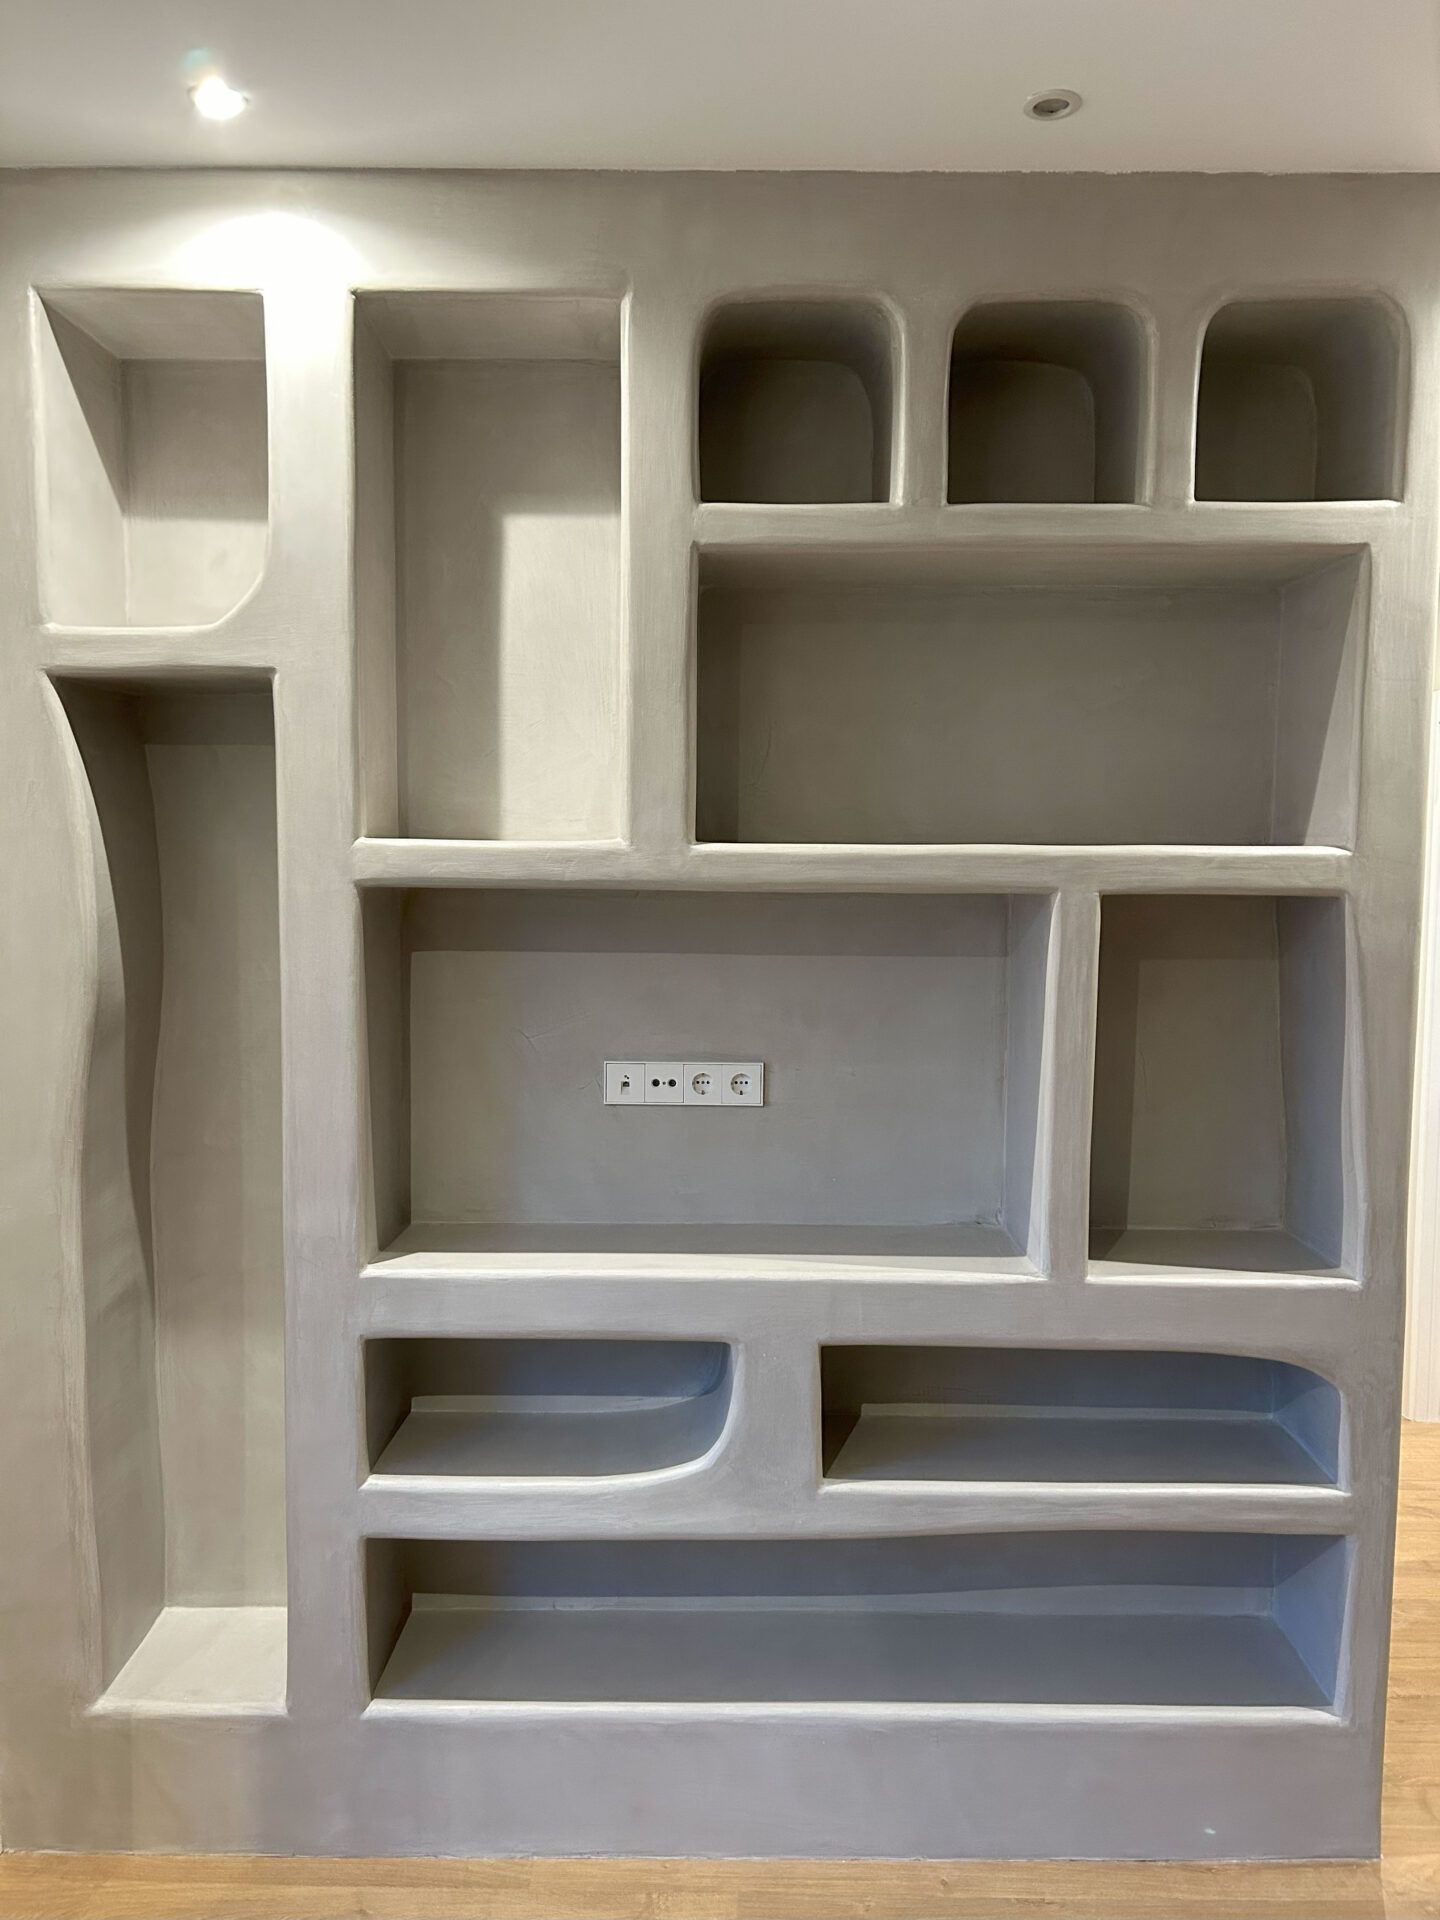
Interiors
Walls and floors
Walls and floors
Walls and floors
Walls and floors
Walls and floors
Walls and floors
Walls and floors
Walls and floors
Walls and floors
Walls and floors
Walls and floors
Walls and floors
Walls and floors
Walls and floors
Walls and floors
Walls and floors
Walls and floors
Walls and floors
Walls and floors
Walls and floors
Walls and floors
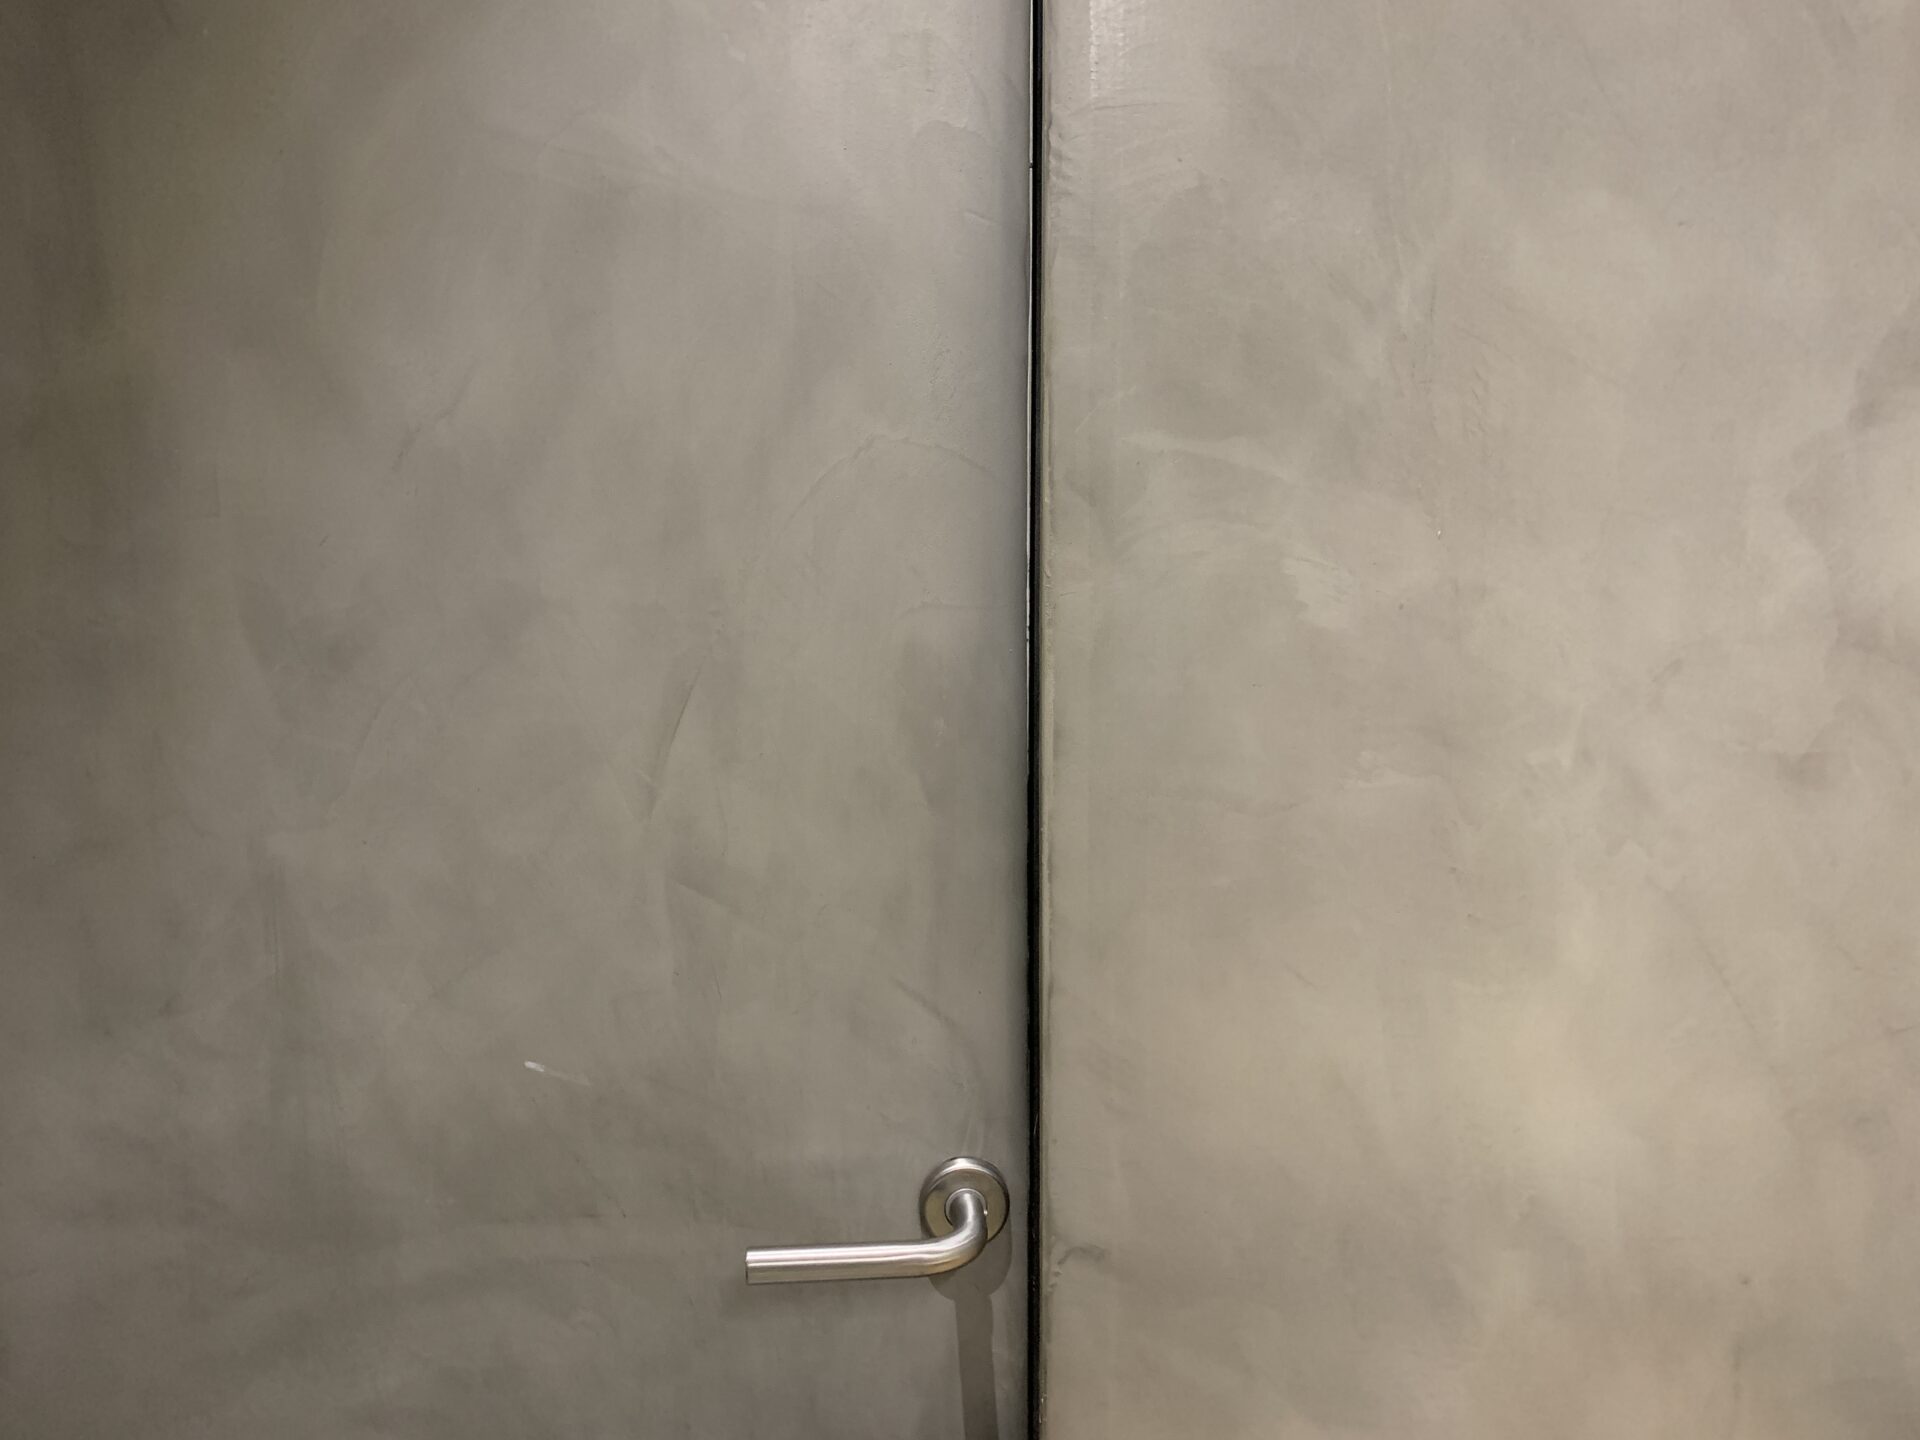
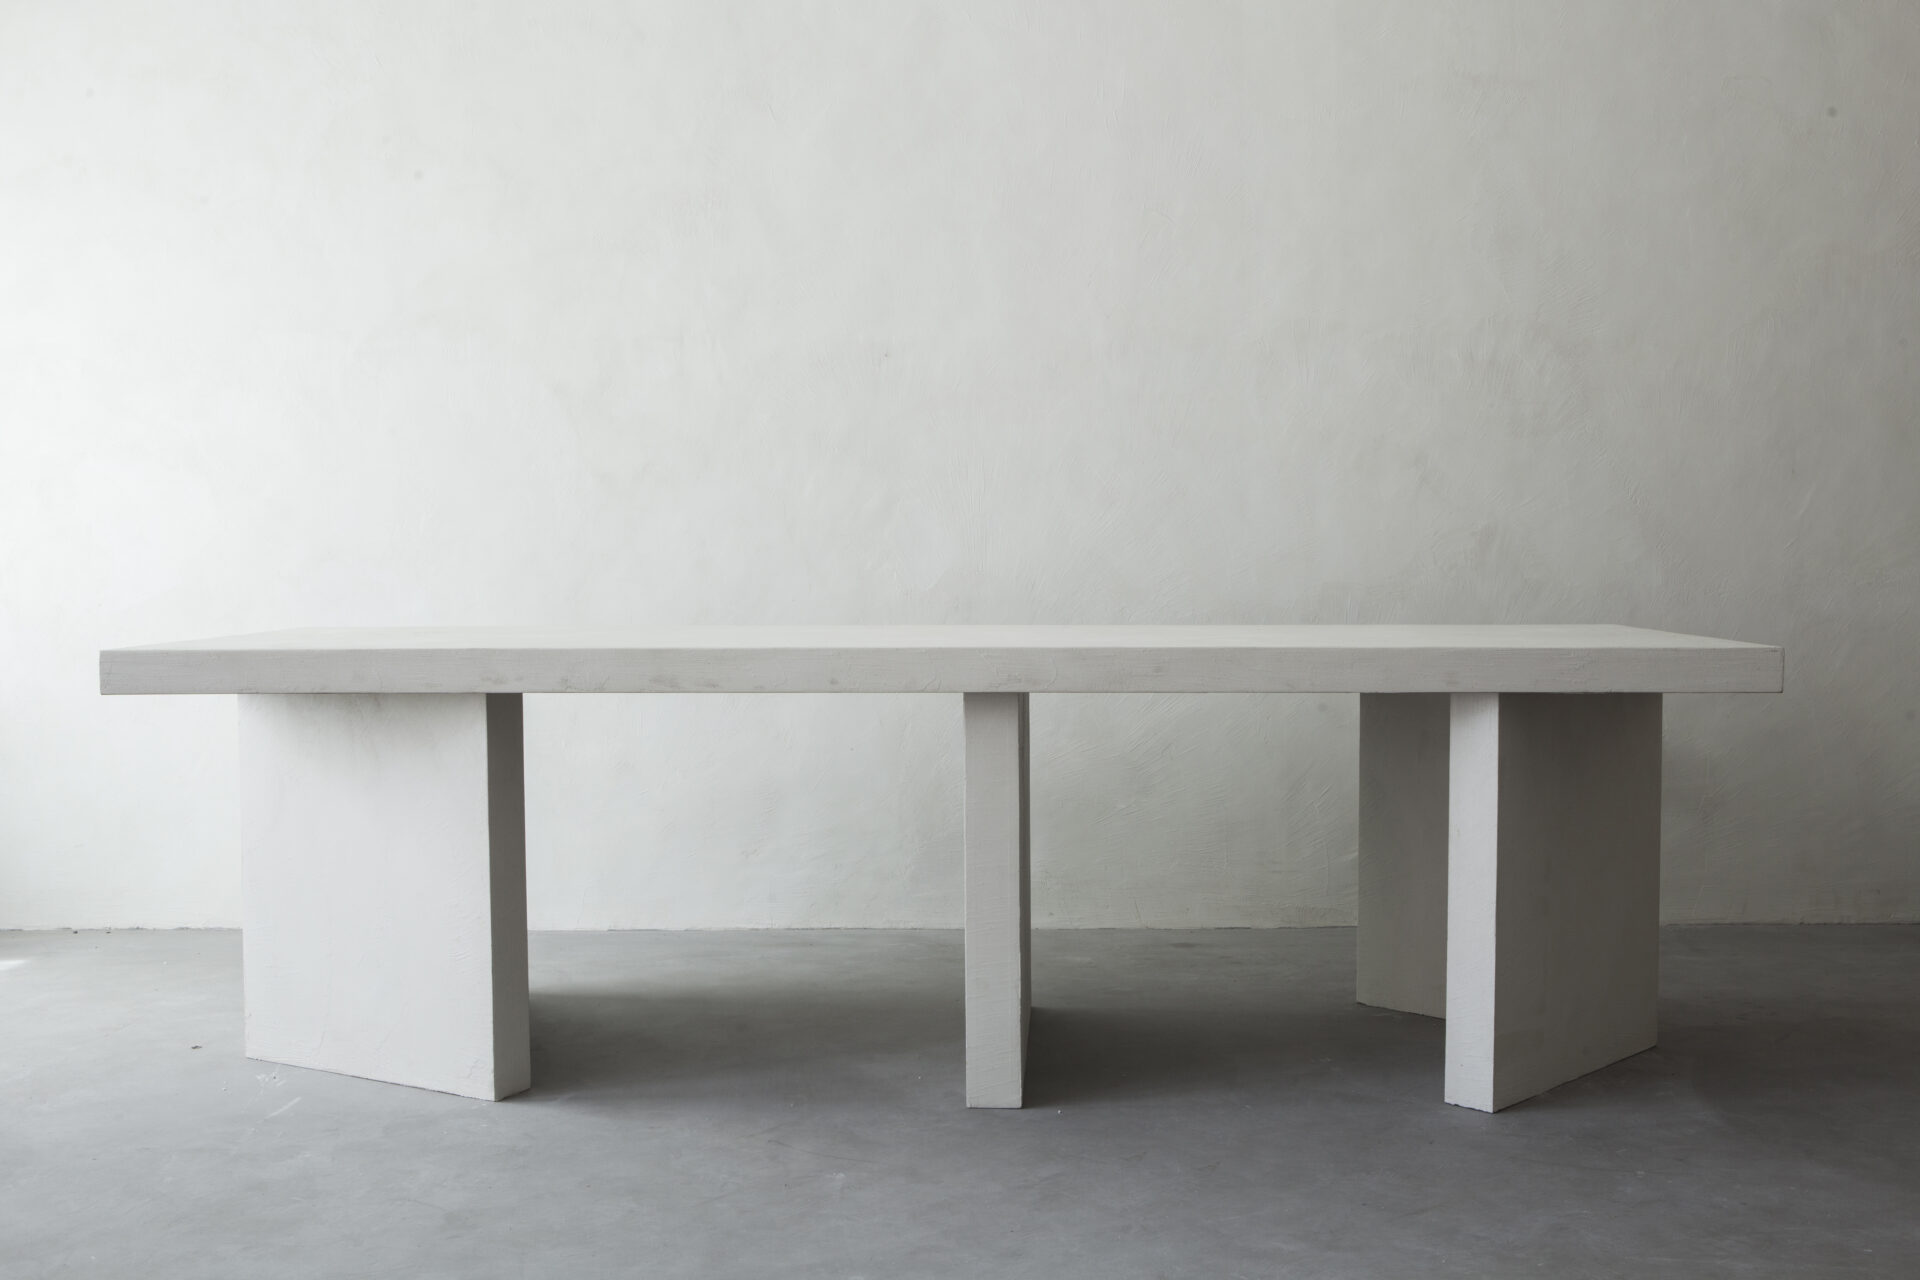
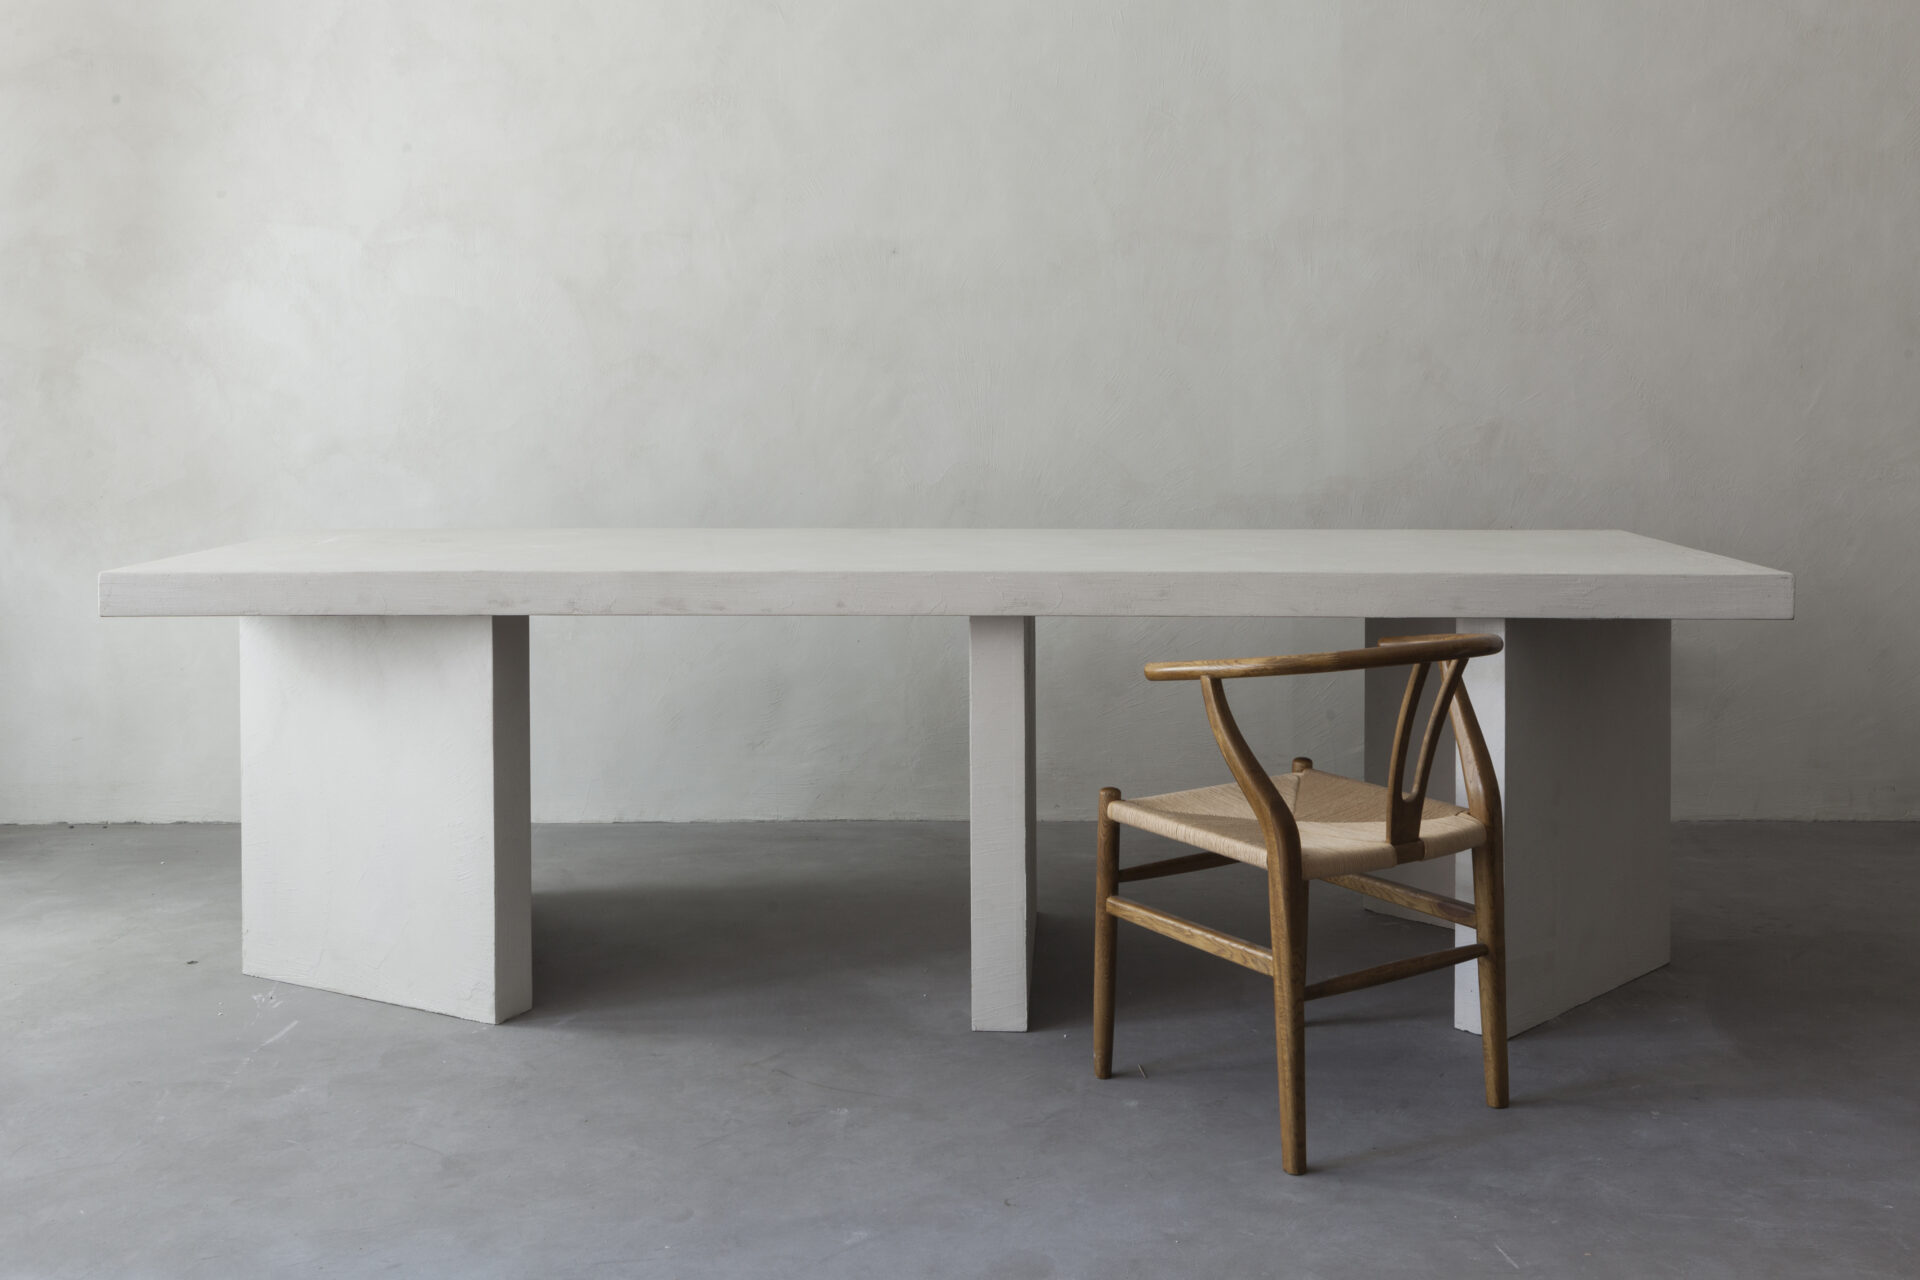
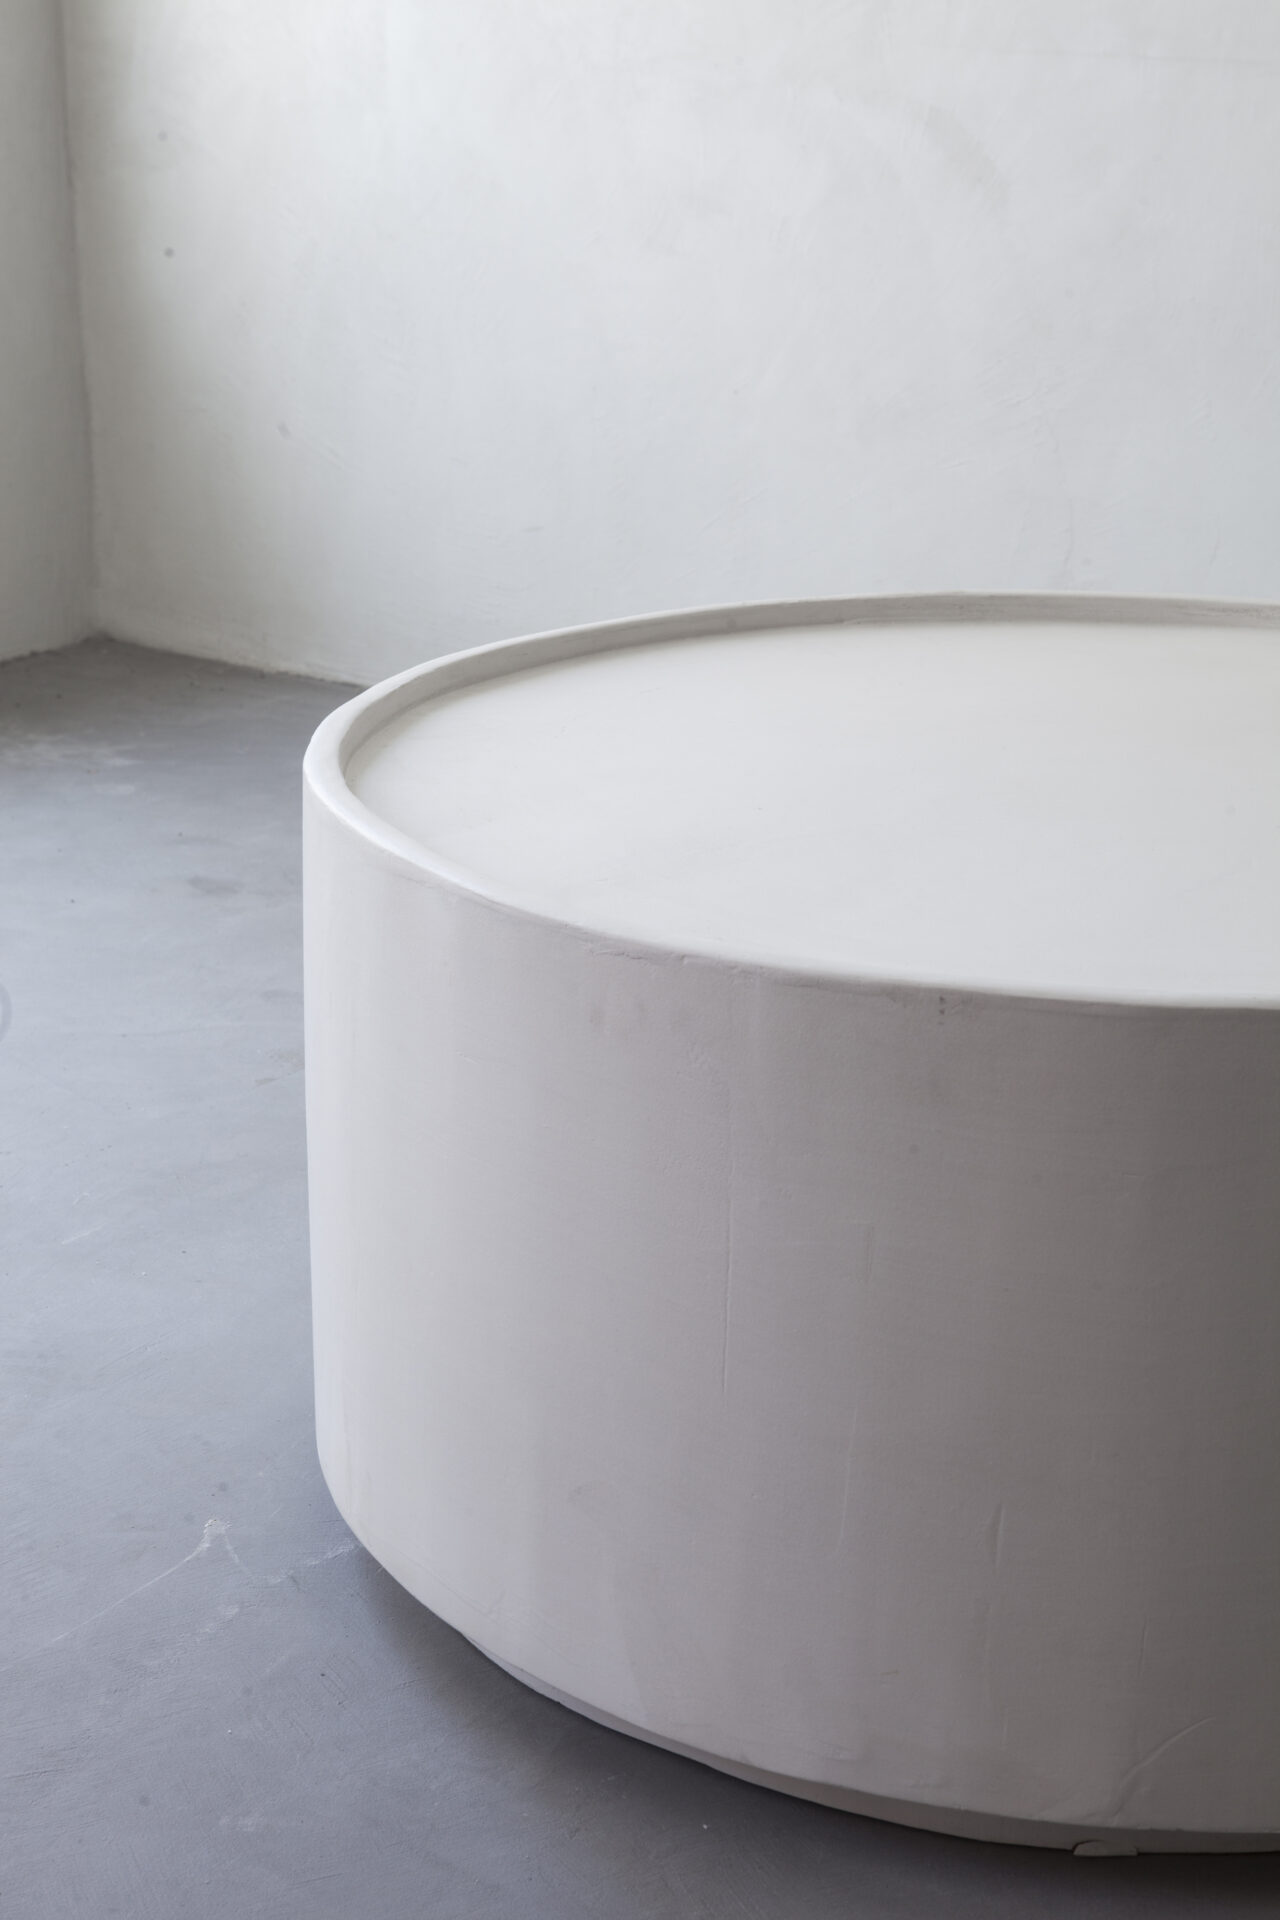
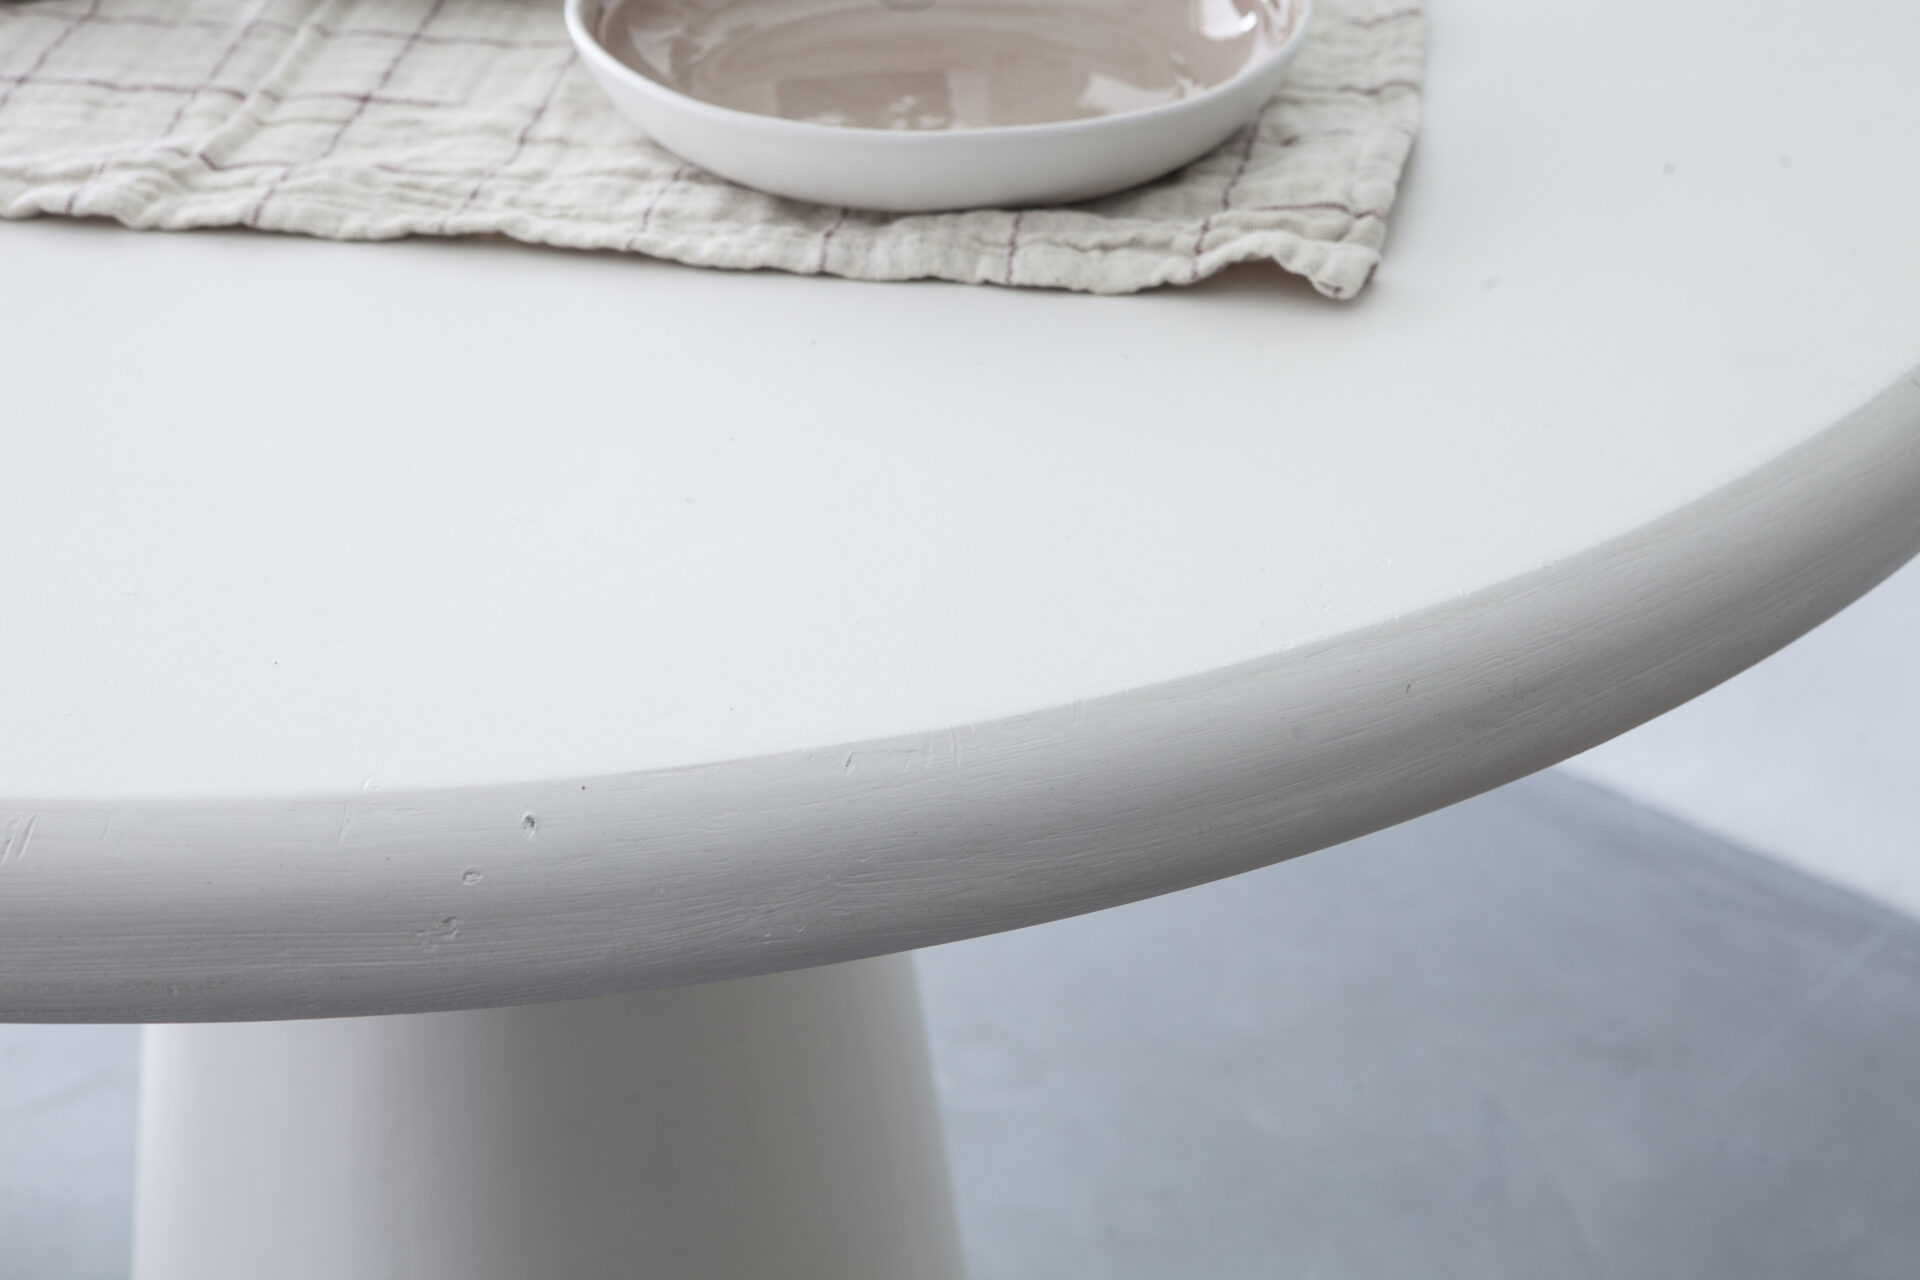
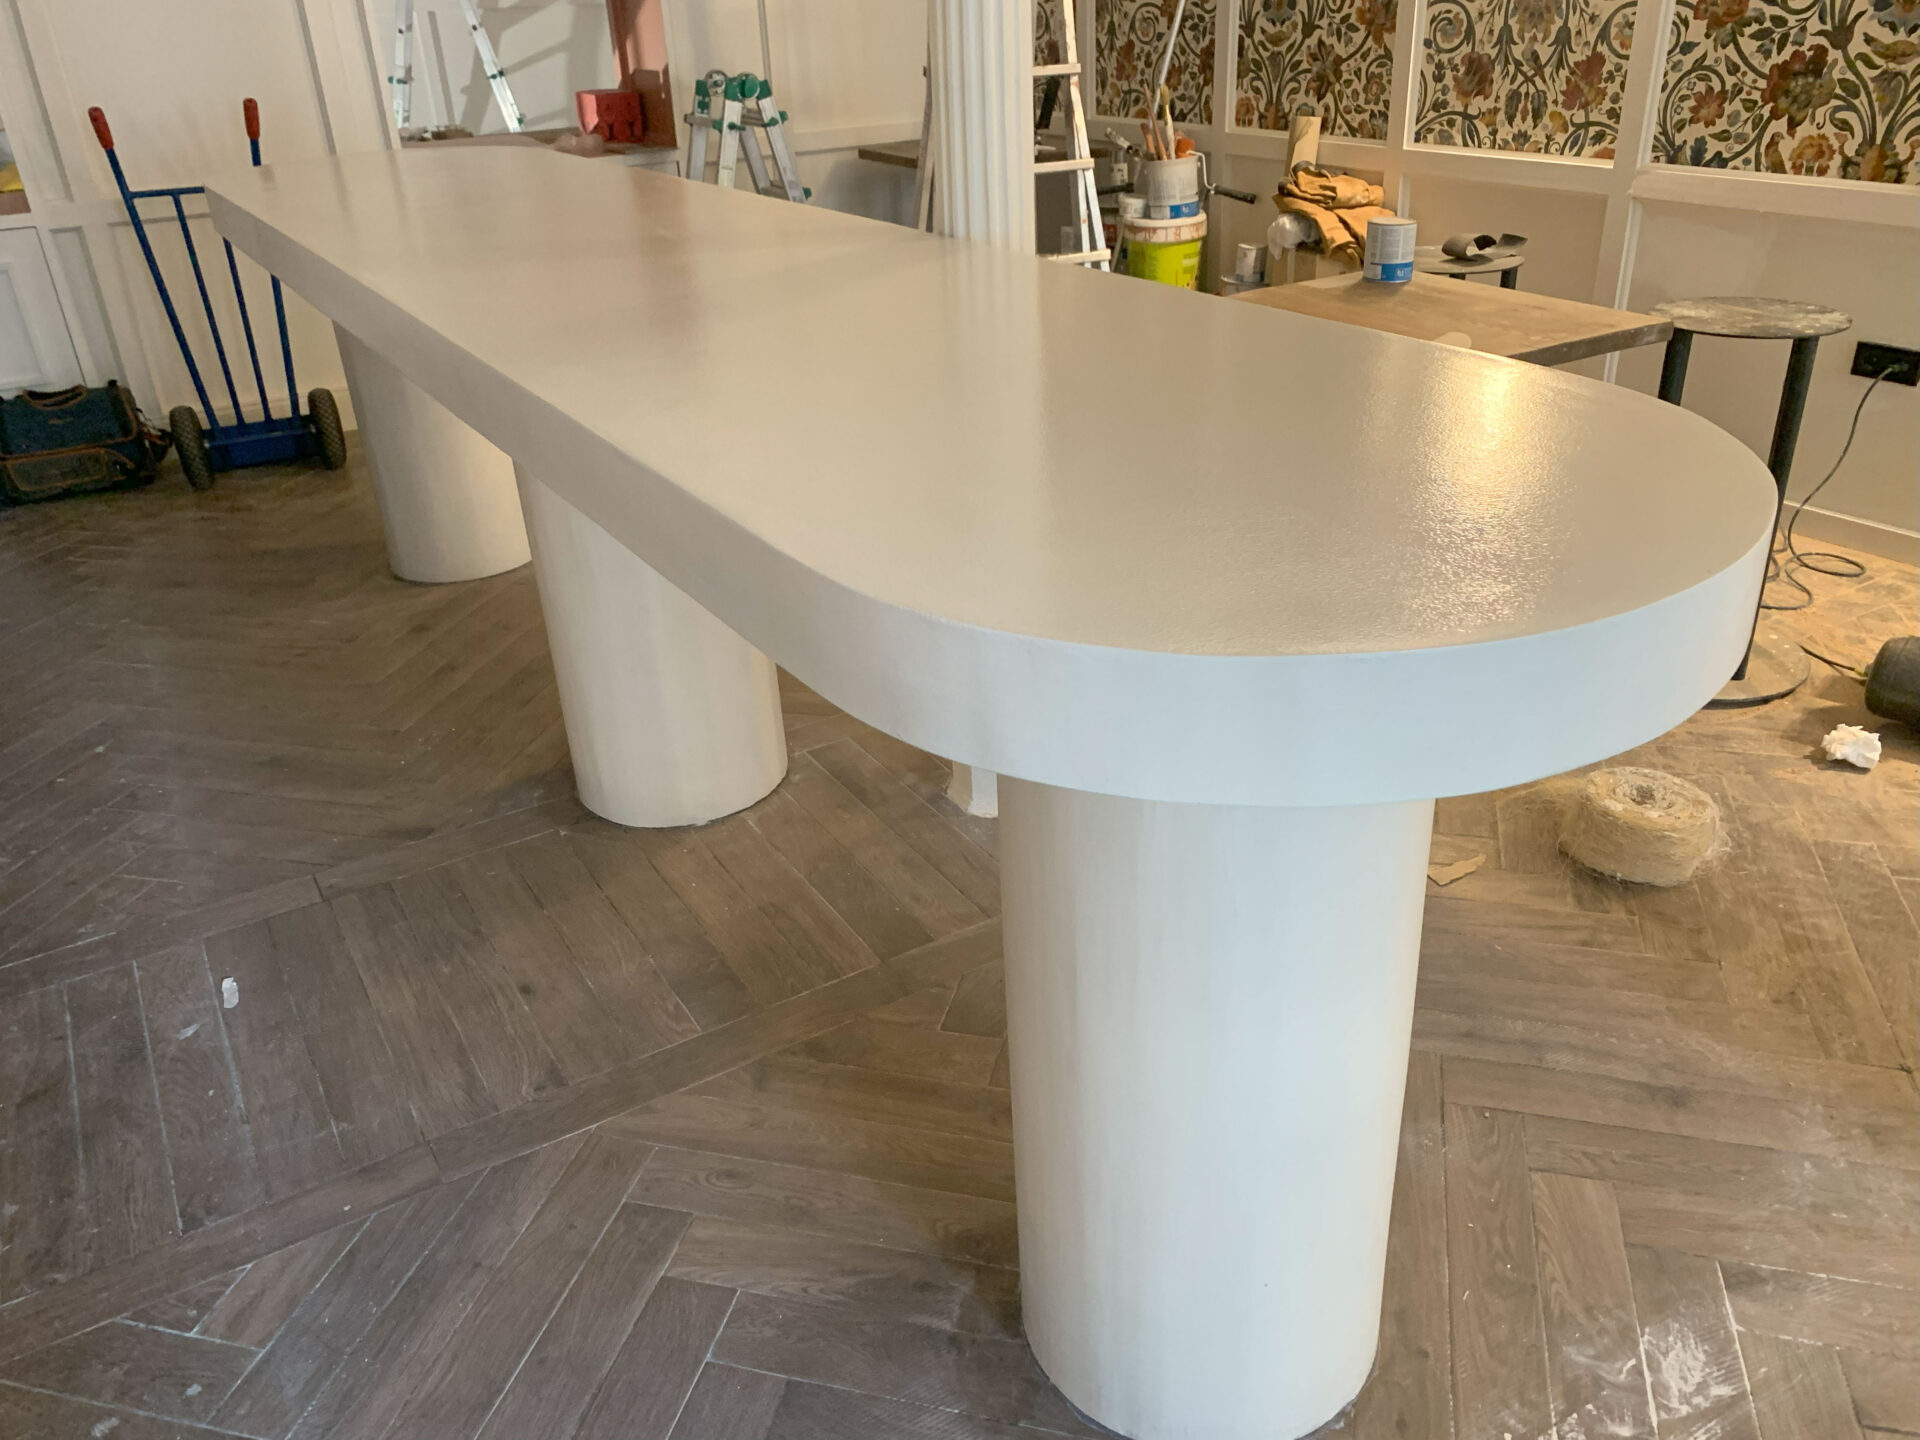
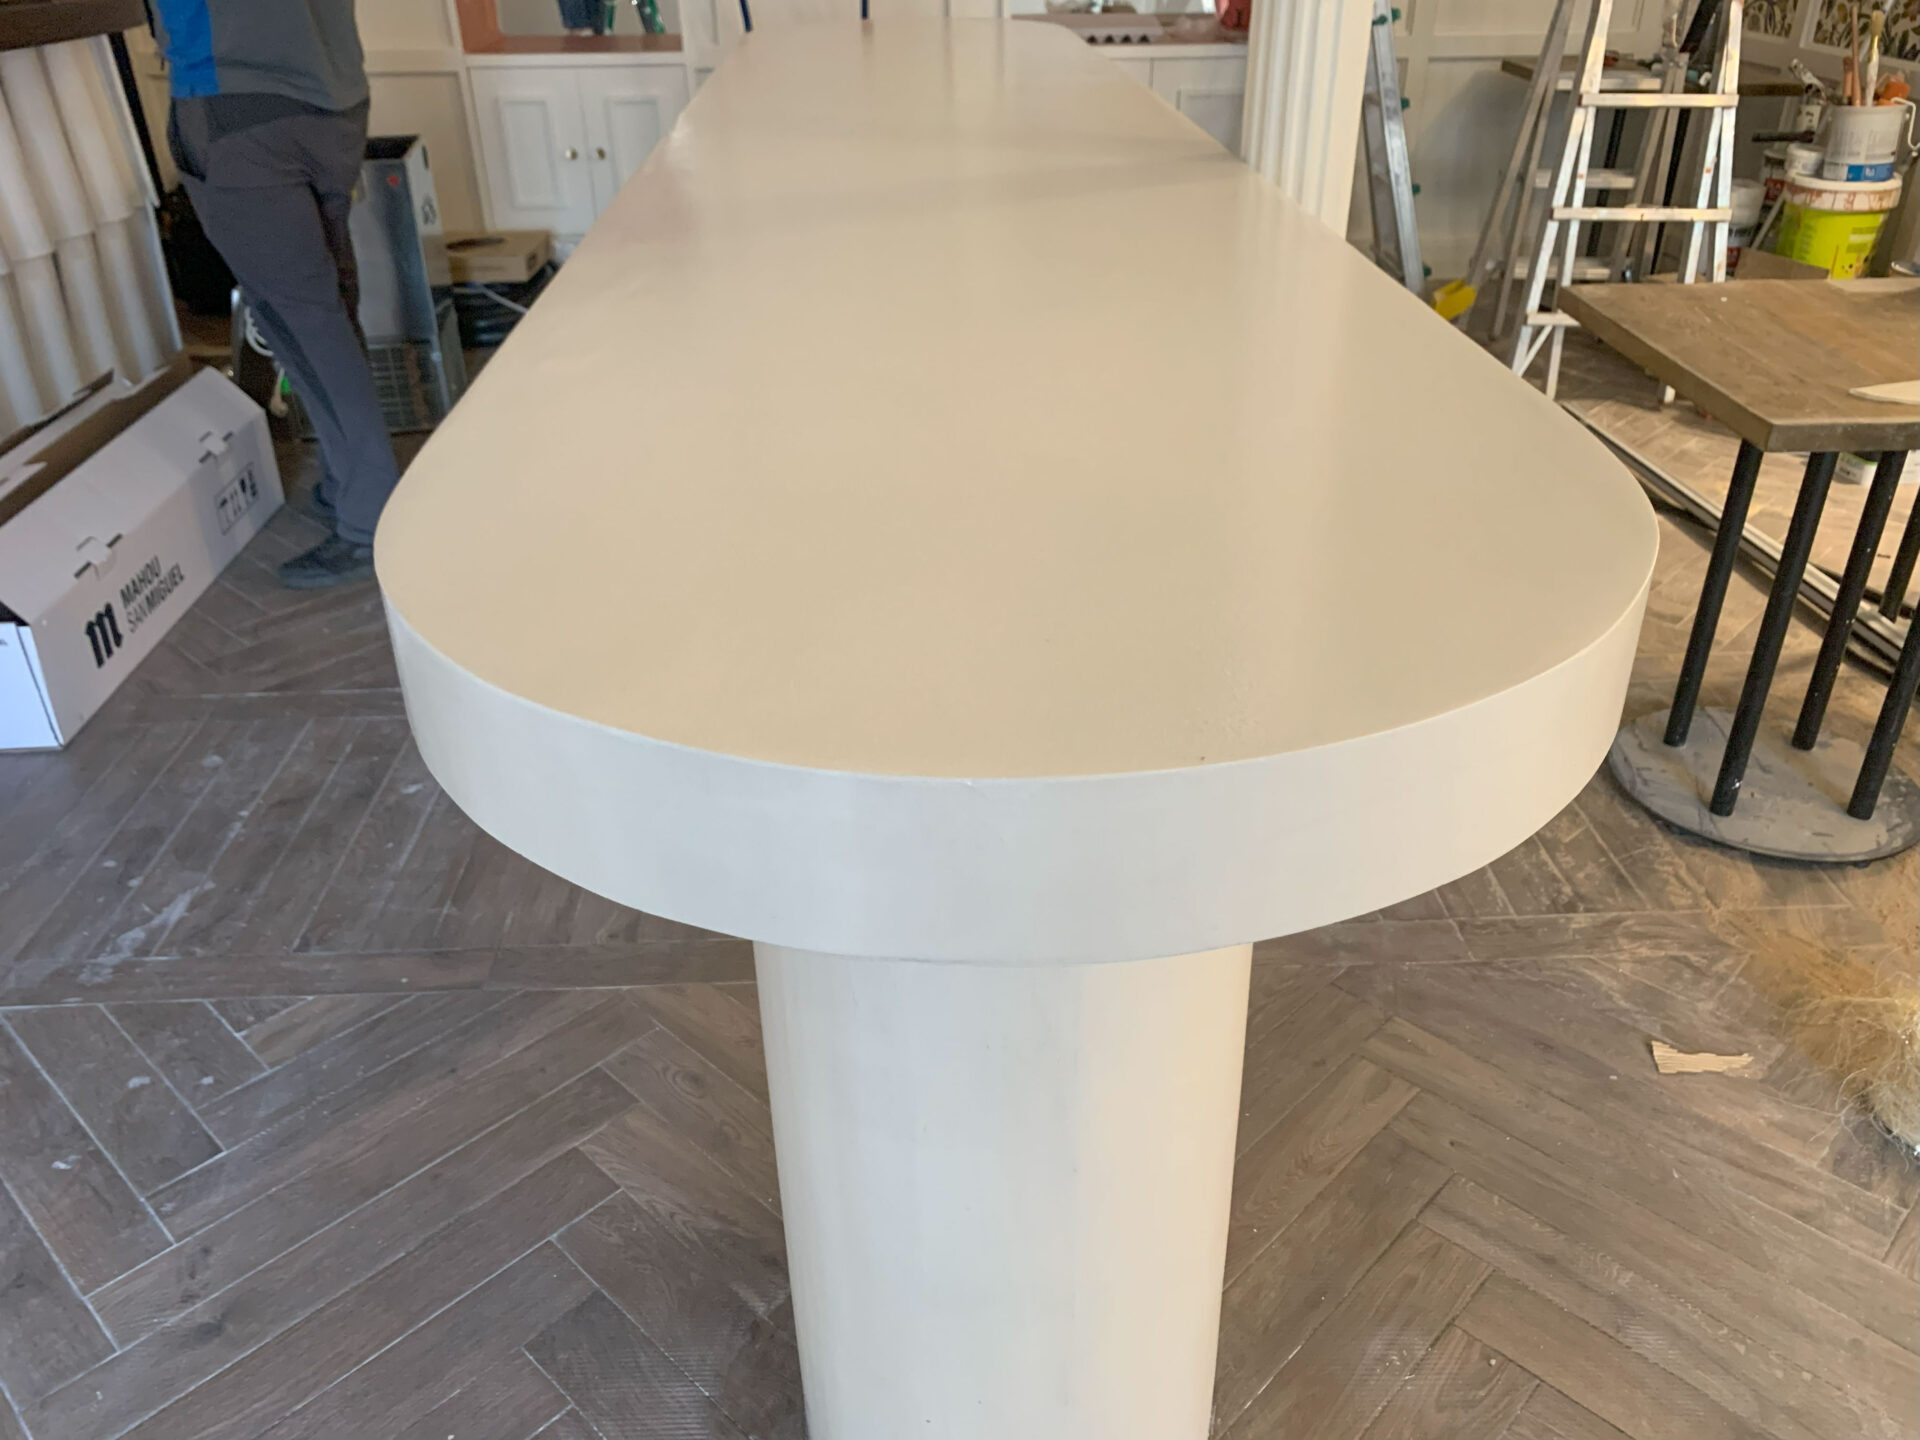
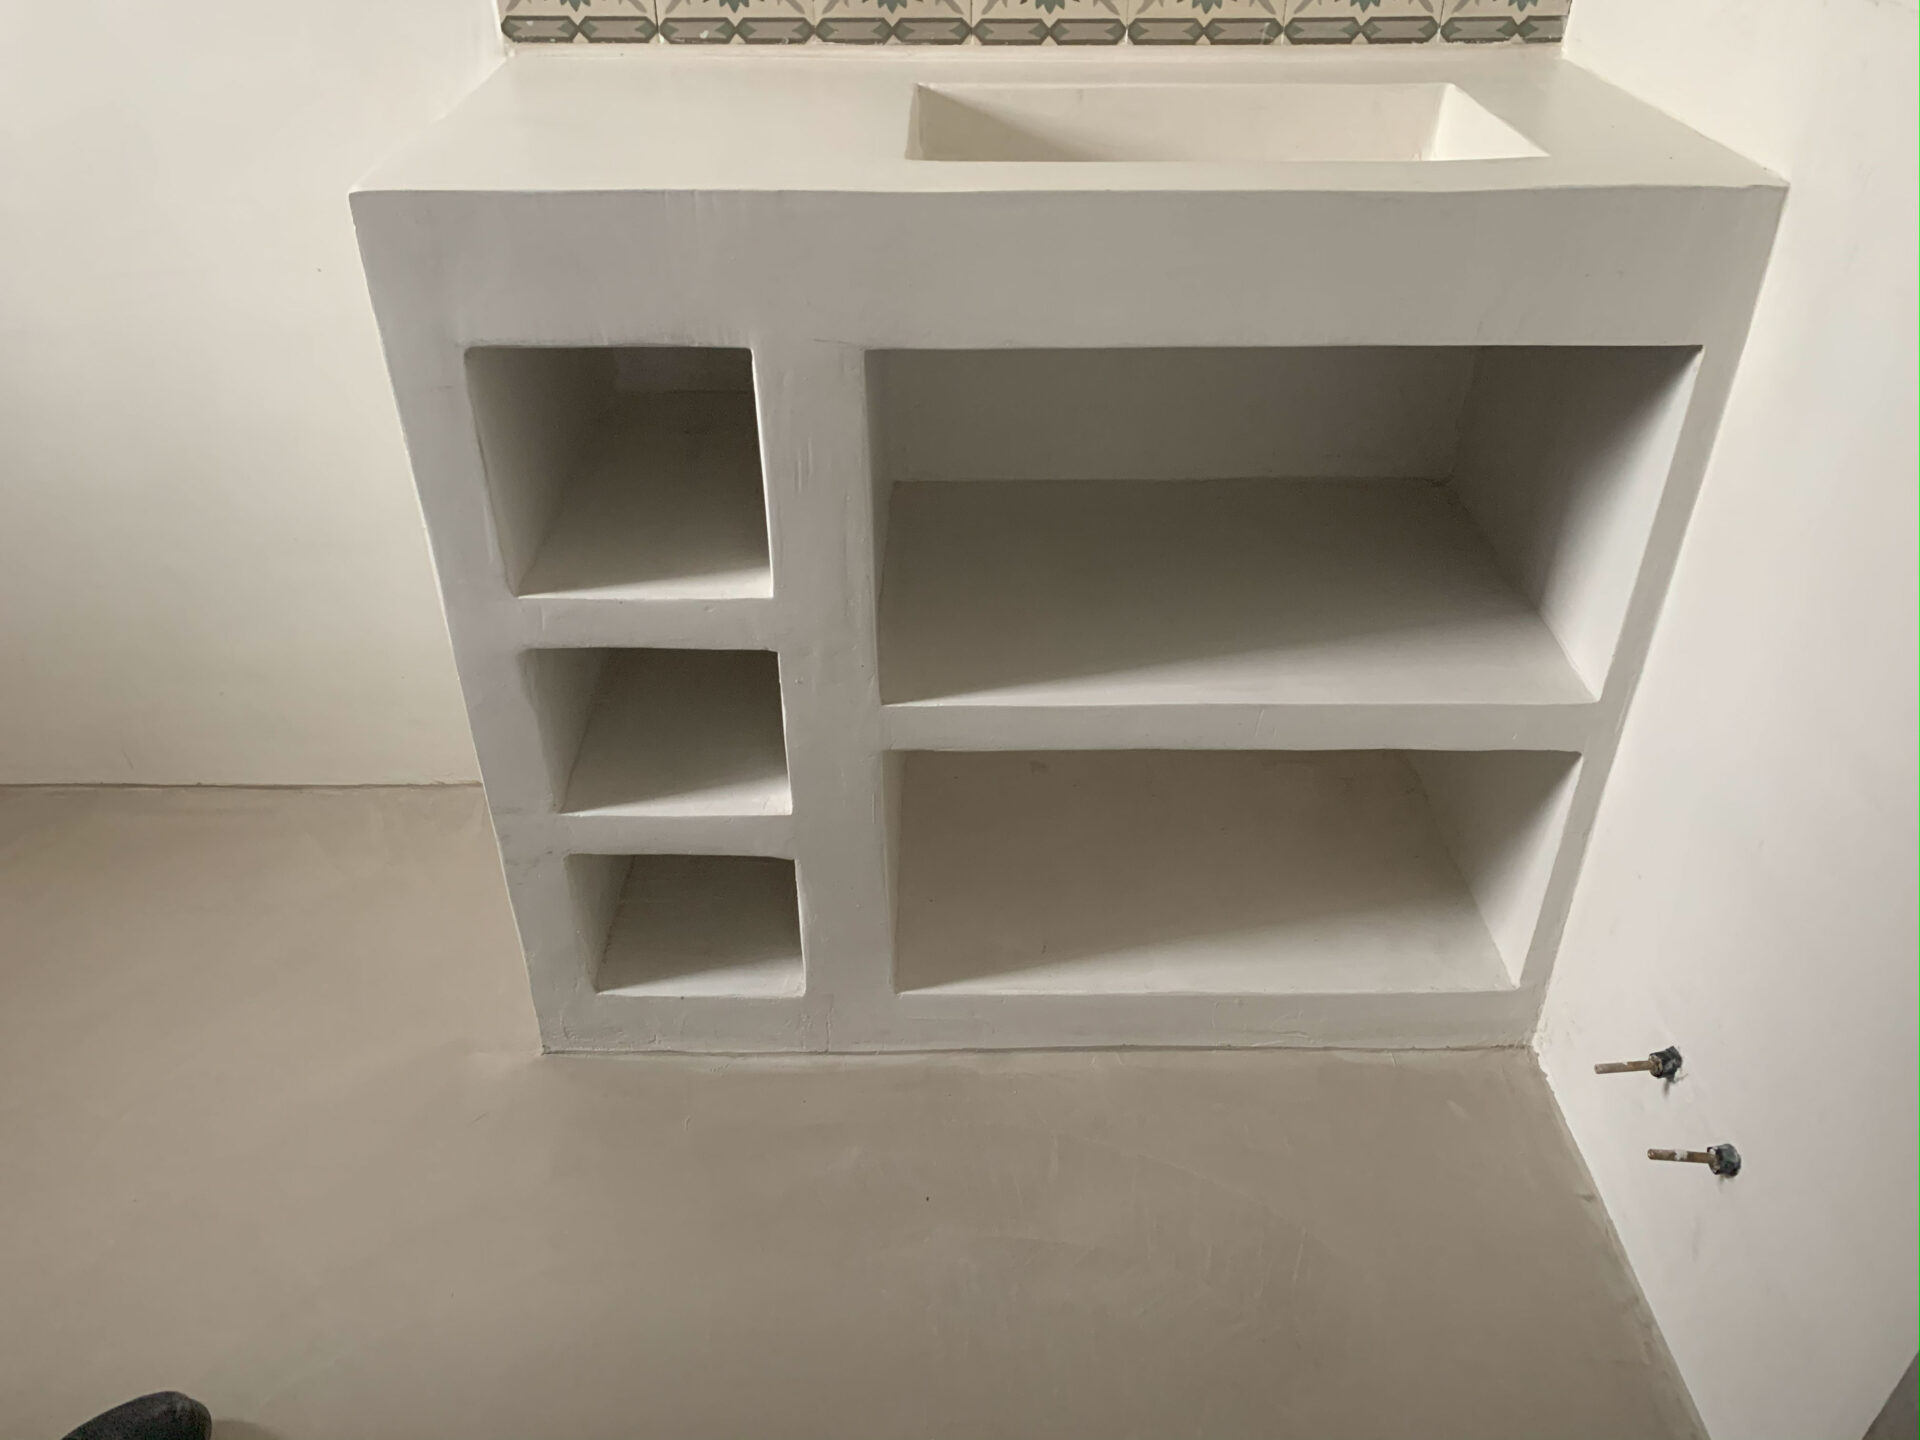
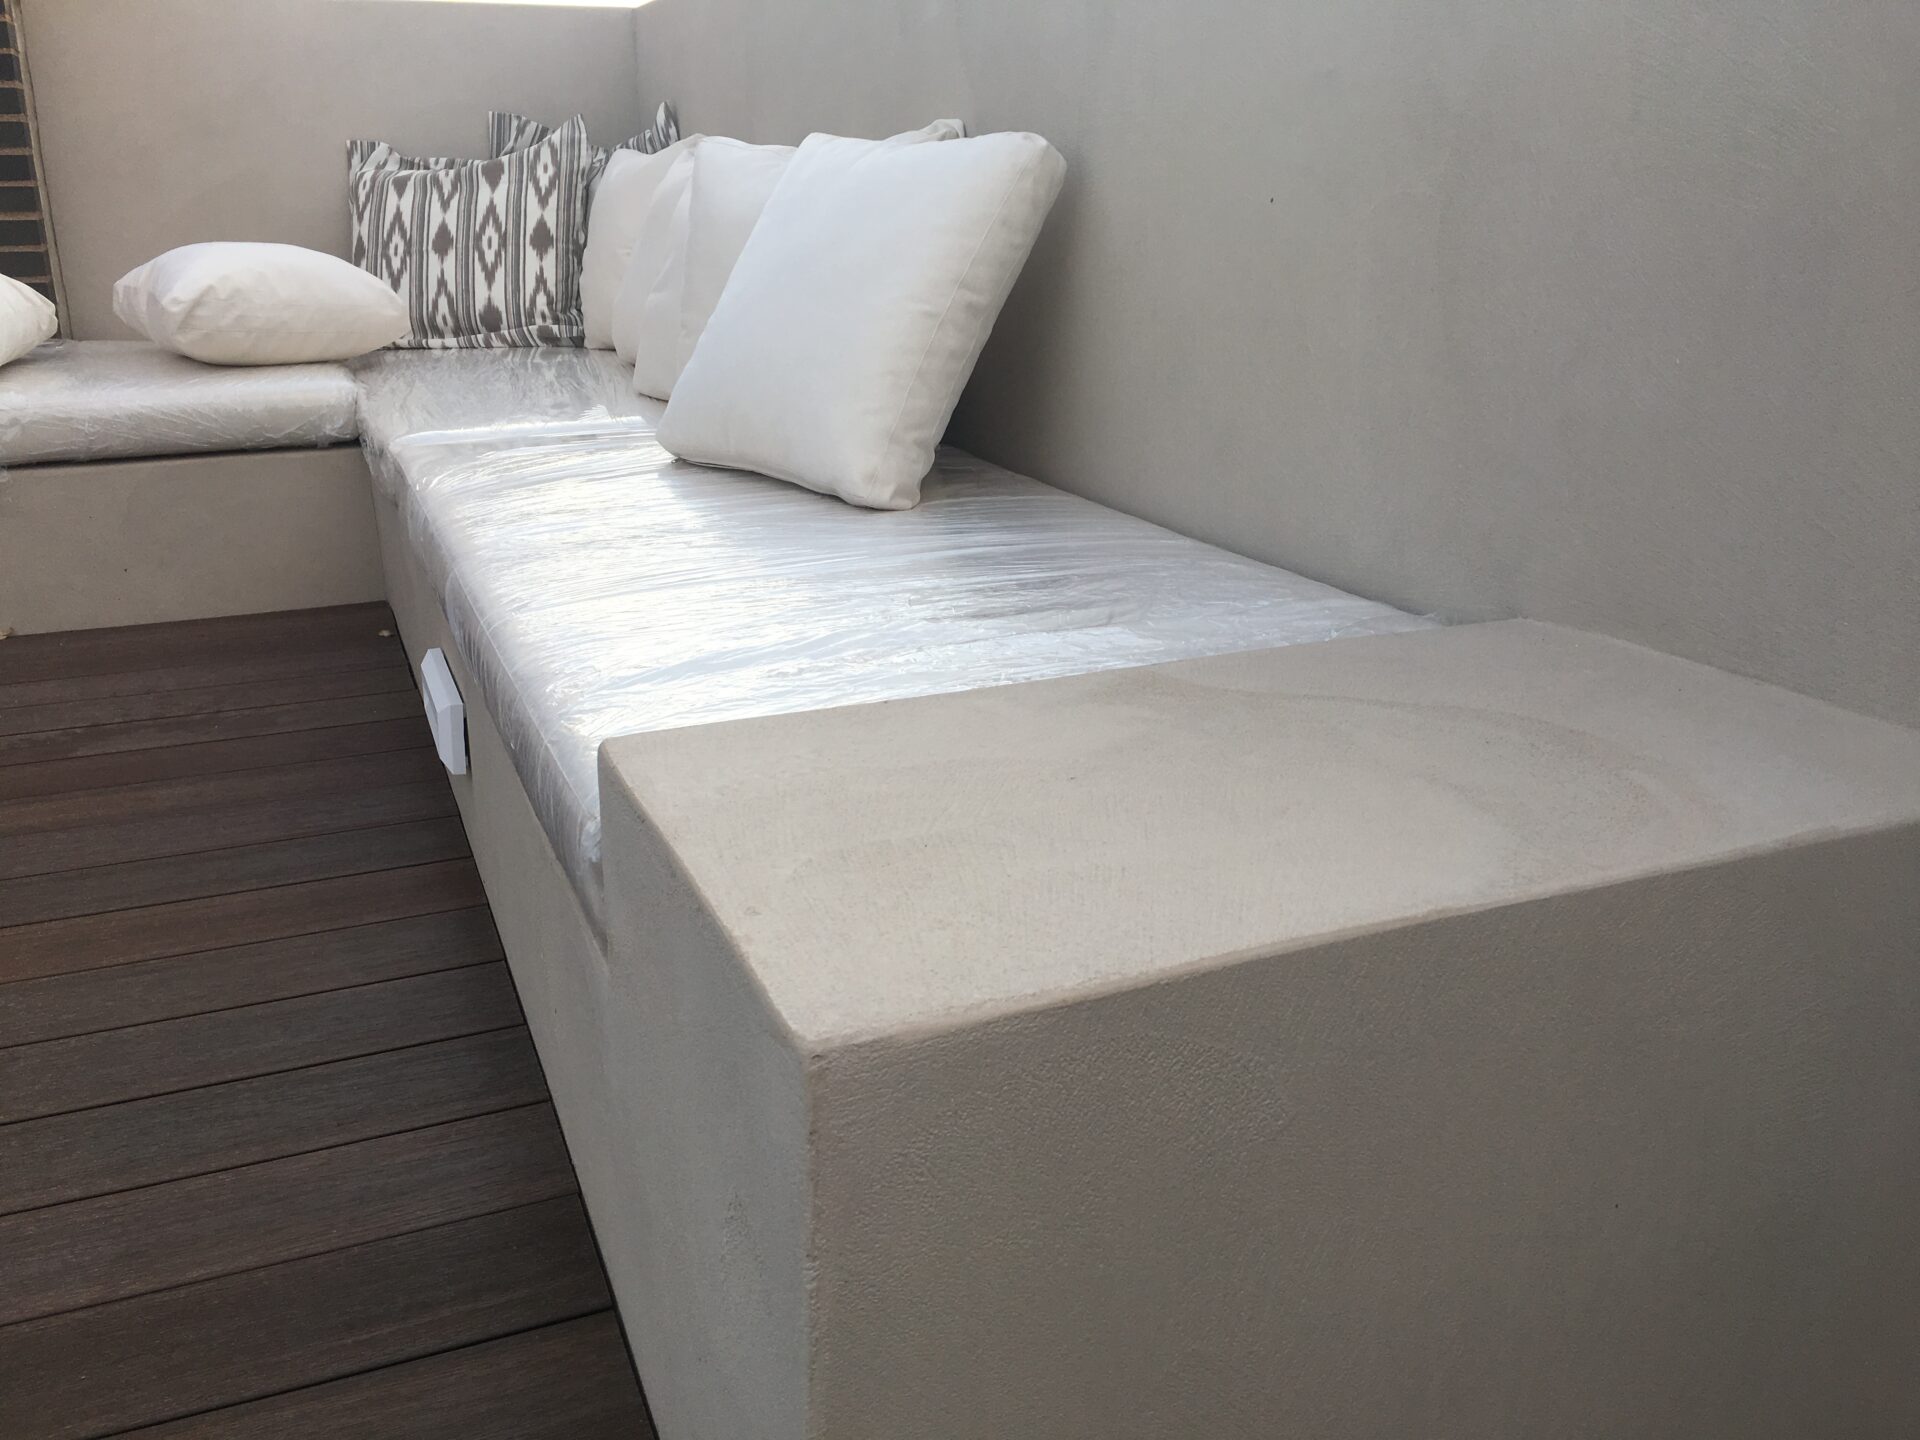
Furniture
Furniture
Furniture
Furniture
Furniture
Furniture
Furniture
Furniture
Furniture
Furniture
Furniture
Furniture
Furniture
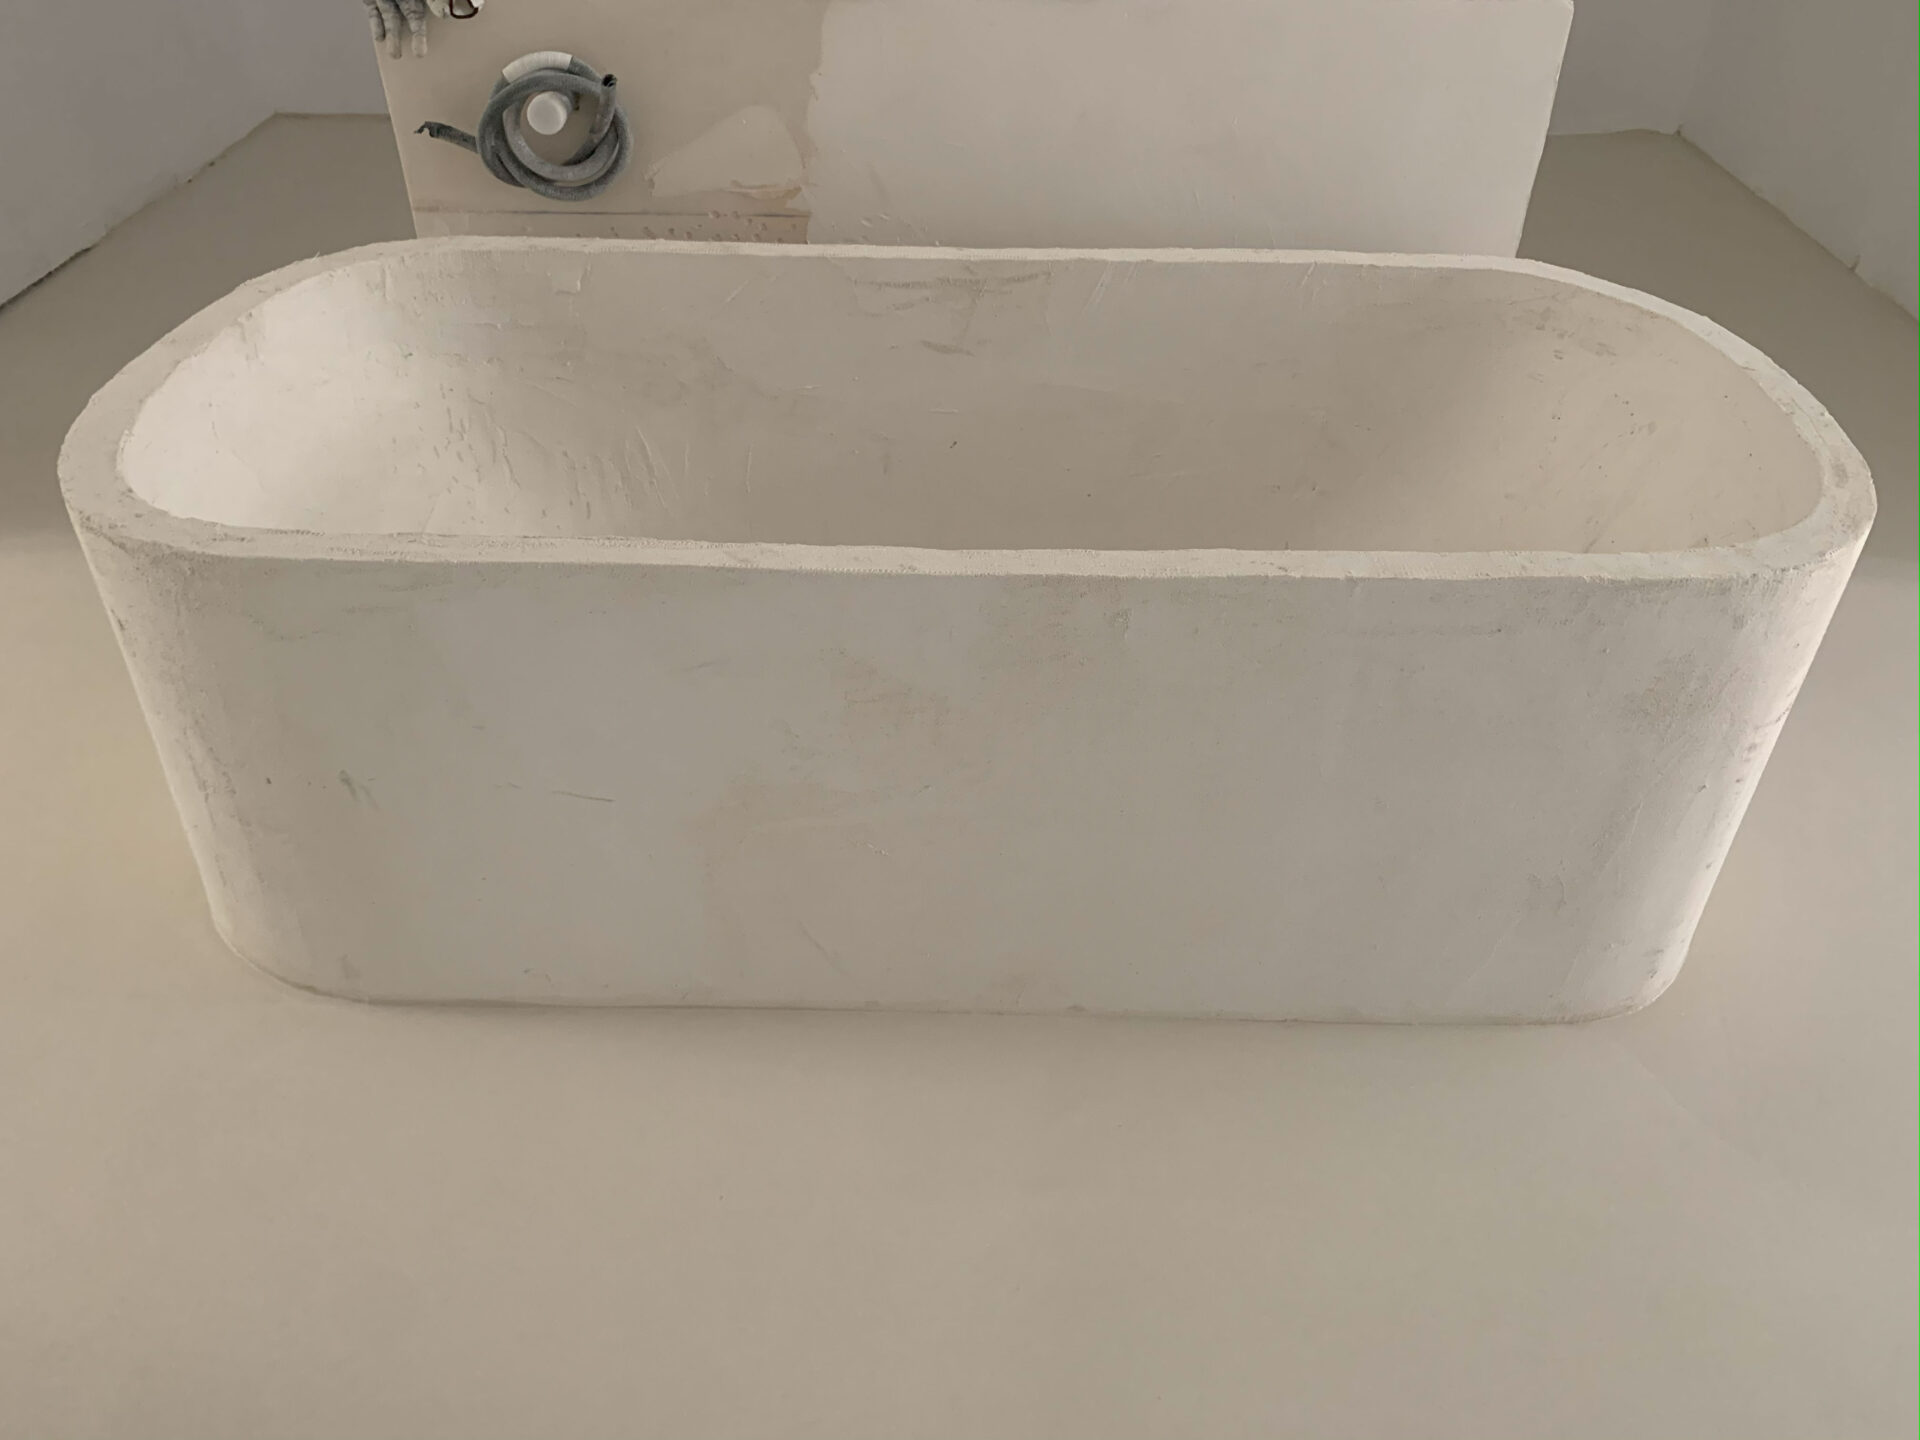
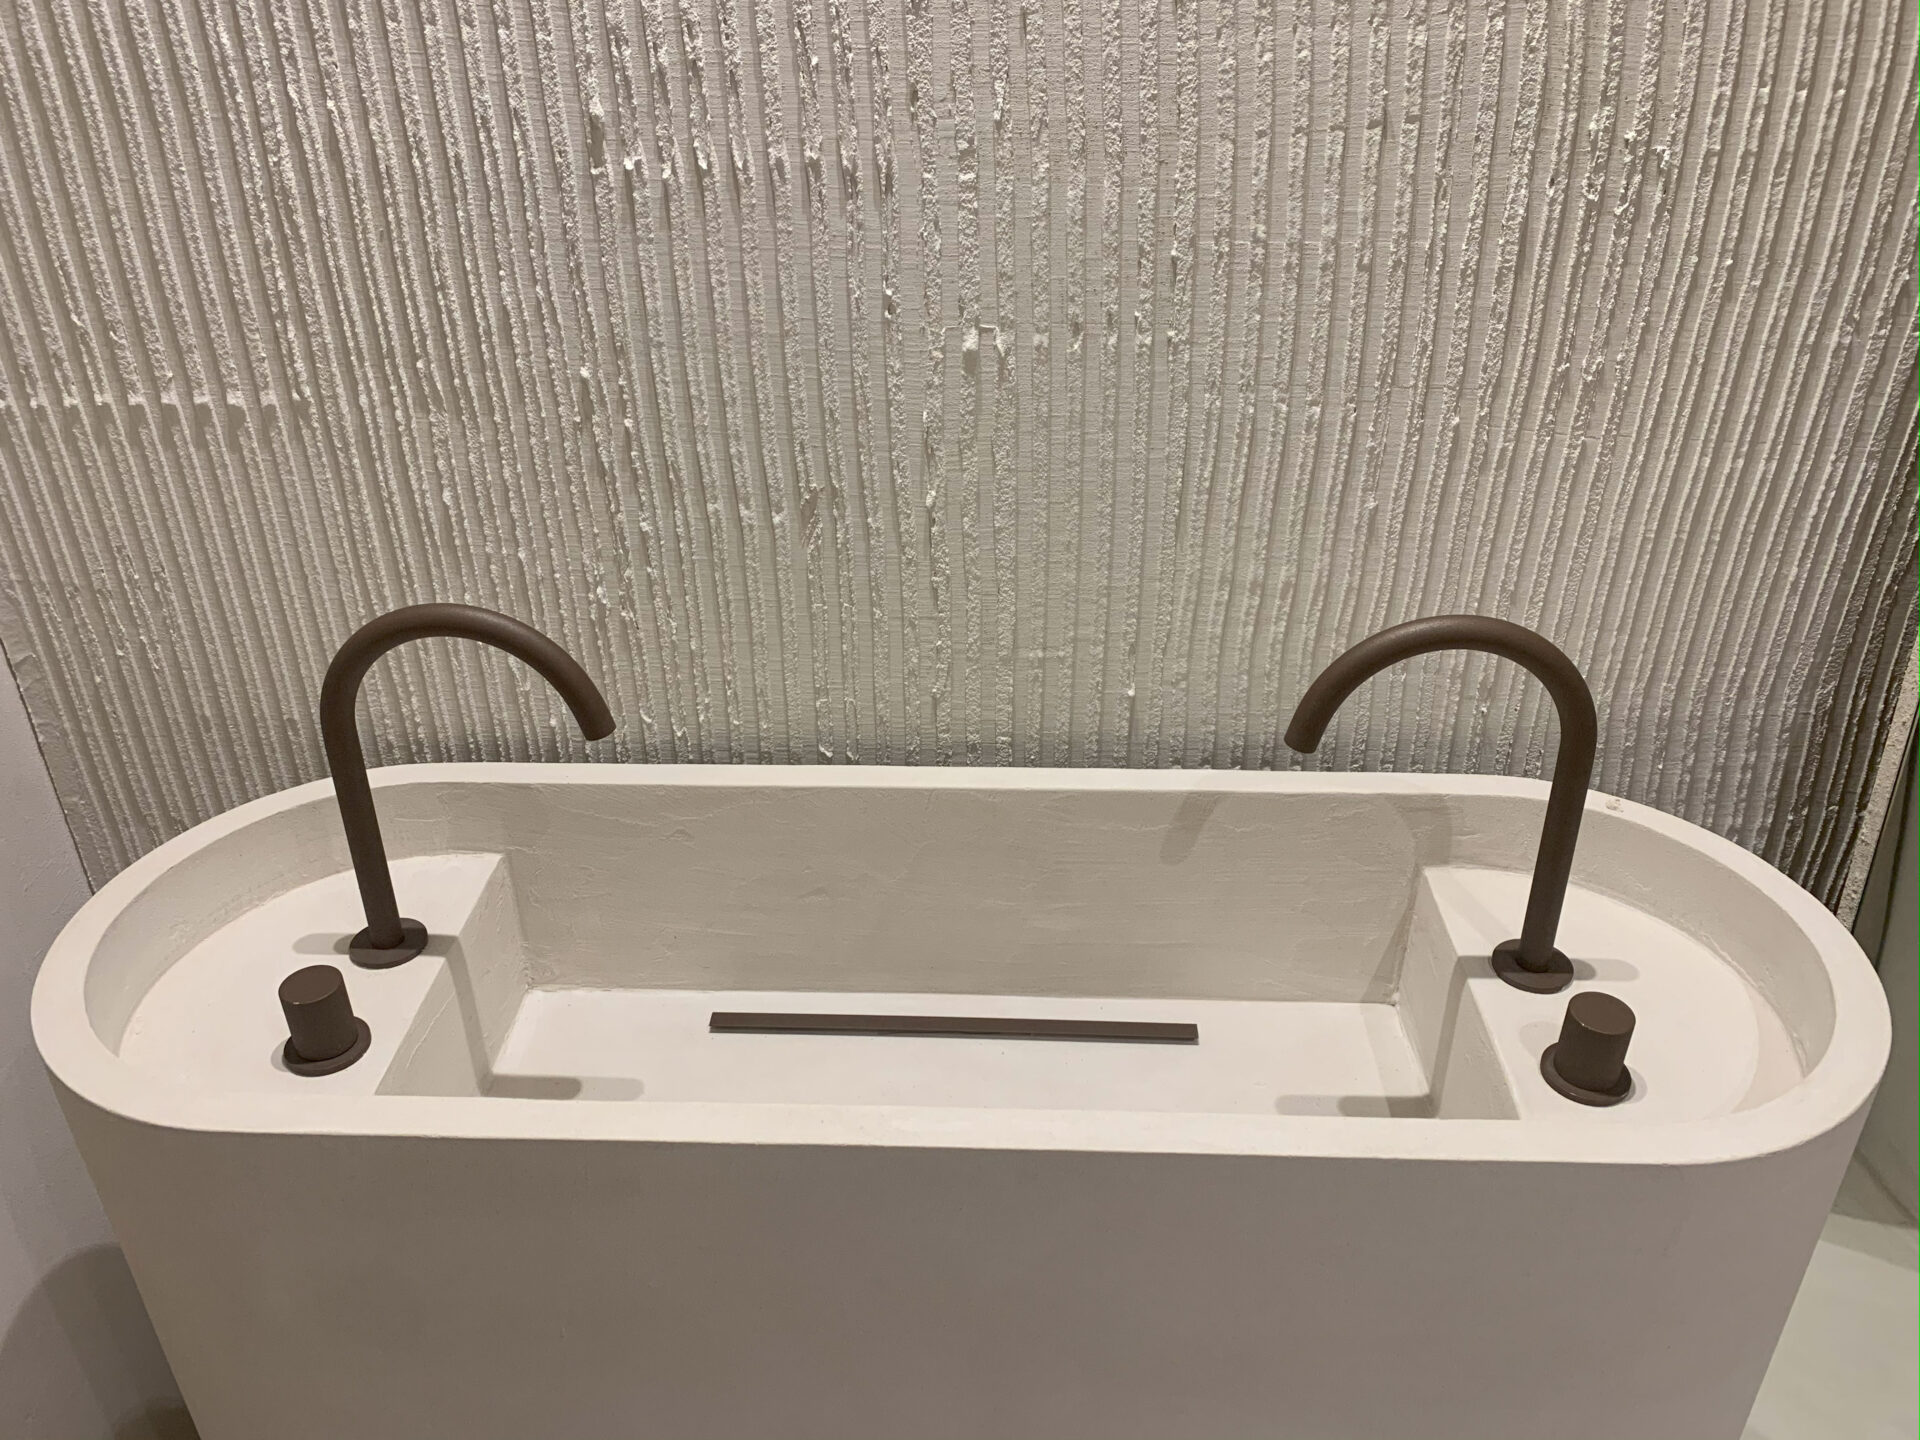
Bathtubs and Showers
Bathtubs and Showers
Bathtubs and Showers
Bathtubs and Showers
Bathtubs and Showers
Bathtubs and Showers
Bathtubs and Showers
Bathtubs and Showers
Bathtubs and Showers
Bathtubs and Showers
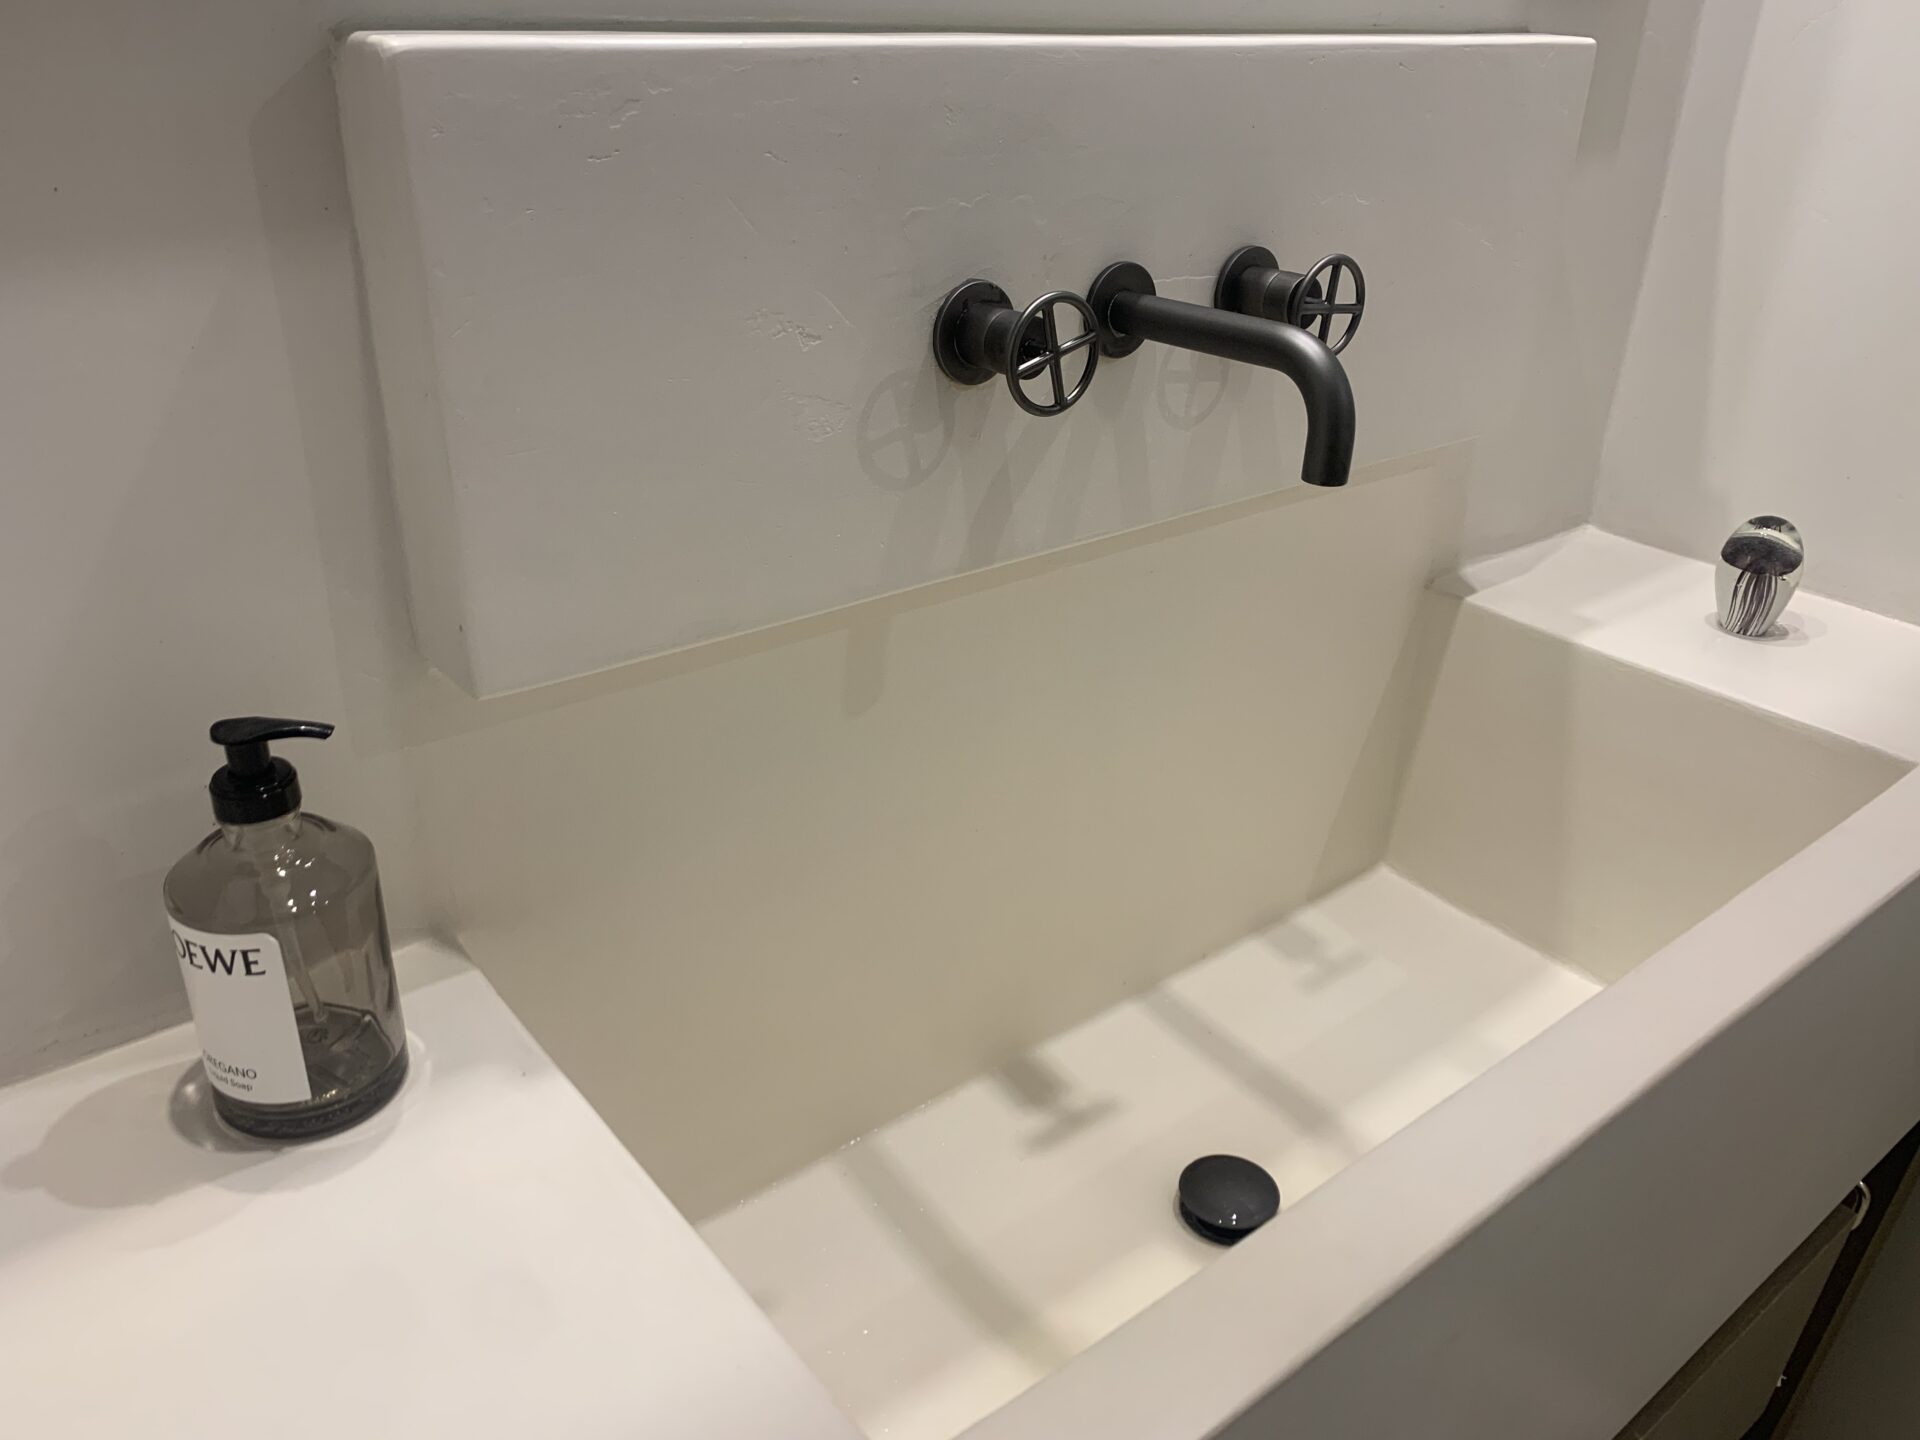
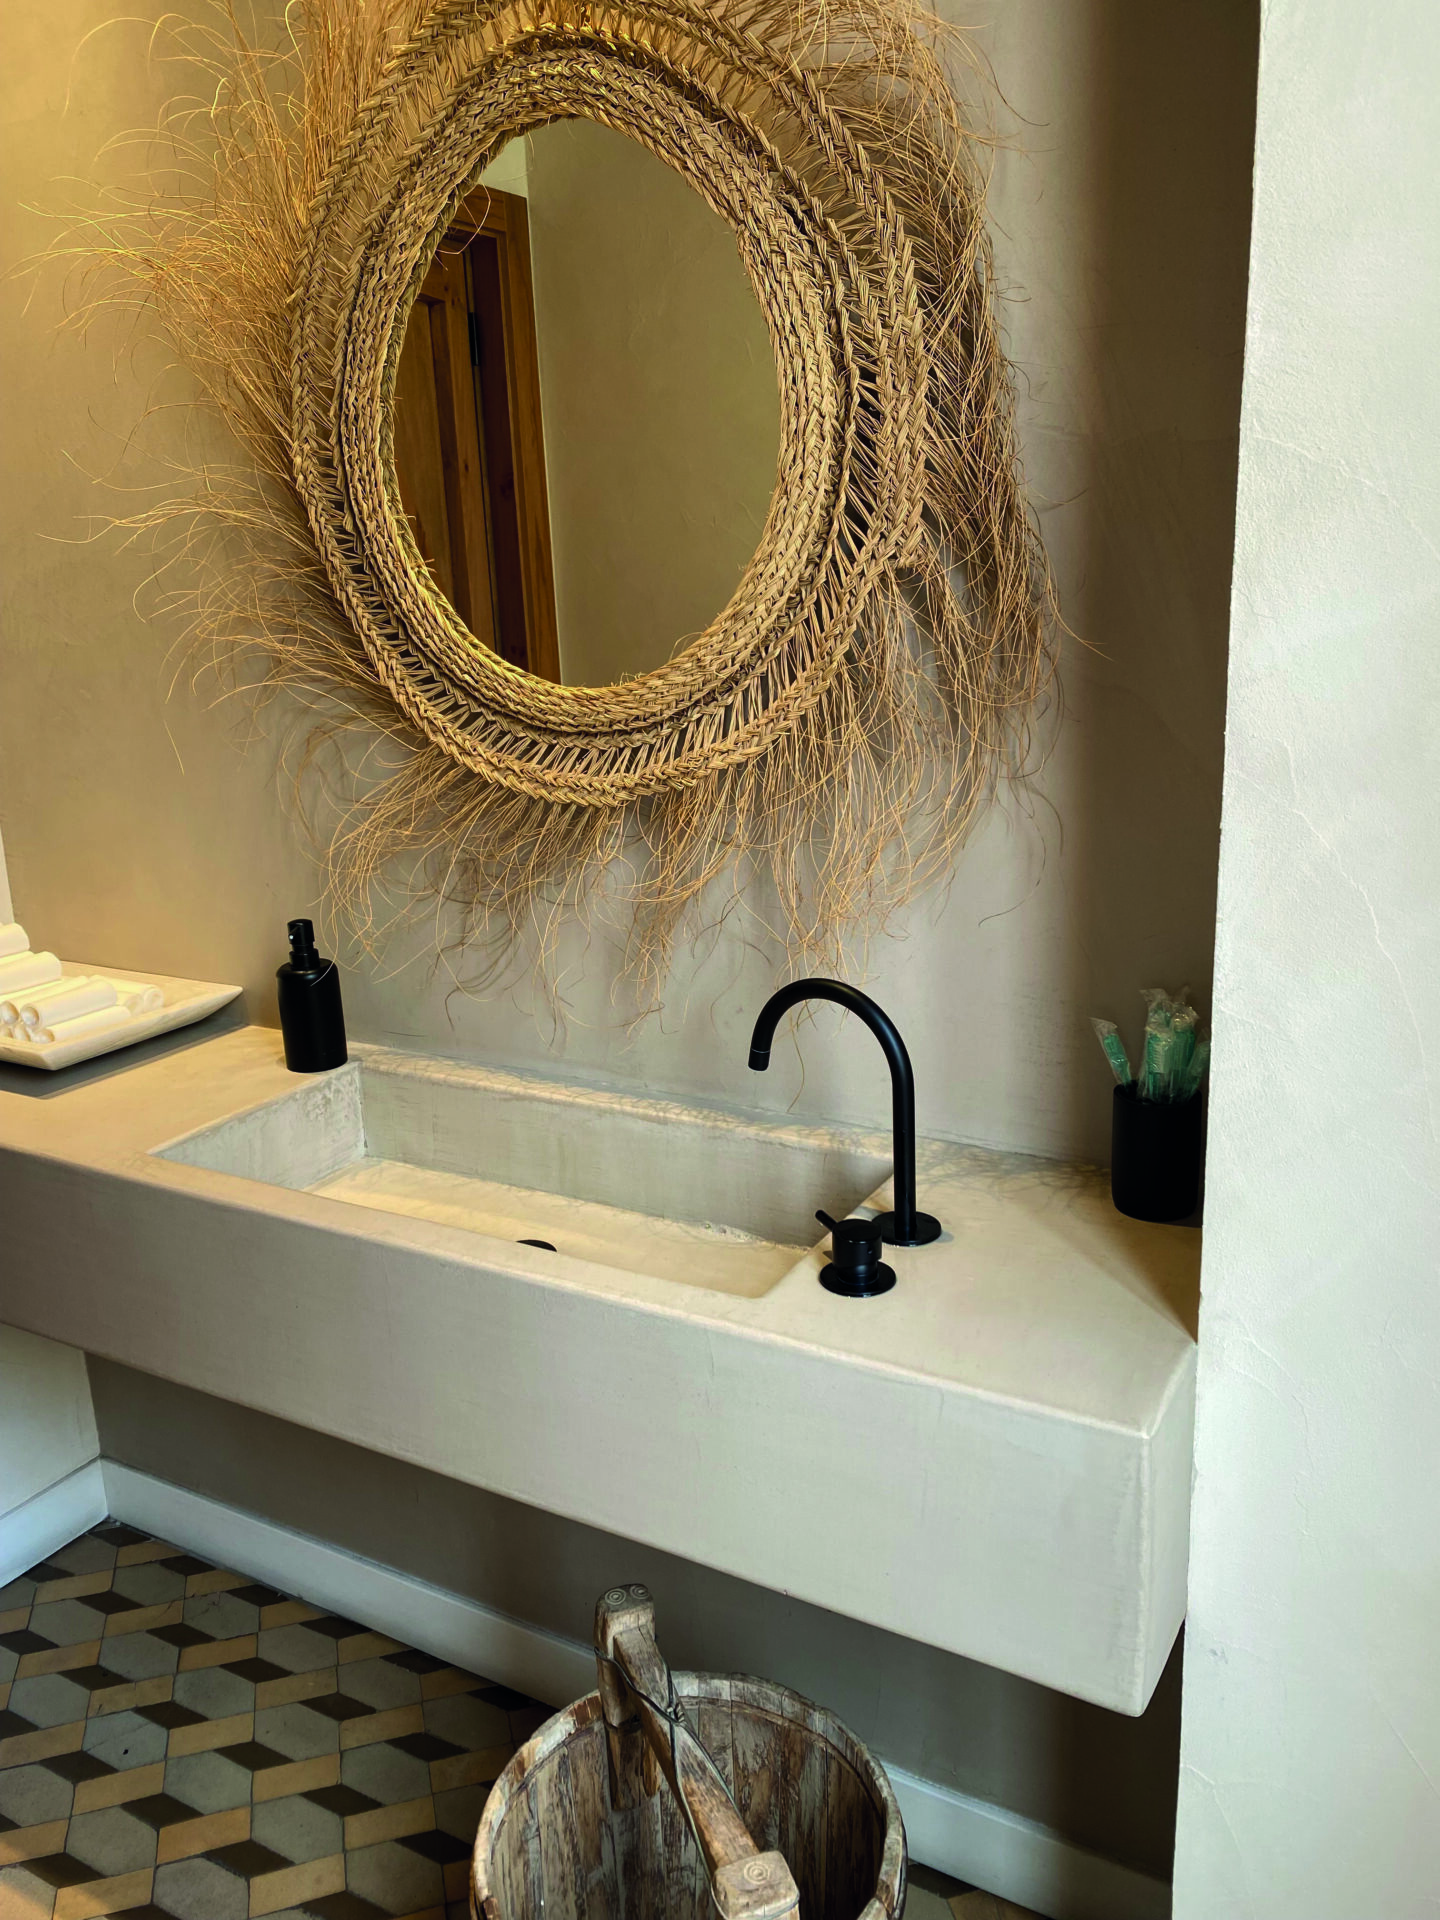
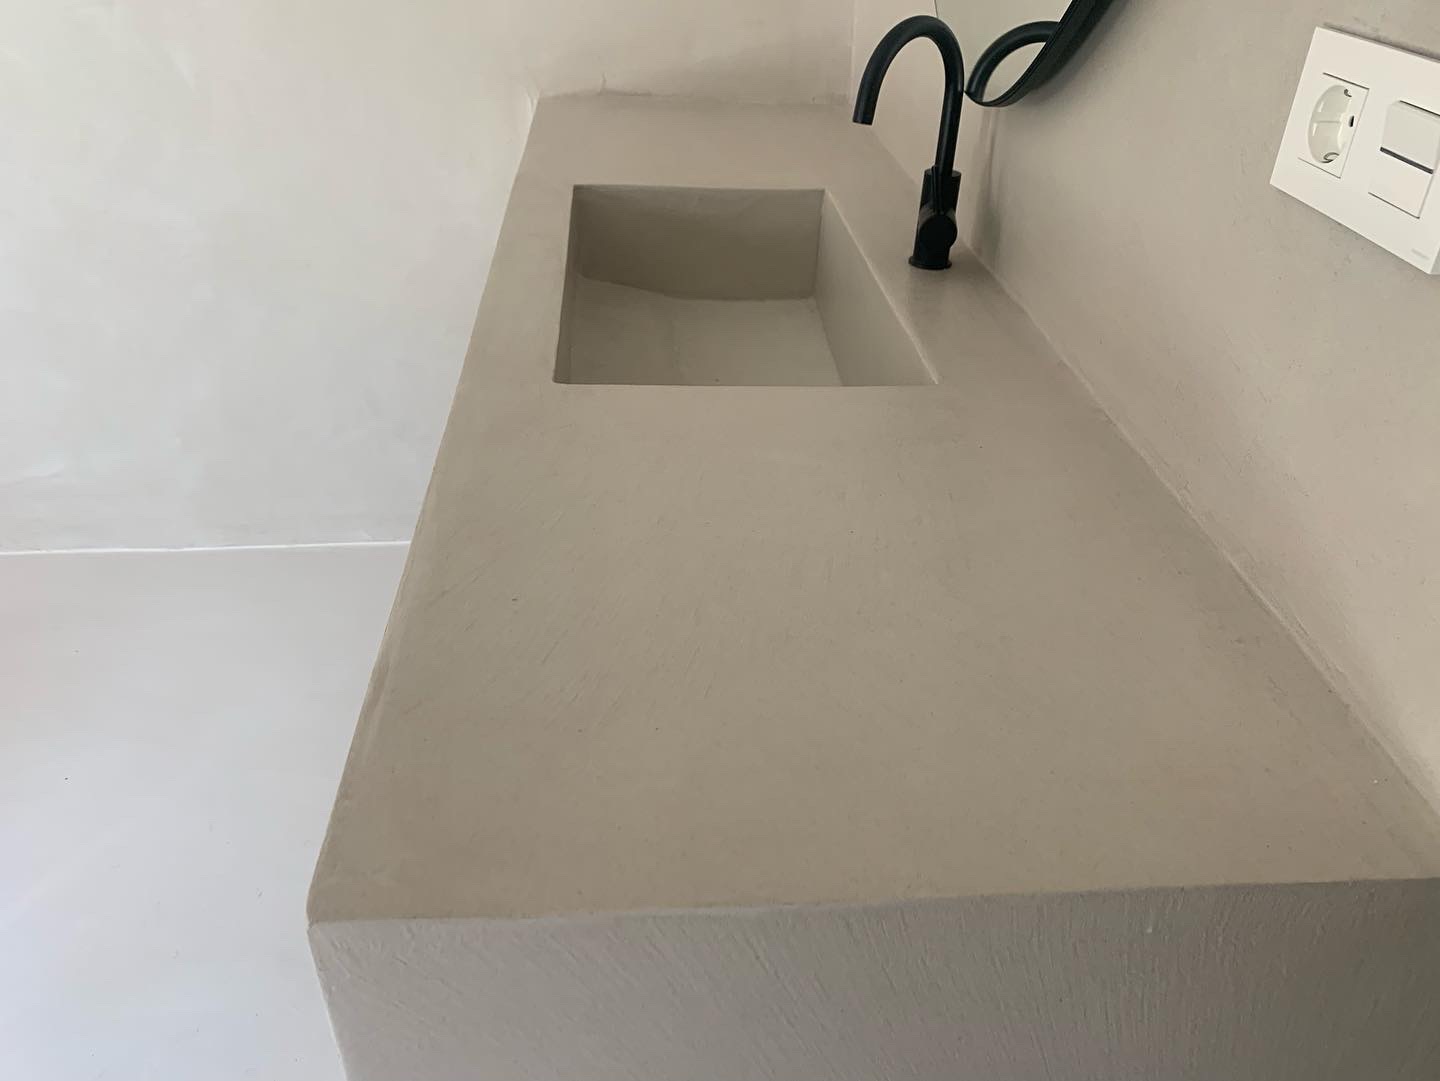
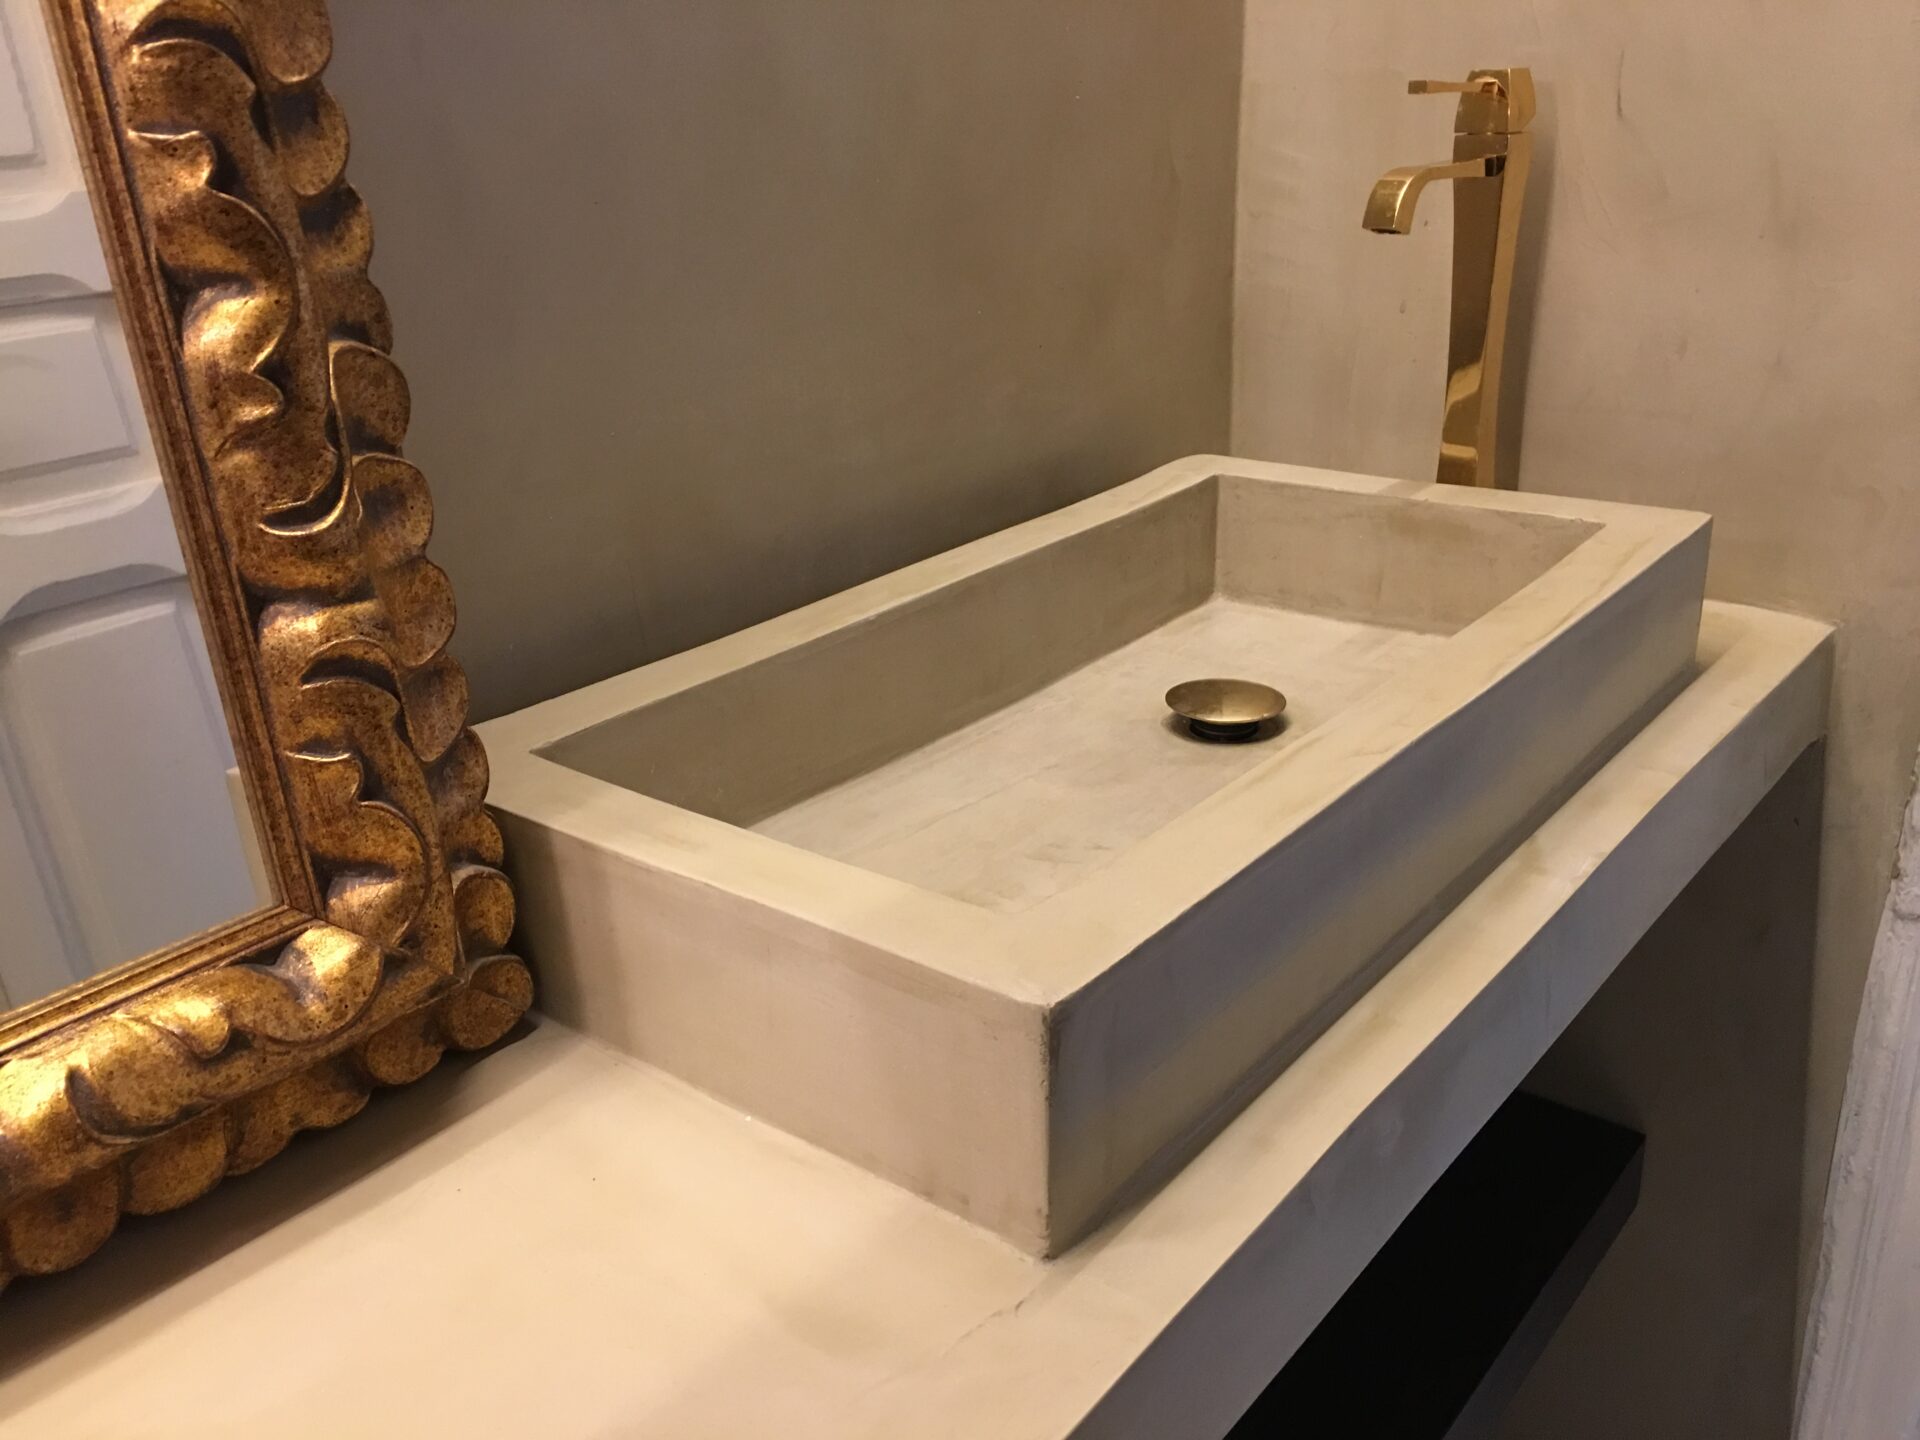
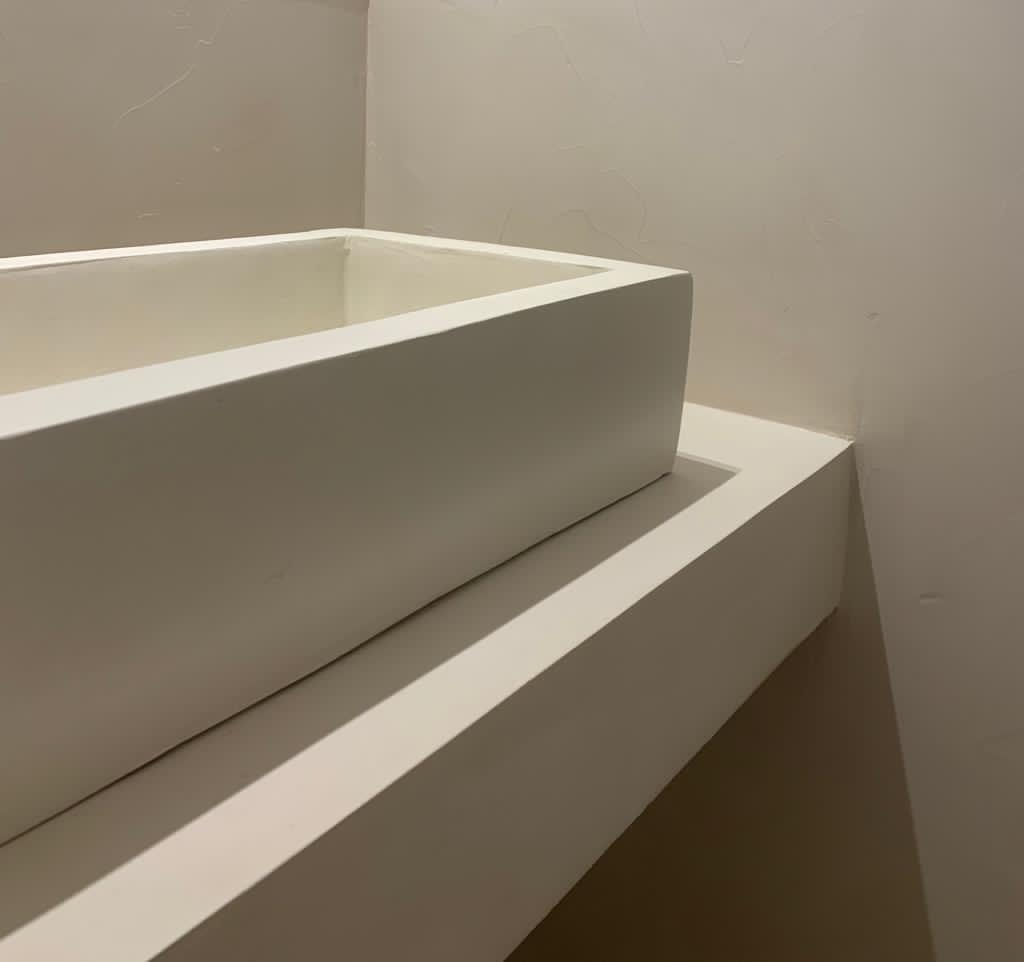
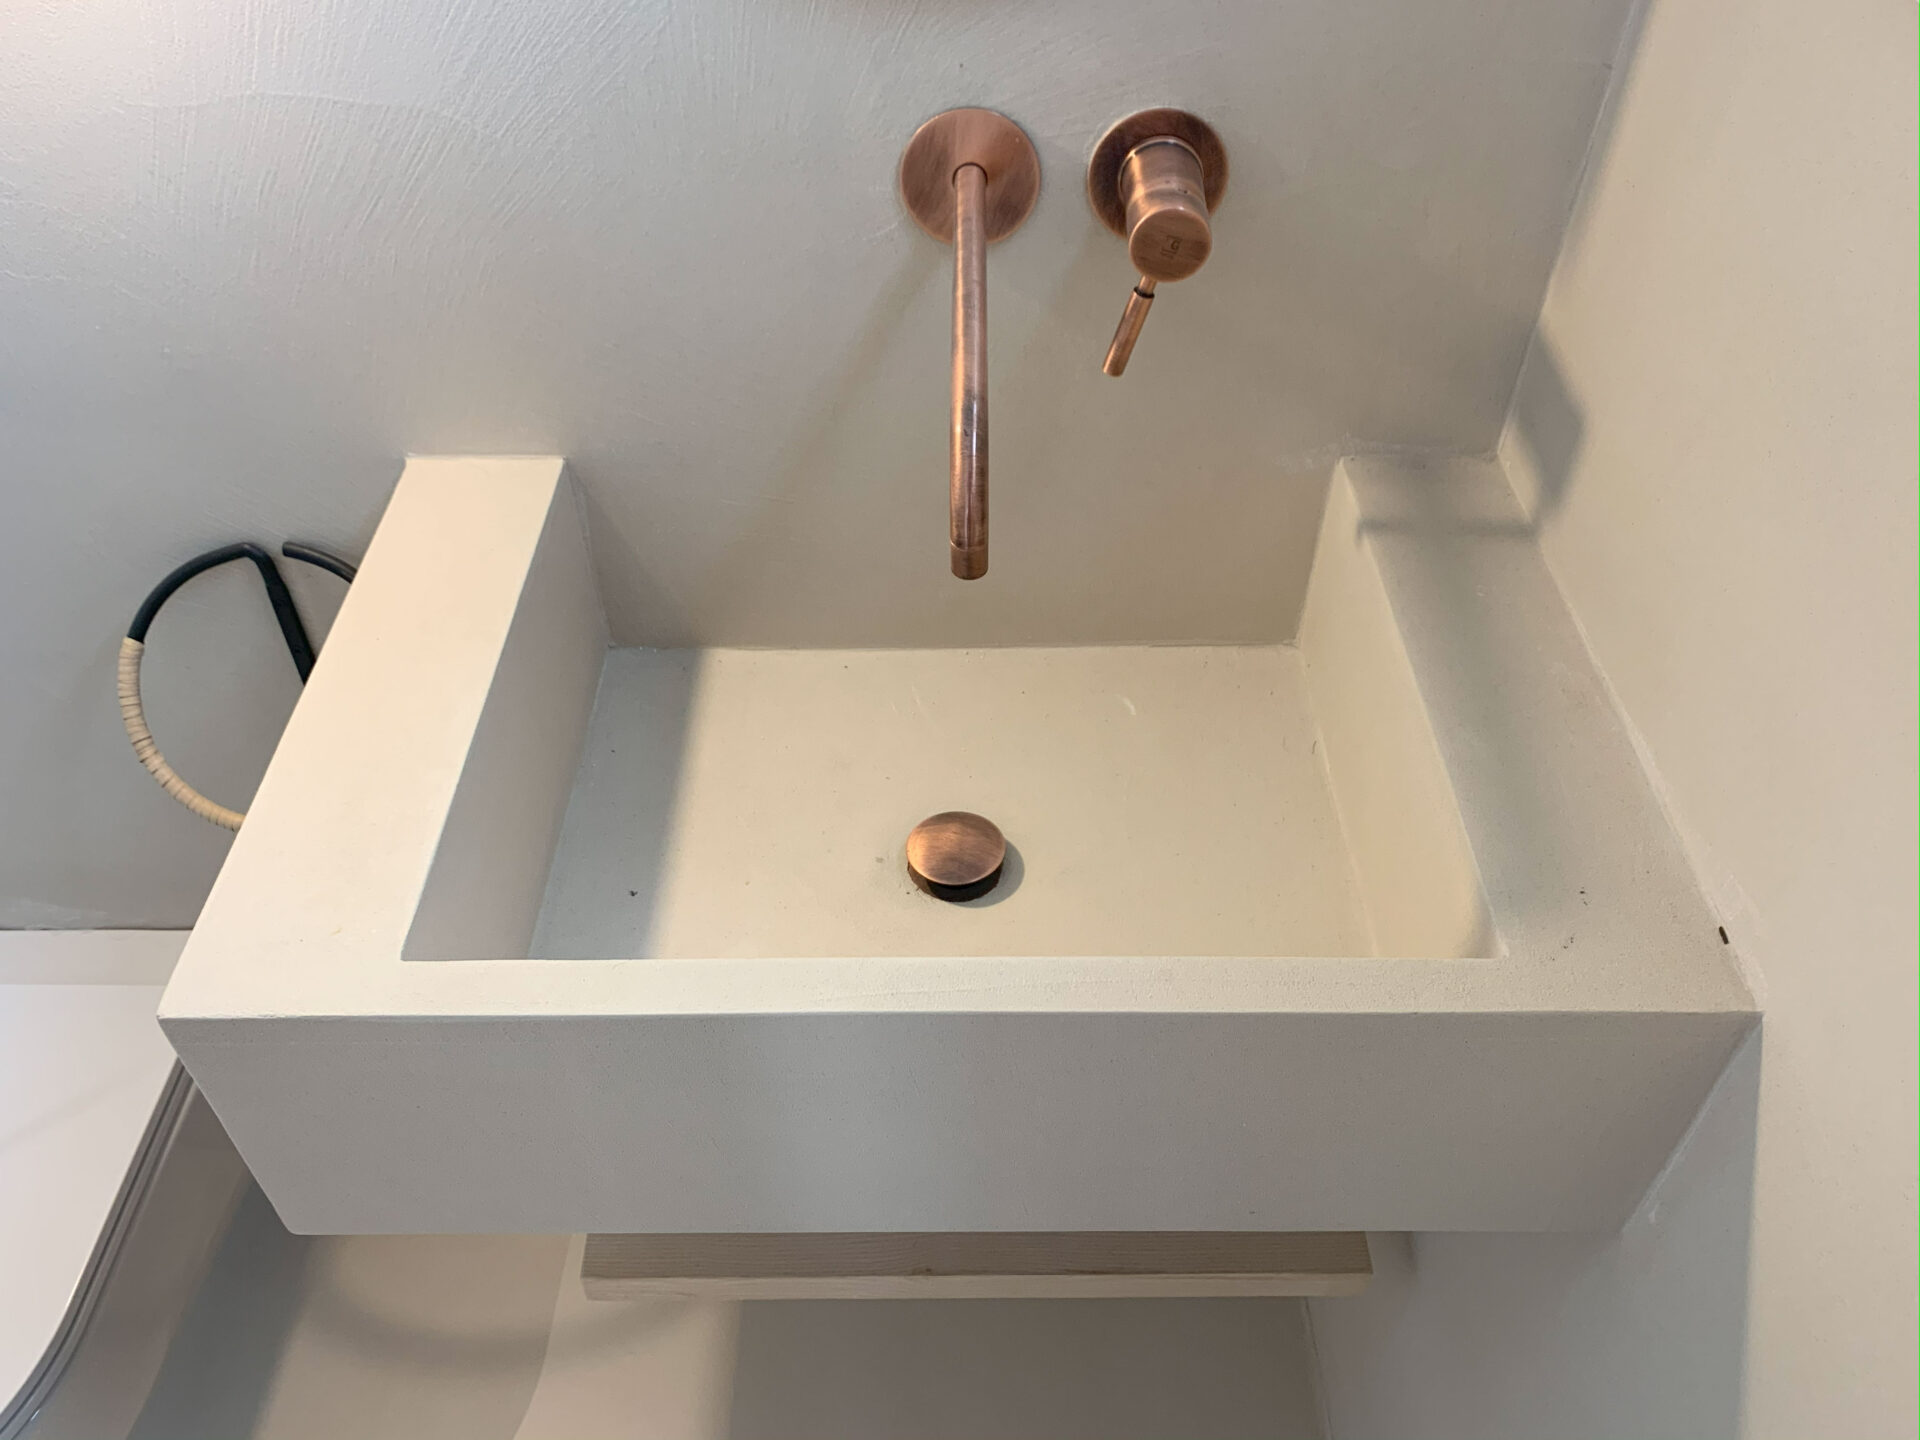
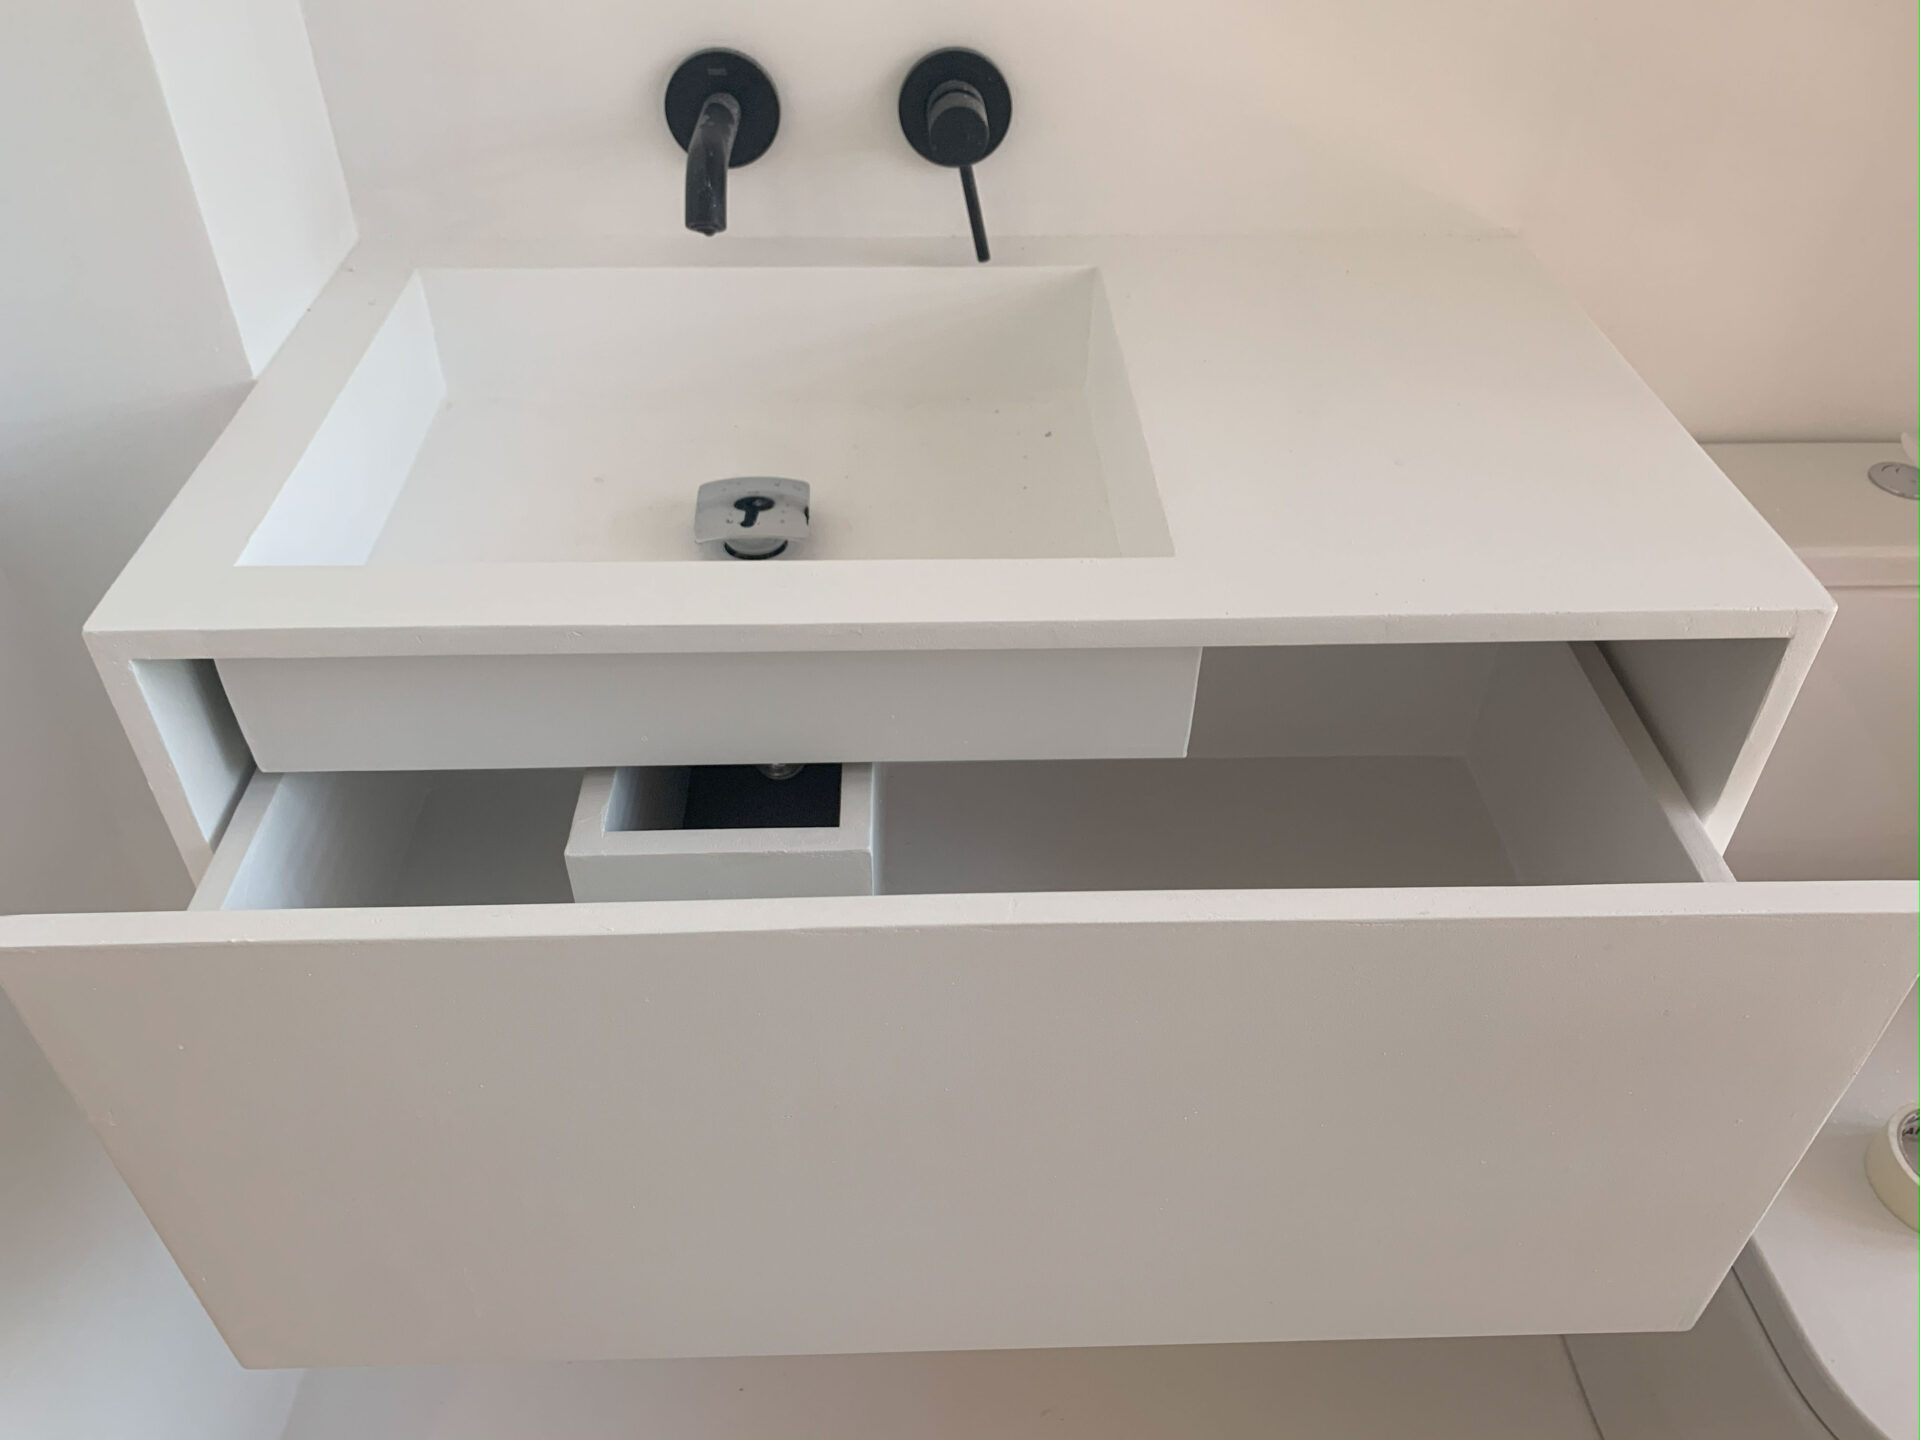
Bathroom countertops and sinks
Bathroom countertops and sinks
Bathroom countertops and sinks
Bathroom countertops and sinks
Bathroom countertops and sinks
Bathroom countertops and sinks
Bathroom countertops and sinks
Bathroom countertops and sinks
Bathroom countertops and sinks
Bathroom countertops and sinks
Bathroom countertops and sinks
Bathroom countertops and sinks
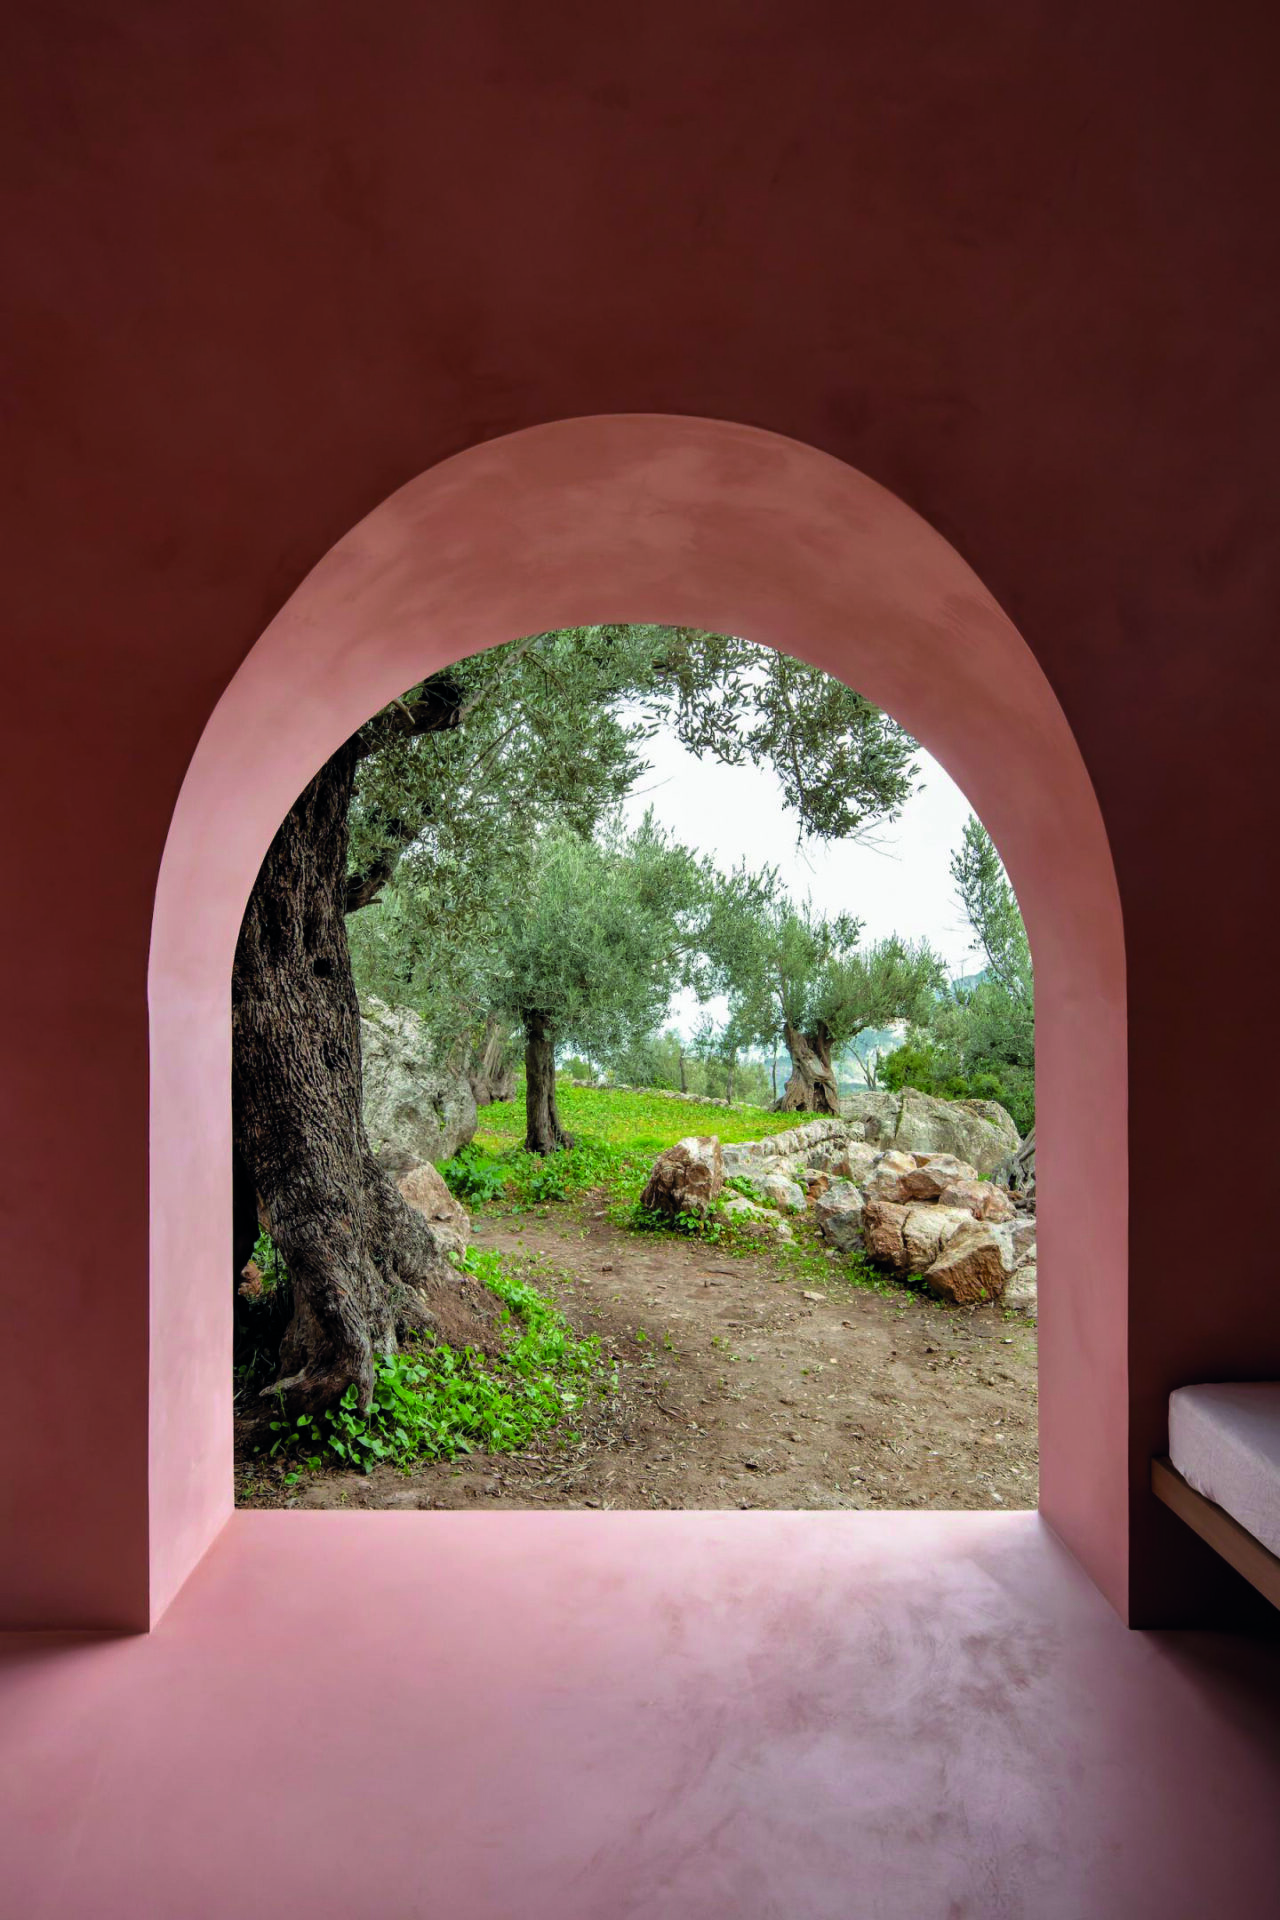
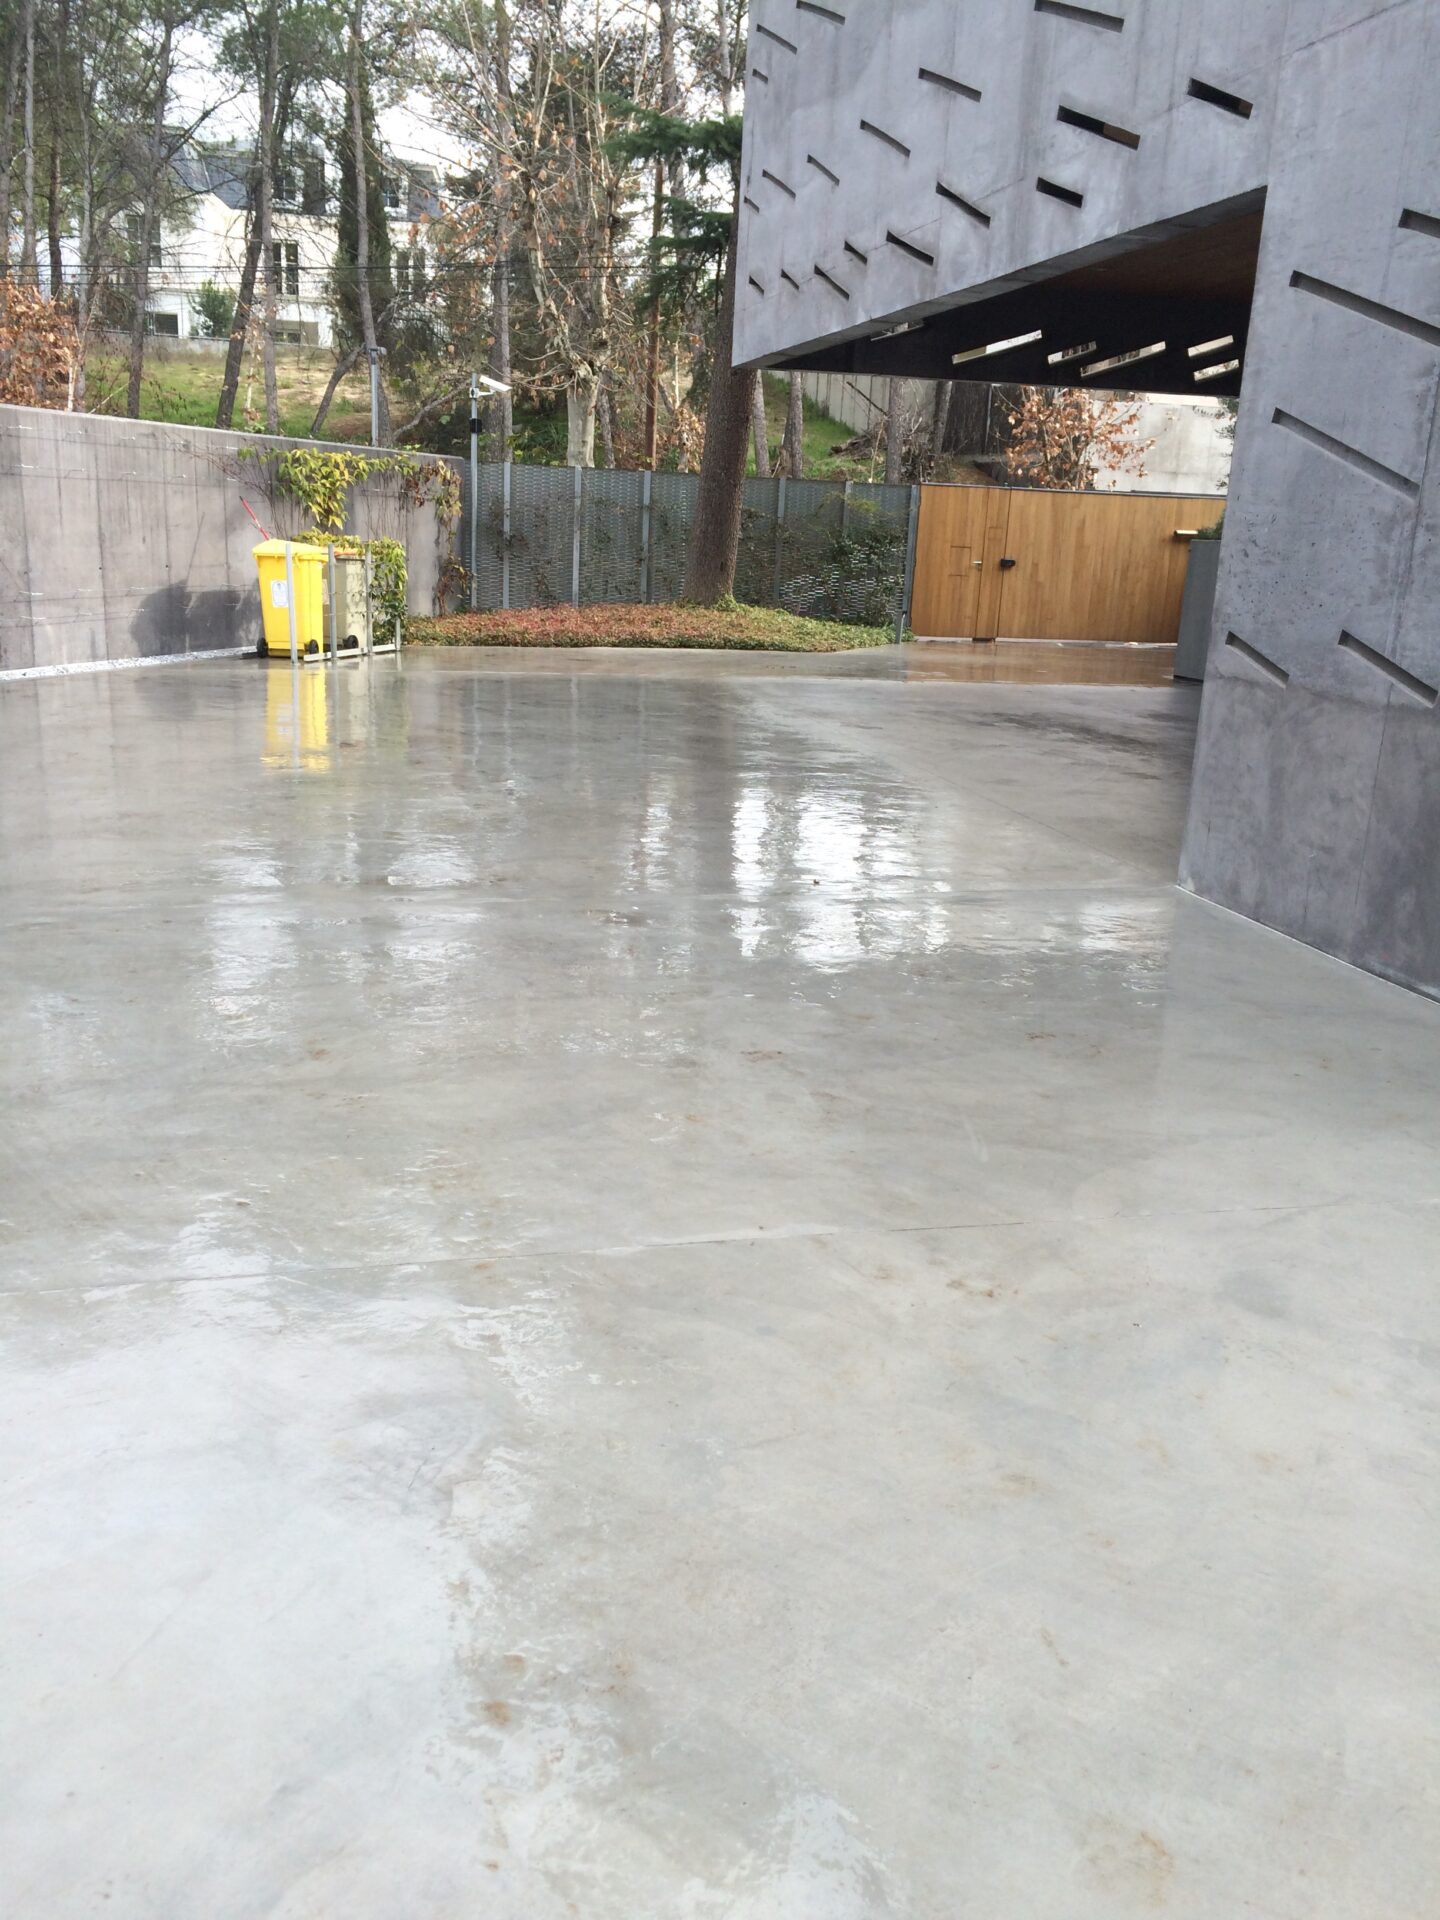
Exteriors
Walls
Walls
Walls
Walls
Walls
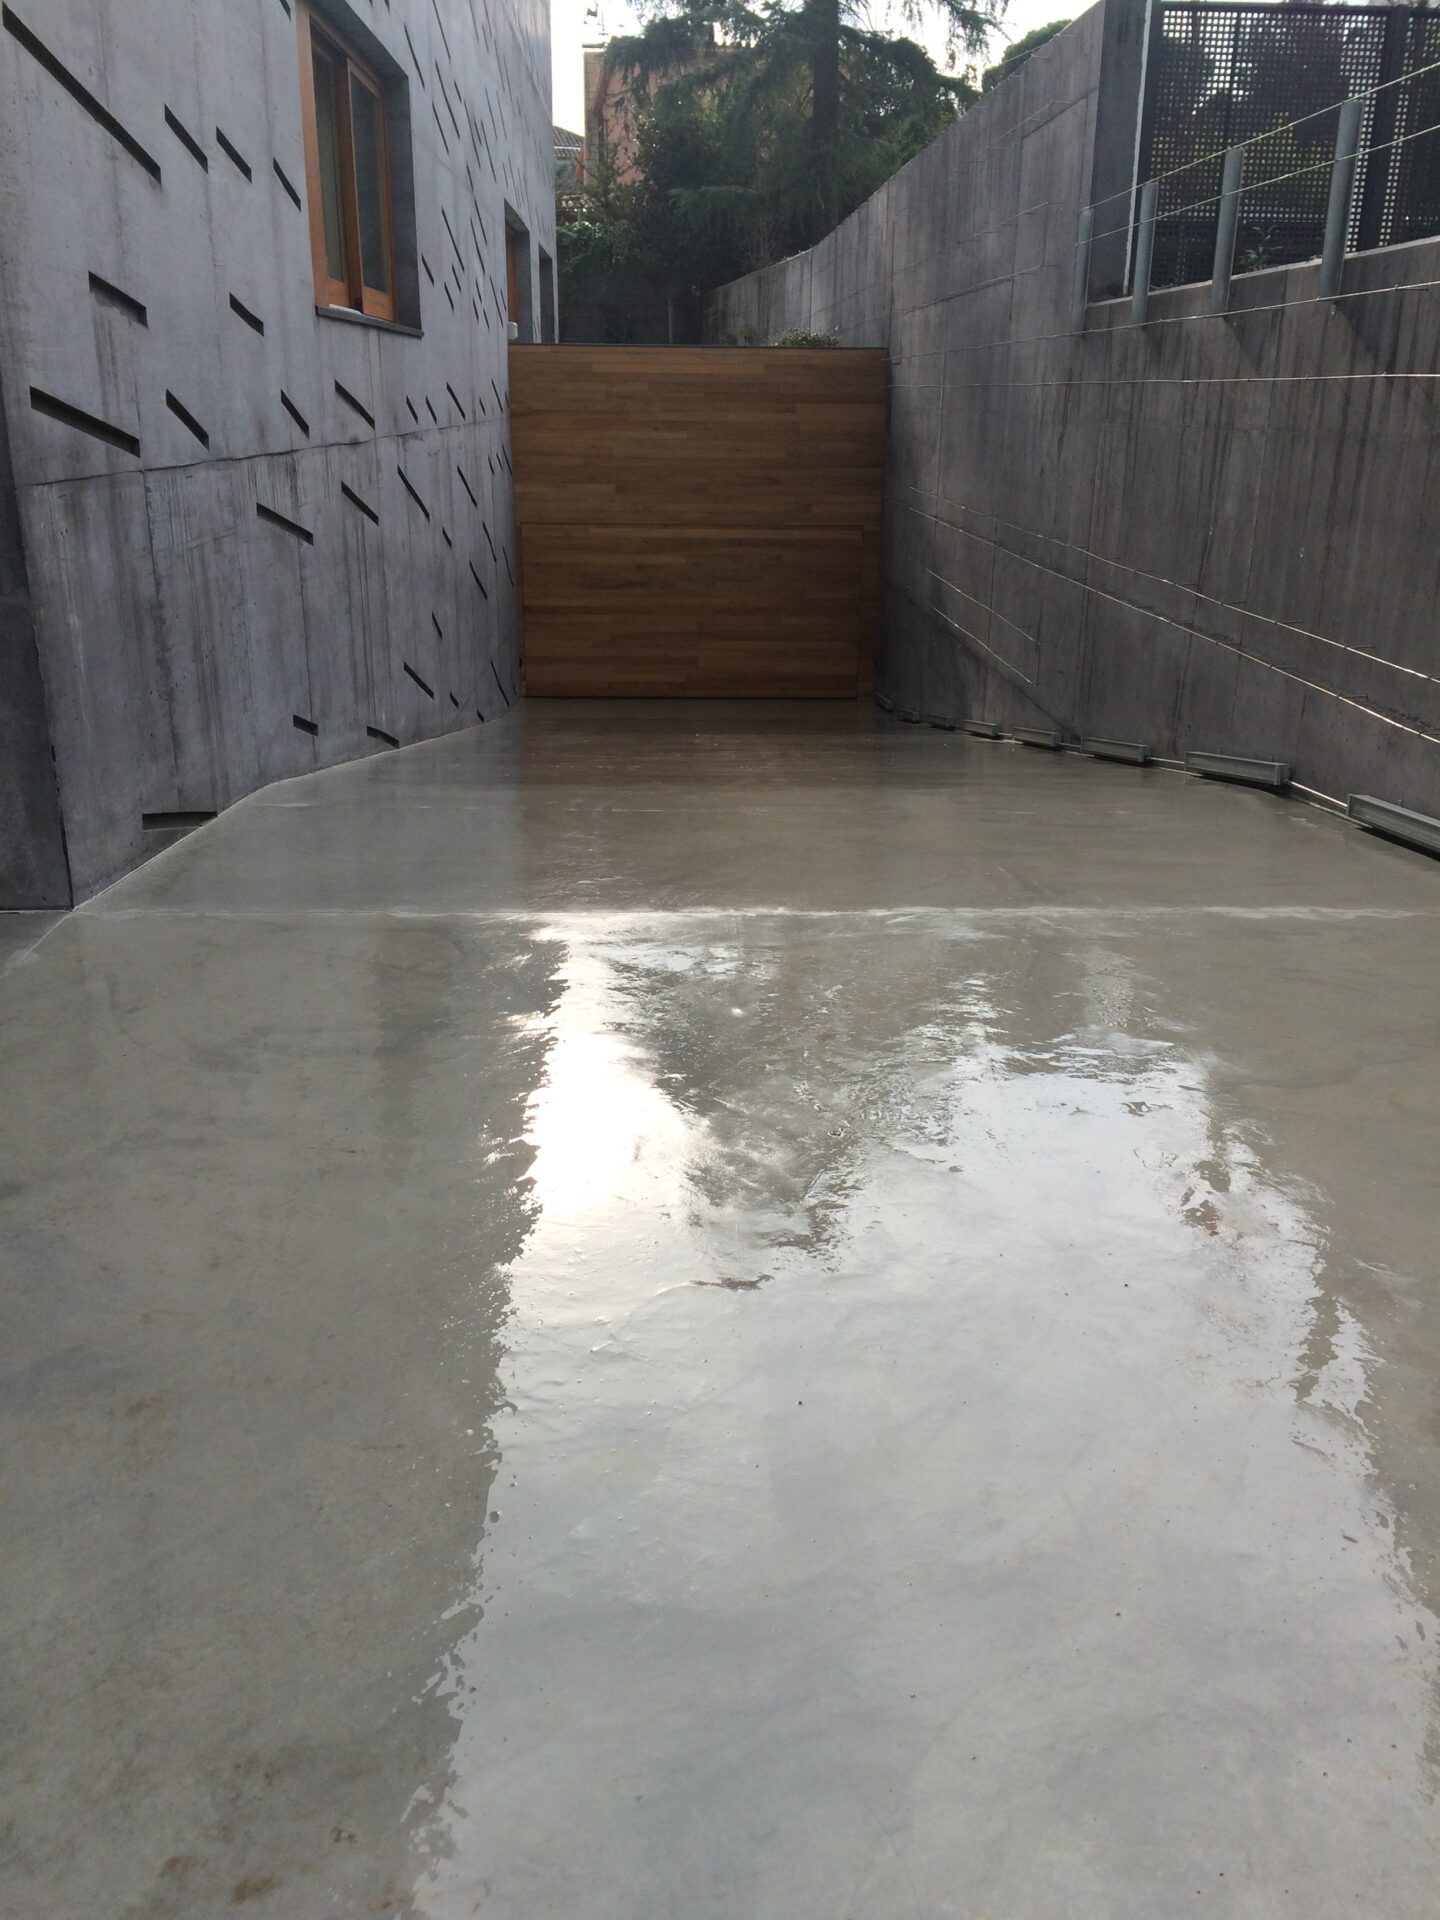
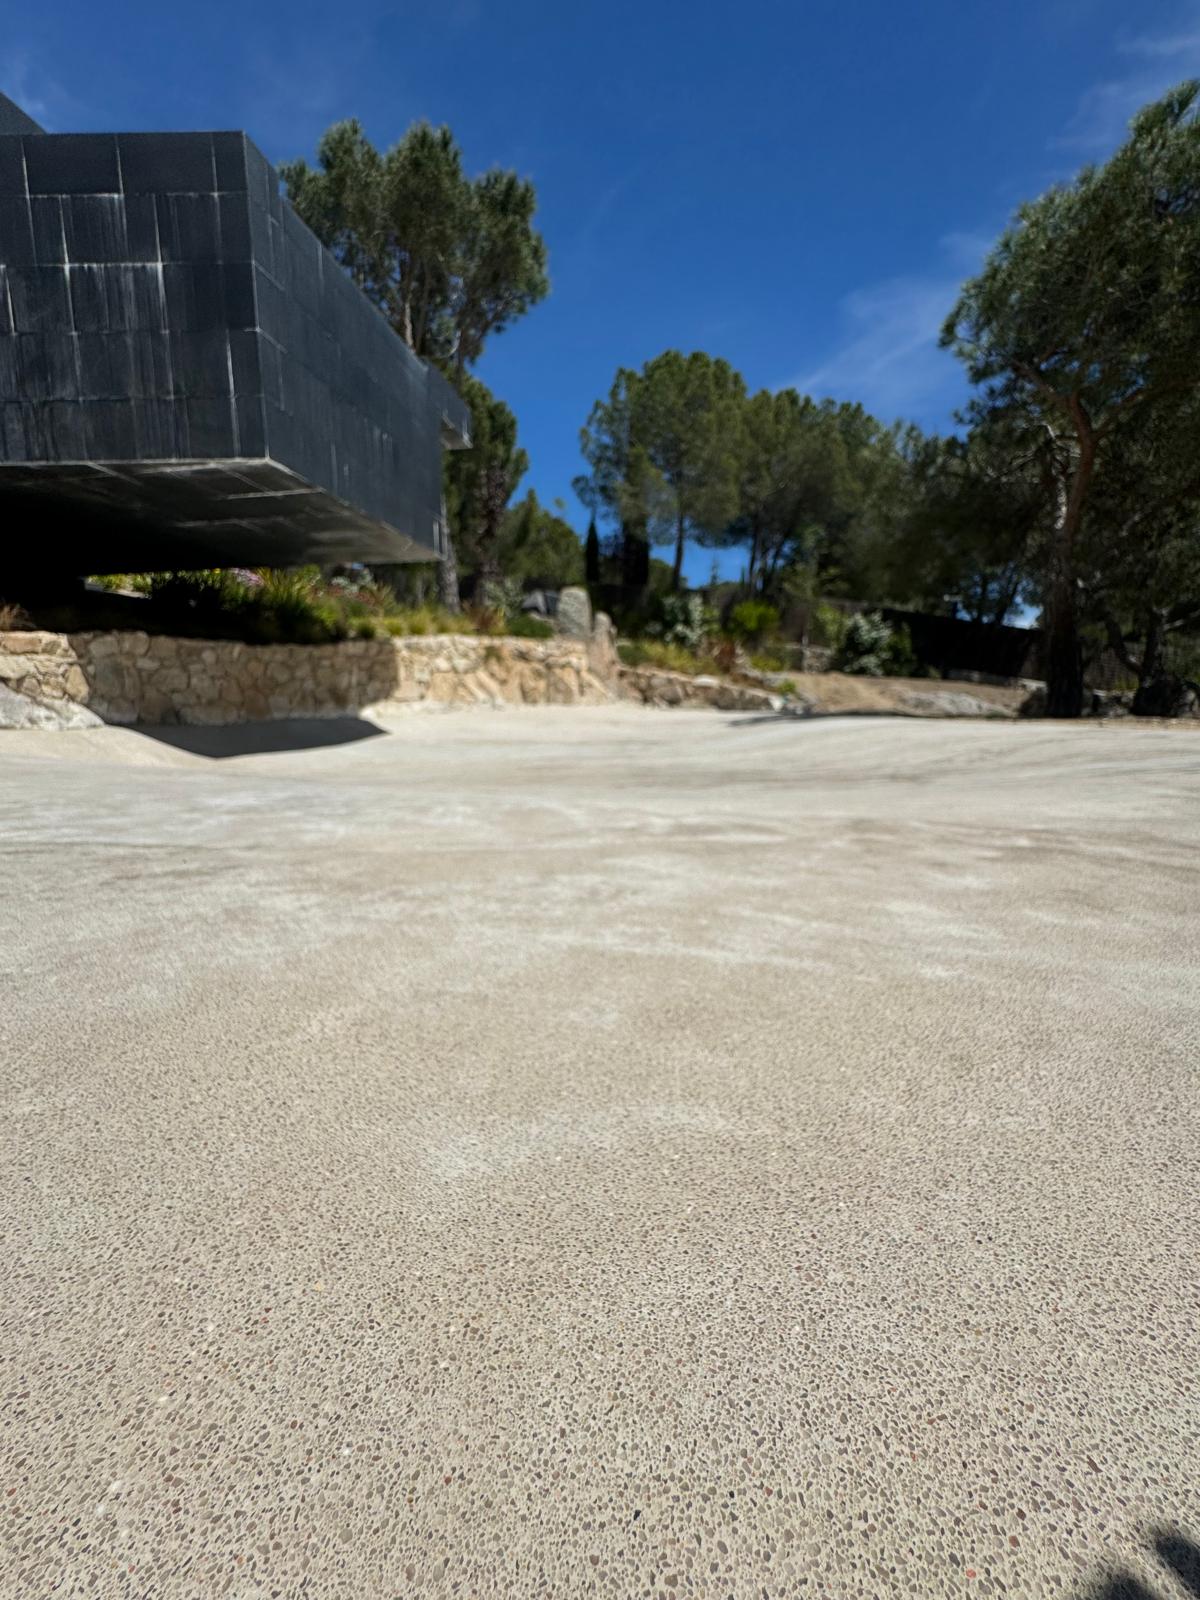
Floors
Floors
Floors
Floors
Floors
Floors
Floors
Floors
Floors
Floors
Floors
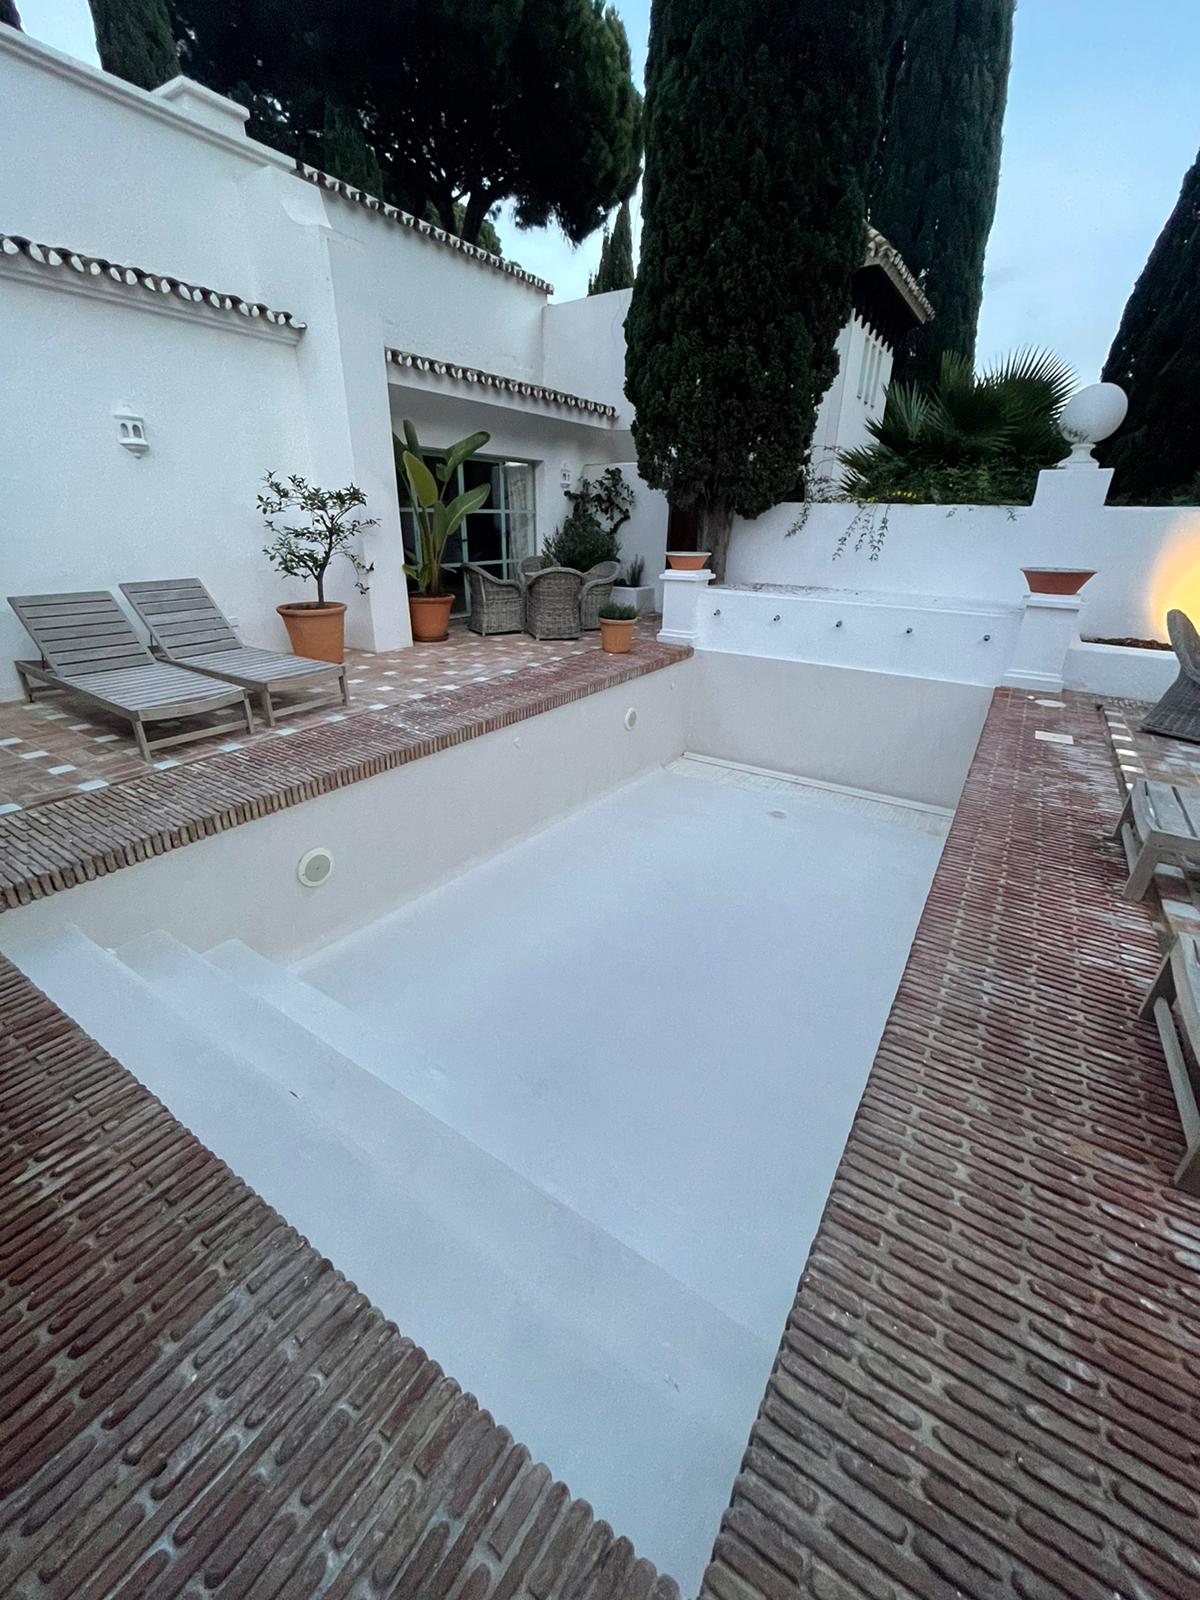
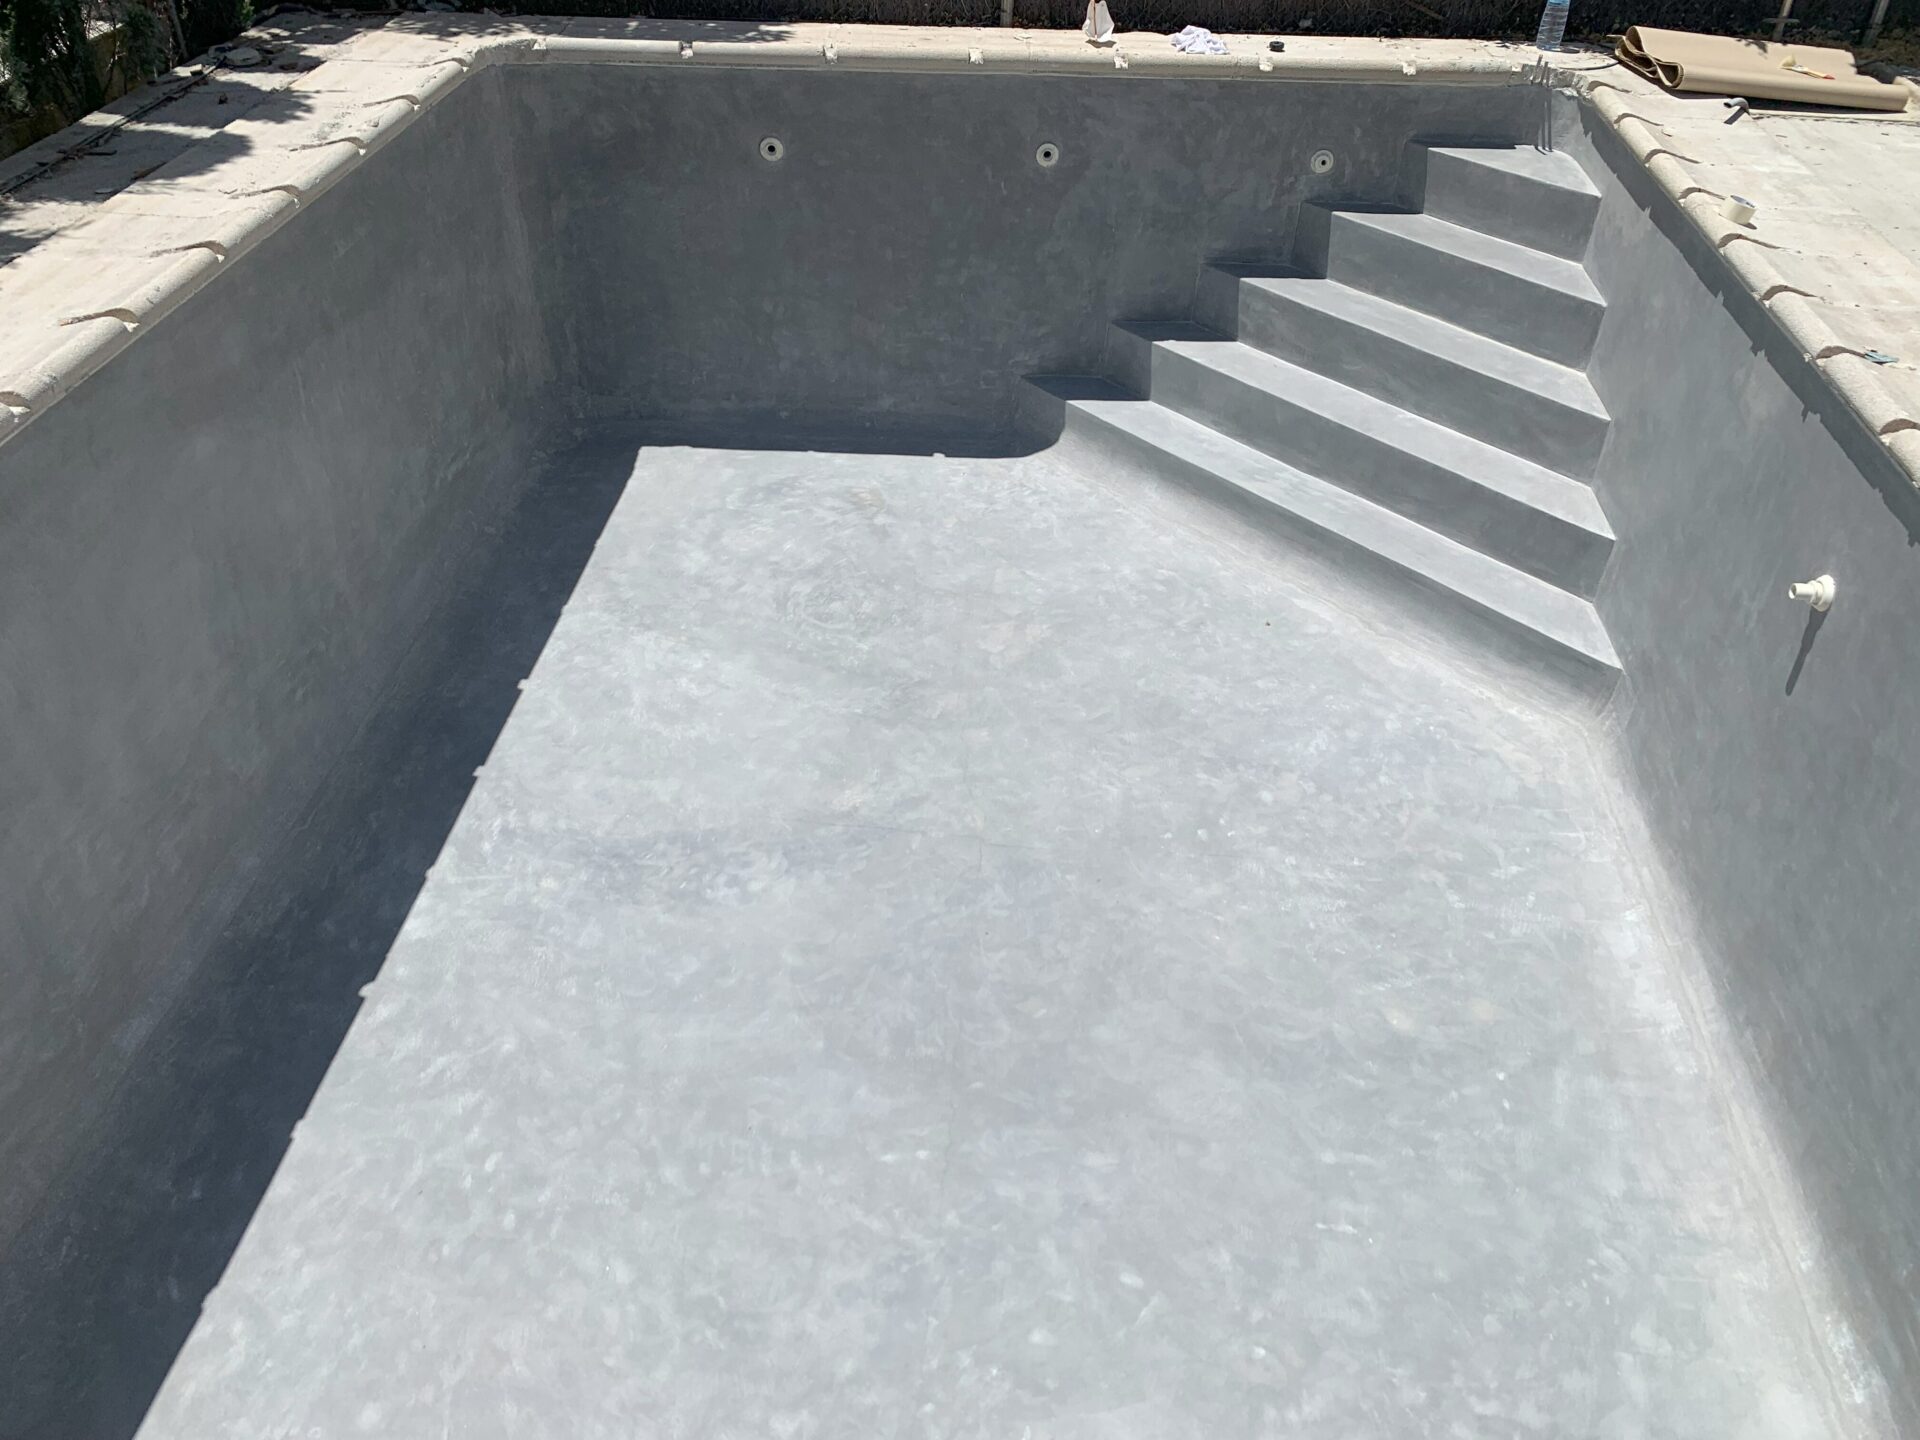
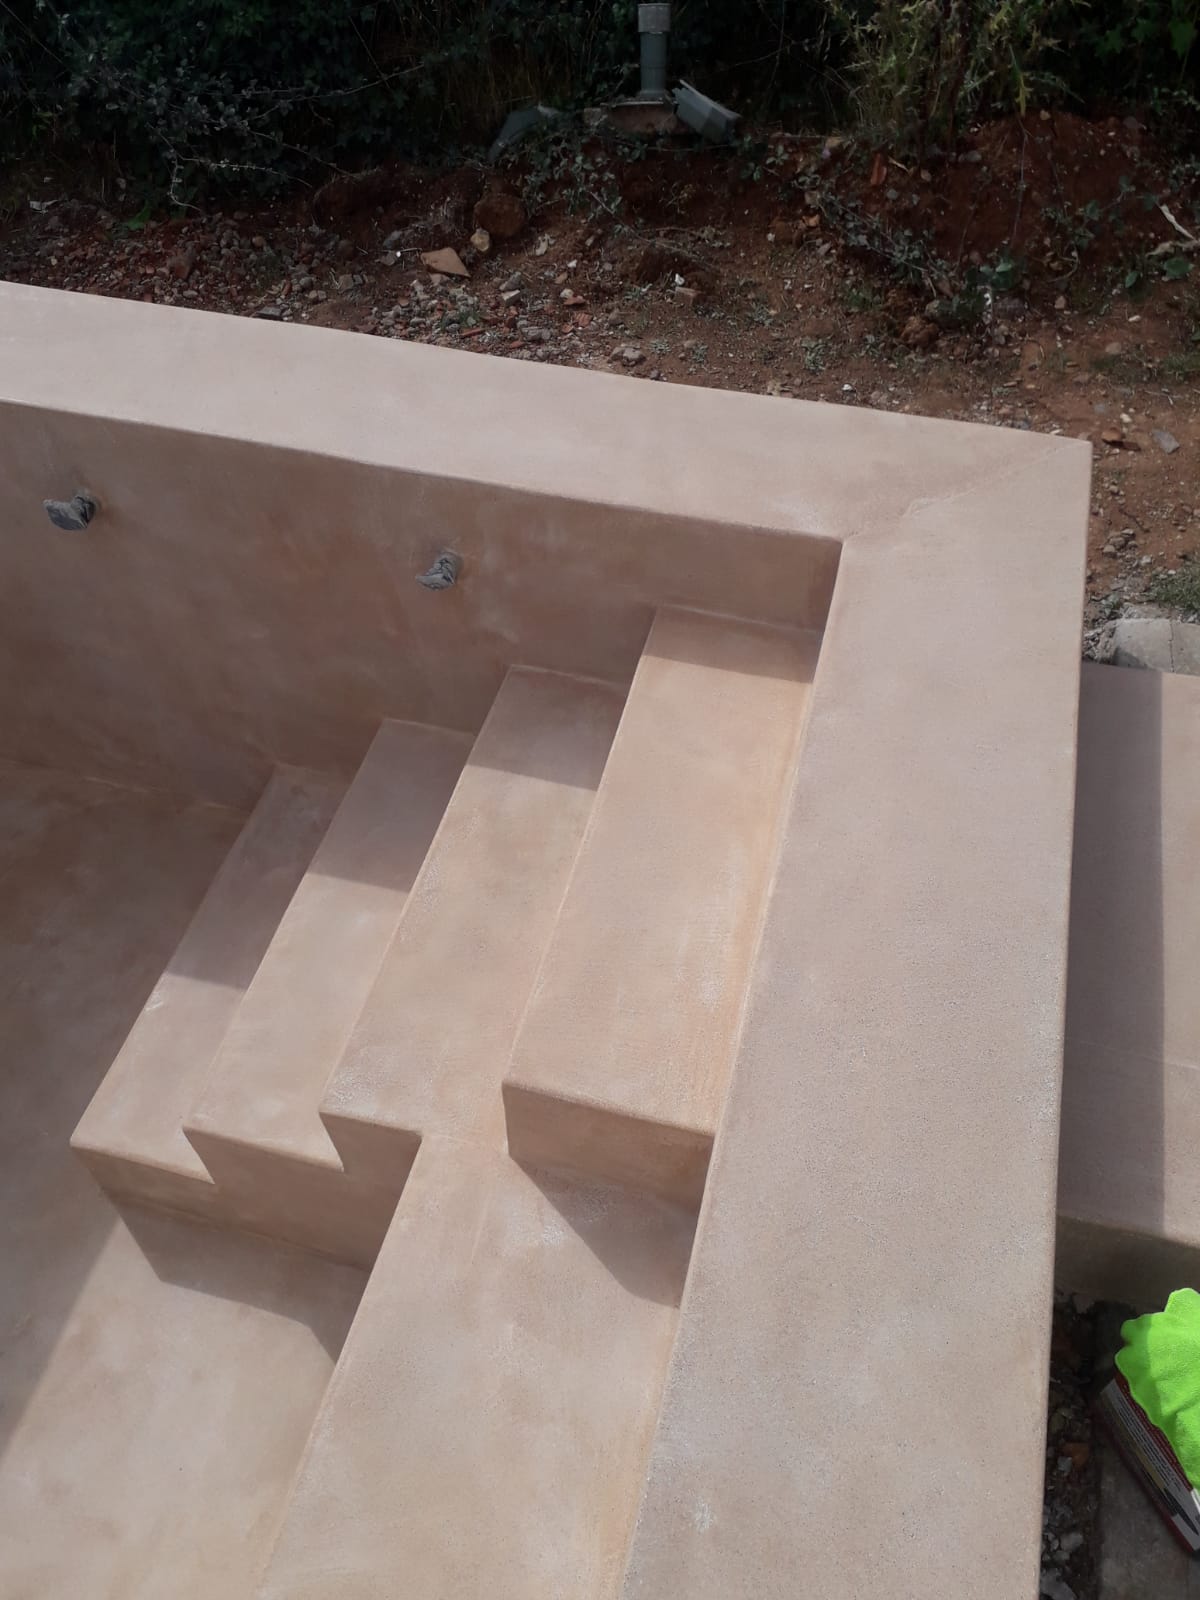
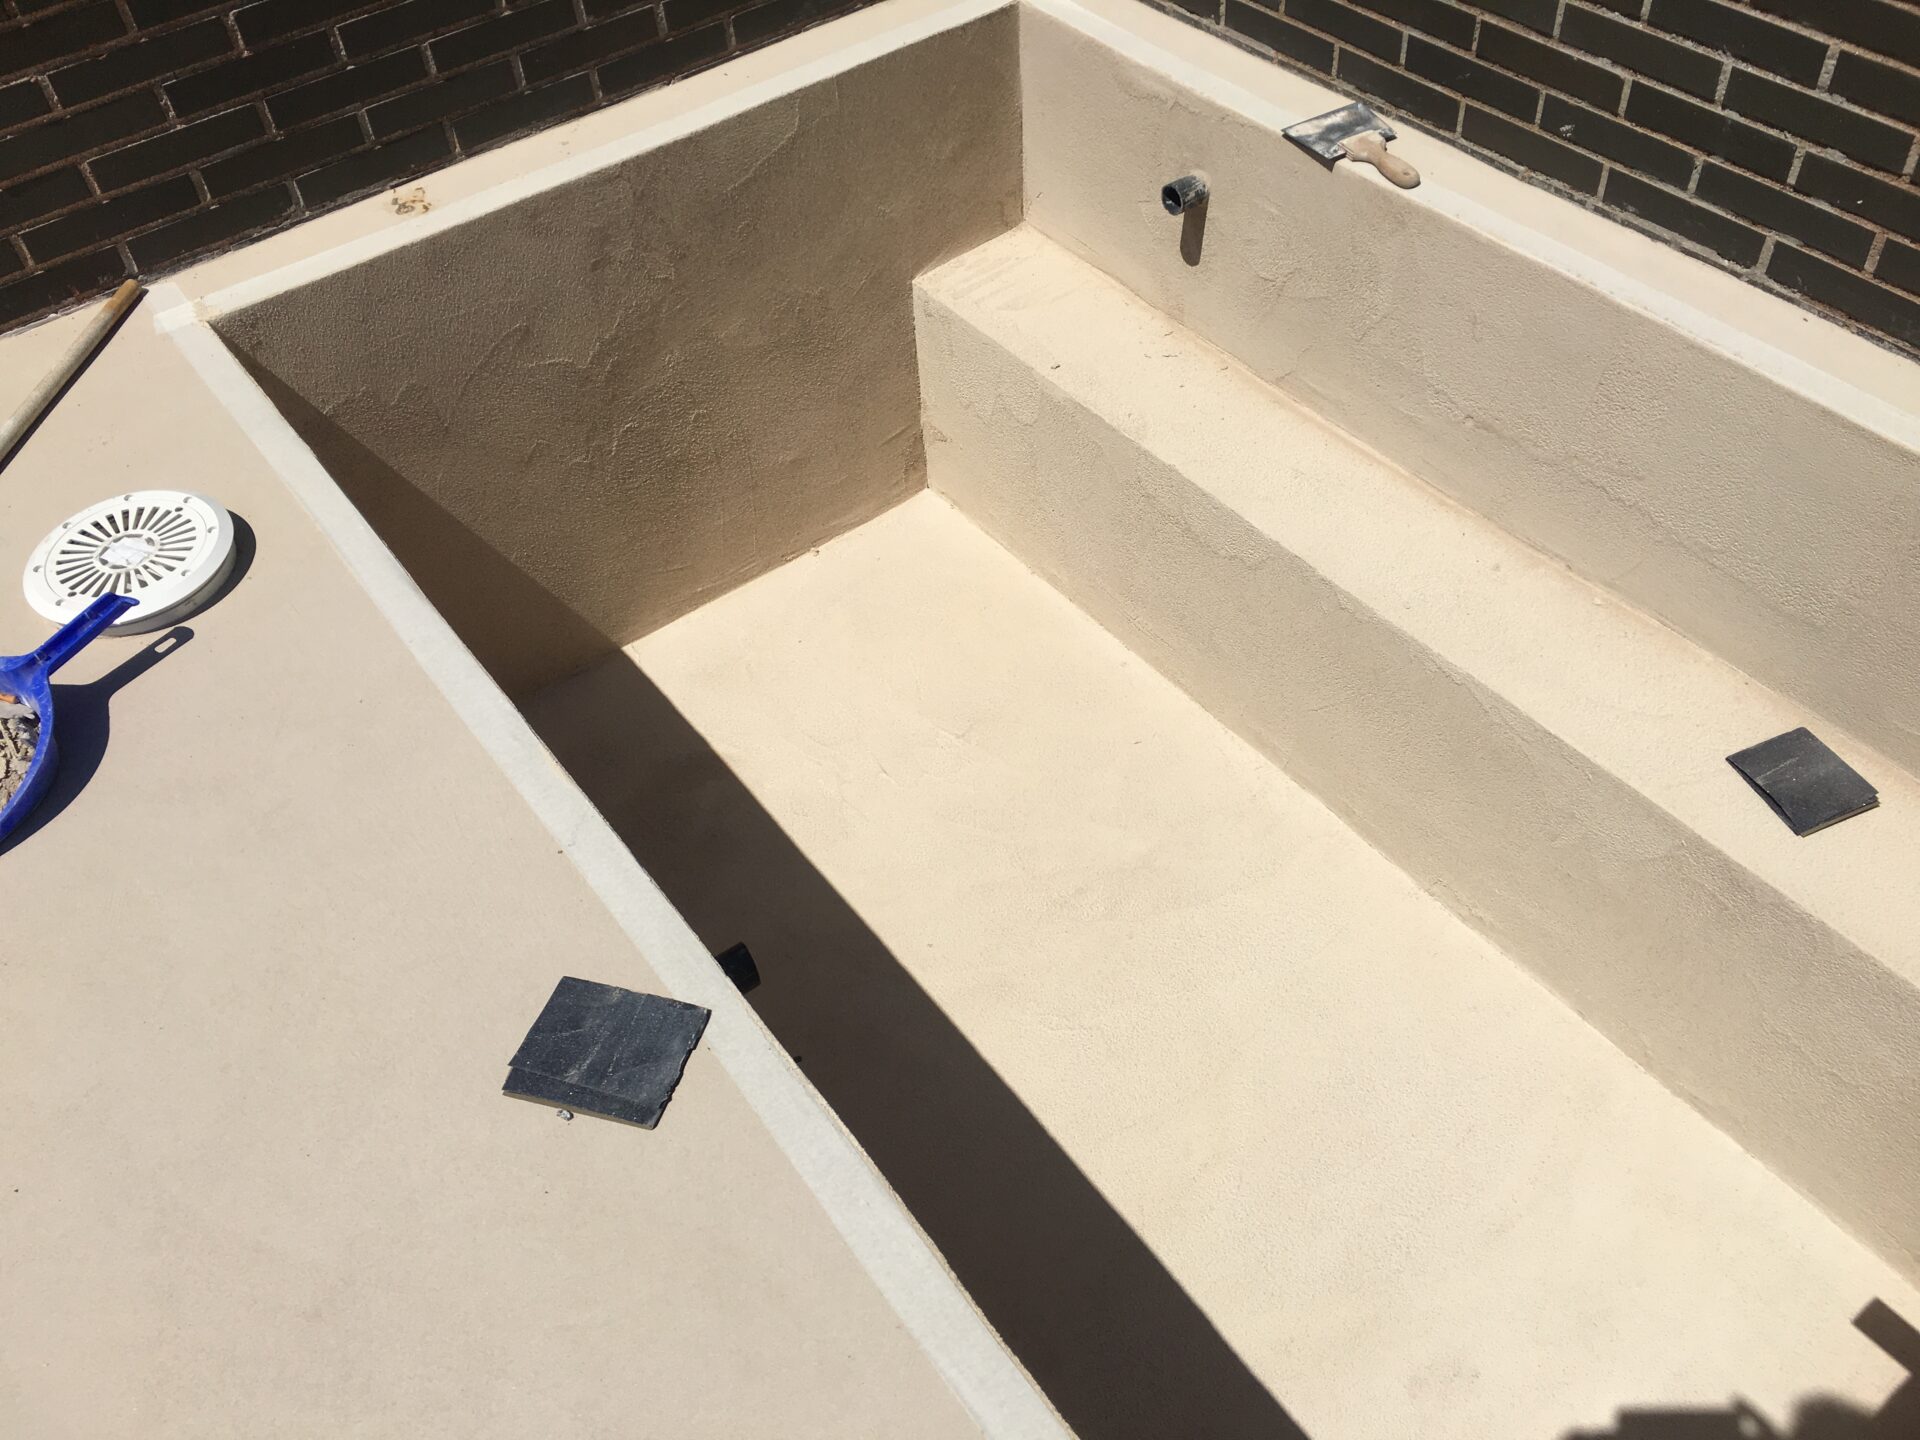
Swimming pools
Swimming pools
Swimming pools
Swimming pools
Swimming pools
Swimming pools
Swimming pools
Swimming pools
Swimming pools
Colors
“These are the pre-dosed colors, but you can obtain any color from the RAL or NCS chart.”